
NRP, Access & Requesting Resources
- What is the National Research Platform, and what does it offer a classroom?
- How do students and instructors get access?
- What accelerators are available, and how do I ask for them?
- Describe what NRP provides and where JupyterHub fits for teaching.
- Sign in through CILogon and request a namespace of your own.
- Name the three ways of requesting resources and pick the right one for a course.
Time: 00:00–00:20
Welcome. This 90-minute workshop has one concrete goal: show you what it takes to use the National Research Platform in a classroom — get in, use the AI services, and stand up a hub of your own — and then actually do it.
The material is geared toward educational use, but nothing here is teaching-only. The same token, the same endpoint, and the same Helm chart serve a research group just as well as a course.
By the end of the workshop you will have talked to a national LLM service from three different clients, pointed a coding agent at it, and deployed your own multi-user JupyterHub on national infrastructure.
Schedule
| Time | Topic | What you walk away with |
|---|---|---|
| 00:00–00:20 | NRP, access & requesting resources | An account path and a namespace of your own |
| 00:20–00:40 | AI for the classroom | An LLM call from a notebook, and an assistant that fixes code |
| 00:50–01:30 | Your own JupyterHub | A deployed course hub and a custom image pipeline |
What NRP is
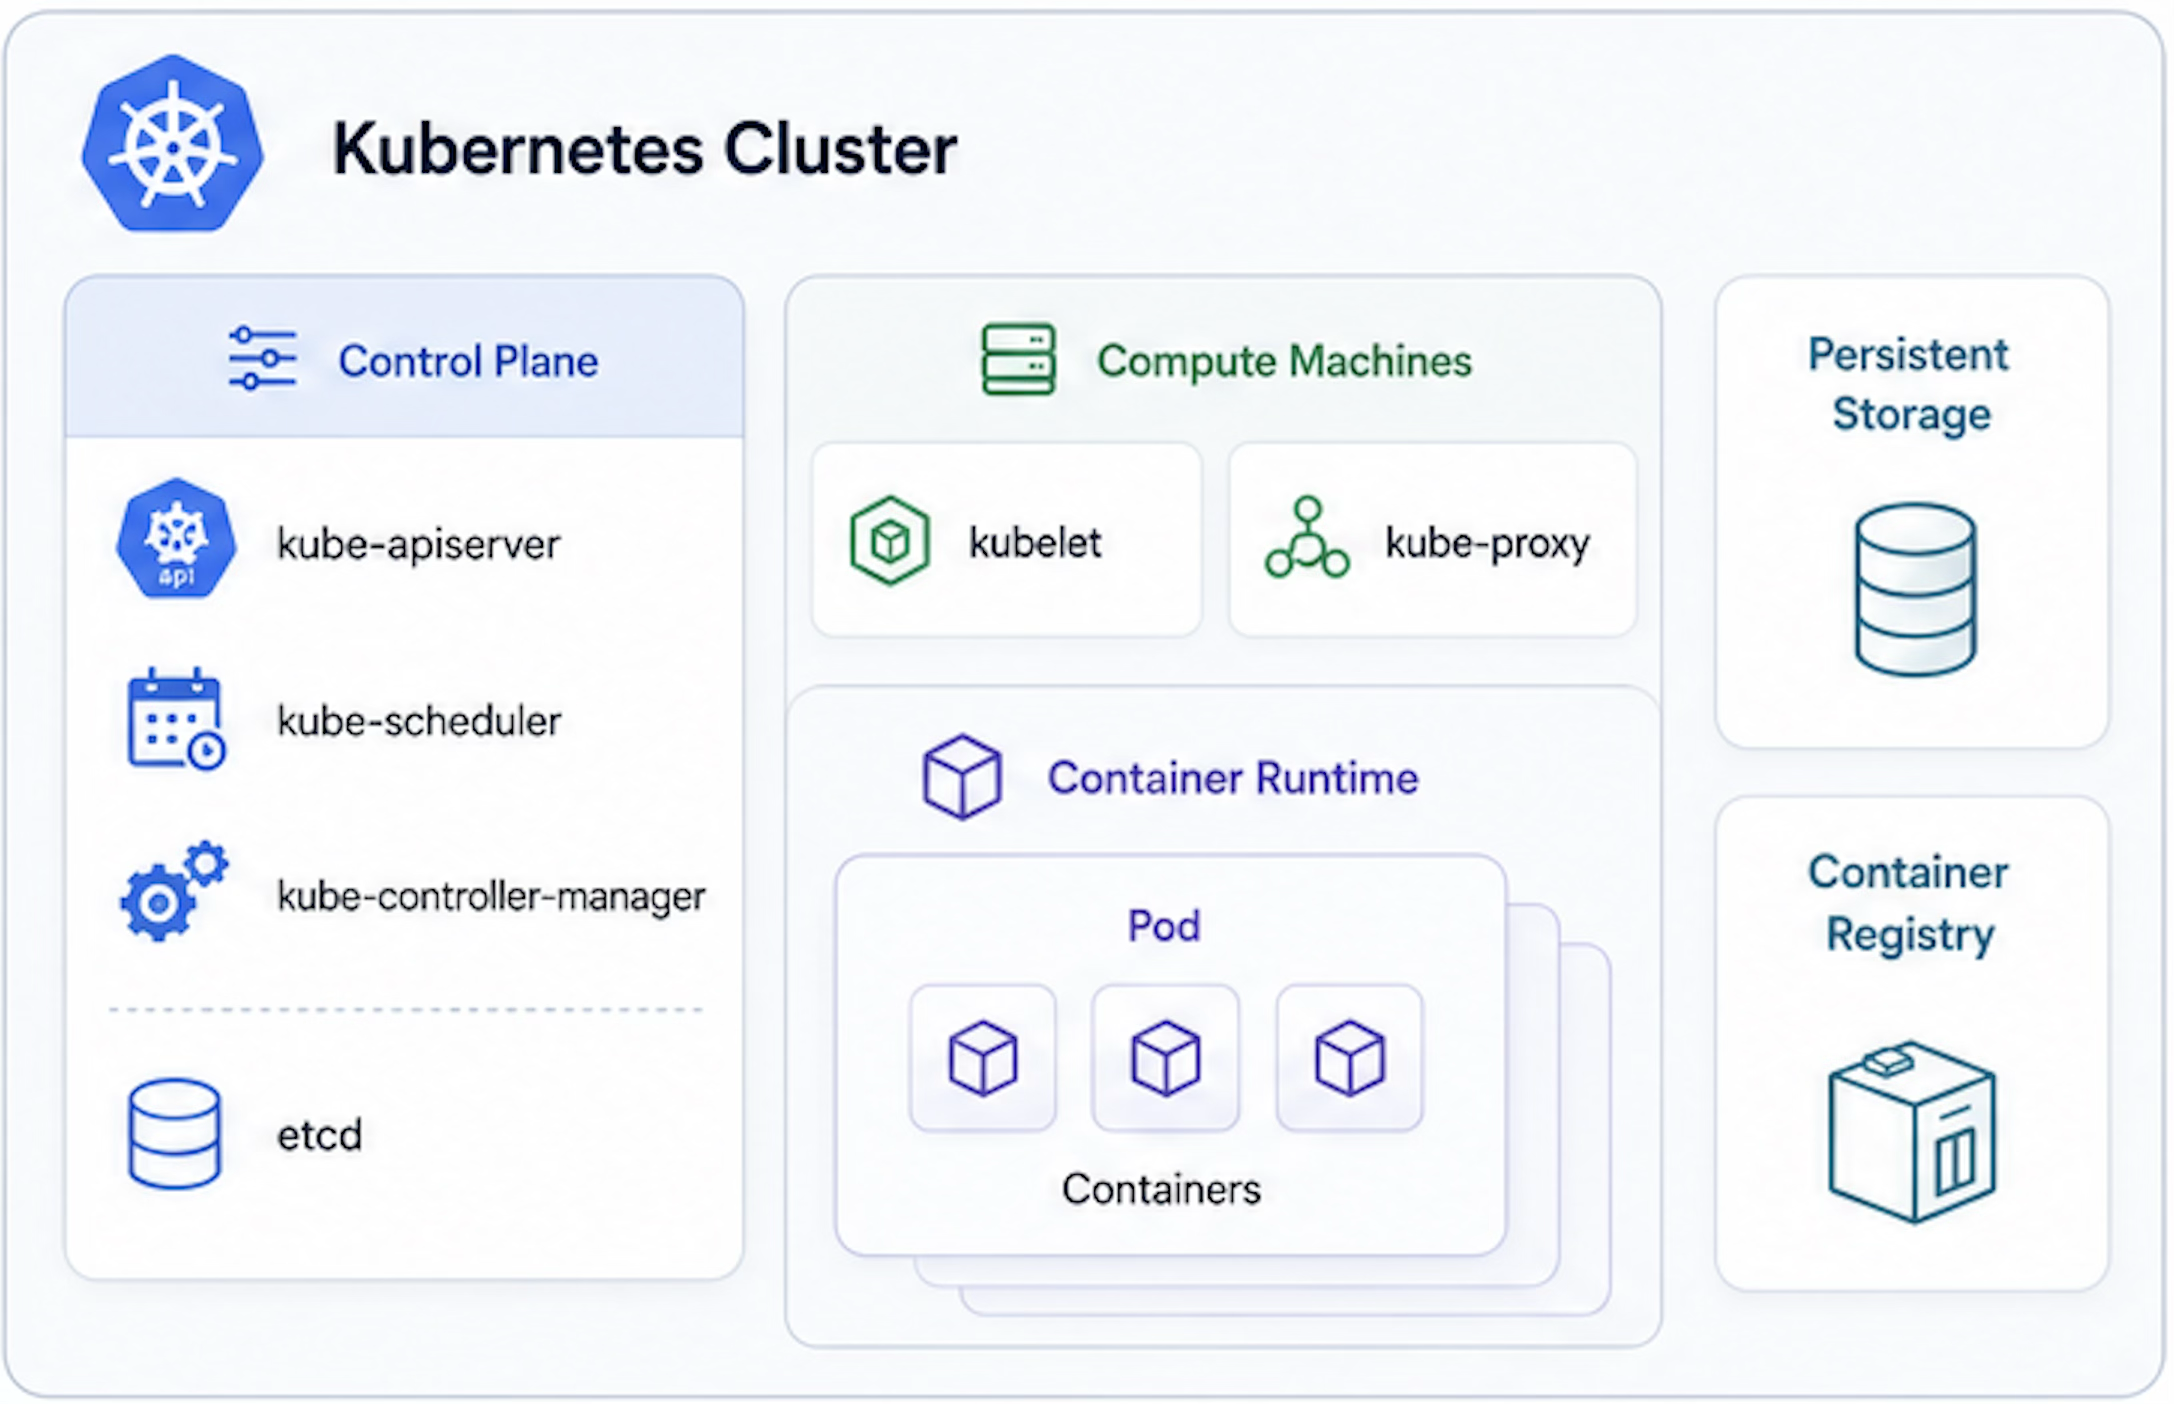
The National Research Platform is shared national cyberinfrastructure built on the Nautilus Kubernetes cluster: hundreds of nodes, many NVIDIA GPU types, shared storage, and hosted services — JupyterHub, GitLab, S3, a managed vector database, and a managed LLM inference endpoint.
The mental model is short:
- CILogon authenticates users through their institutional identity provider.
- JupyterHub gives each participant a browser-based JupyterLab workspace and terminal.
- Kubernetes runs the workloads; users interact with it through
kubectland YAML. - Helm packages a whole application — like a JupyterHub — into one installable chart.
Scale
- ~500 nodes
- ~1400 GPUs
- ~30 FPGAs
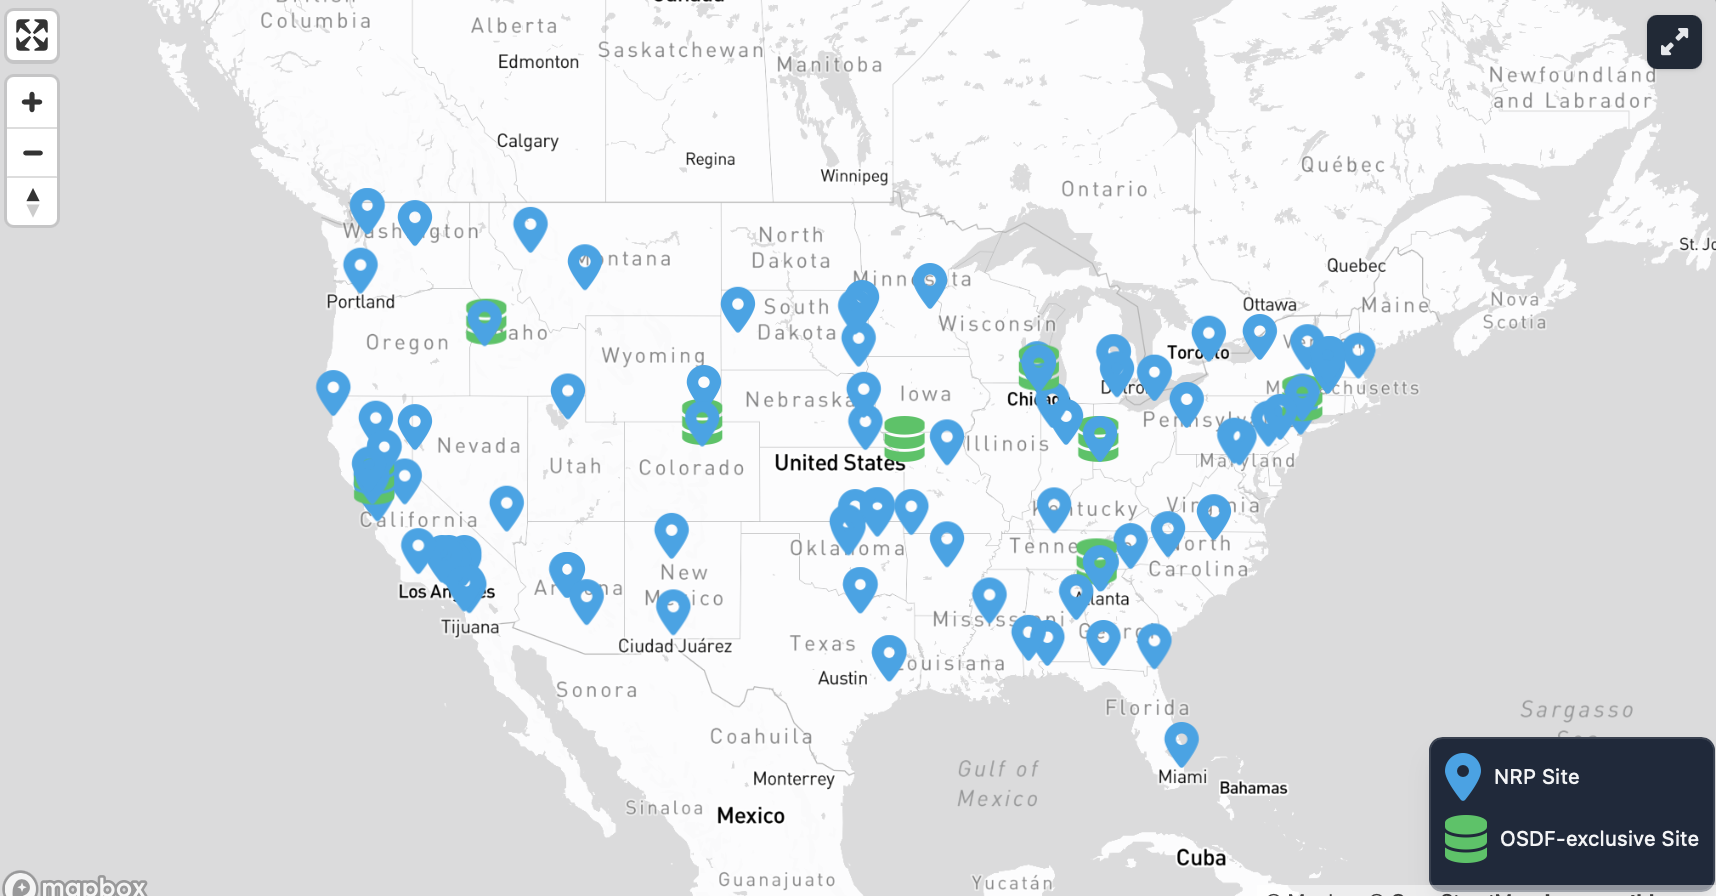
Click to reveal more
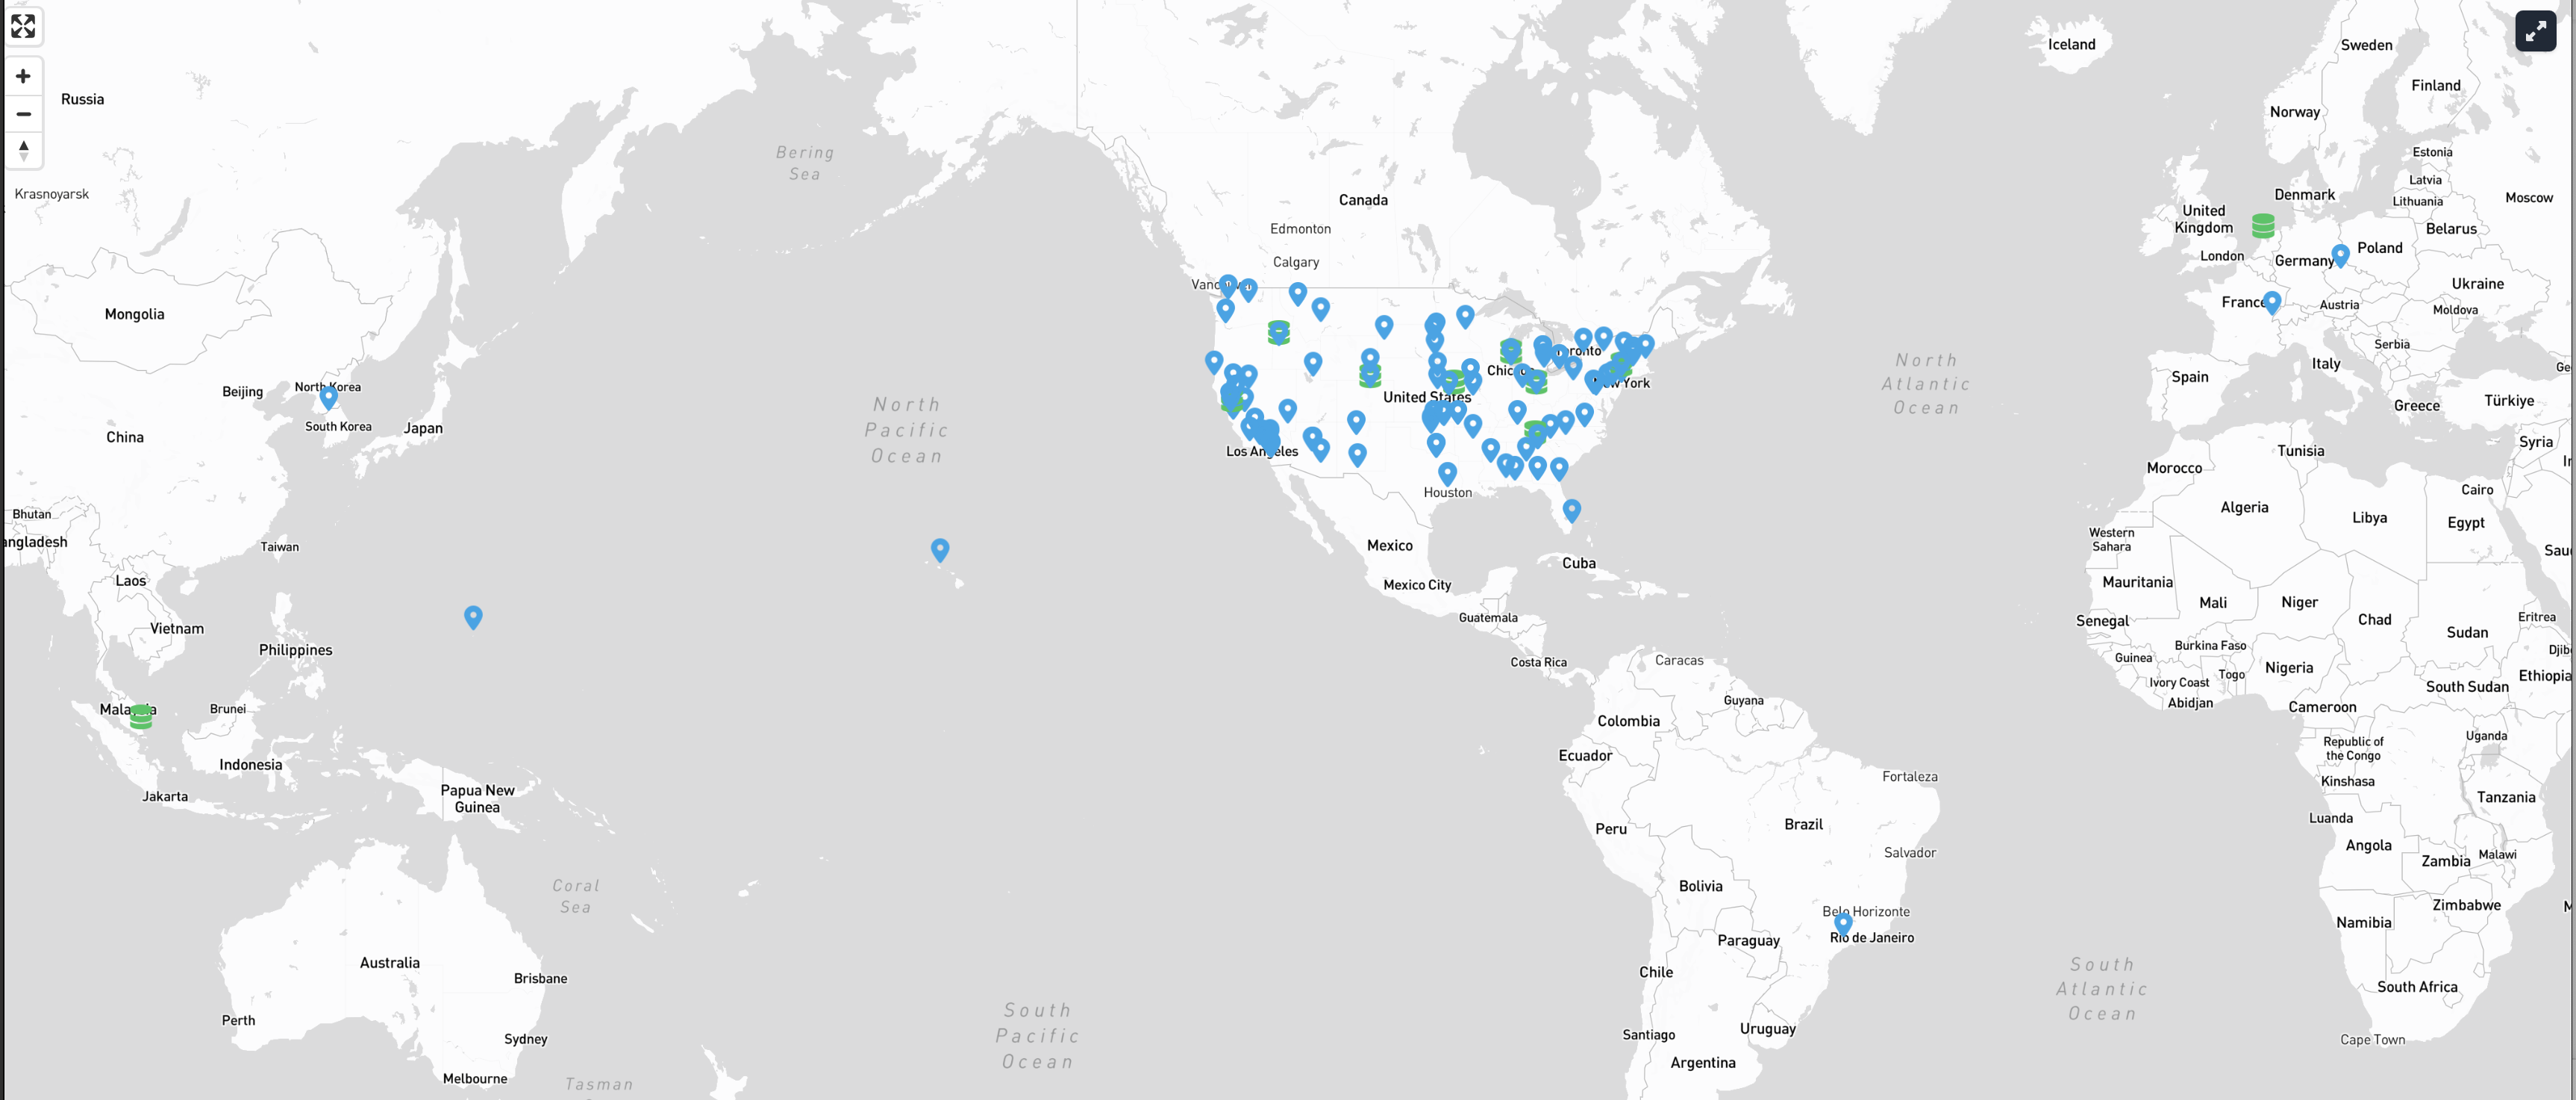
Capabilities
- Storage: CephFS, CVMFS, S3
- Compute and data tools: JupyterHub, GitLab, Nextcloud, Overleaf, WebODM
- Monitoring: Prometheus, PerfSONAR
- AI services: managed LLM inference, a managed Milvus vector database
NRP as a NAIRR Classroom provider
For teaching, NRP acts as a classroom provider: you get a Jupyter platform for your course plus access to NRP resources — CPU, GPUs, storage, and LLM services — without running any infrastructure yourself.
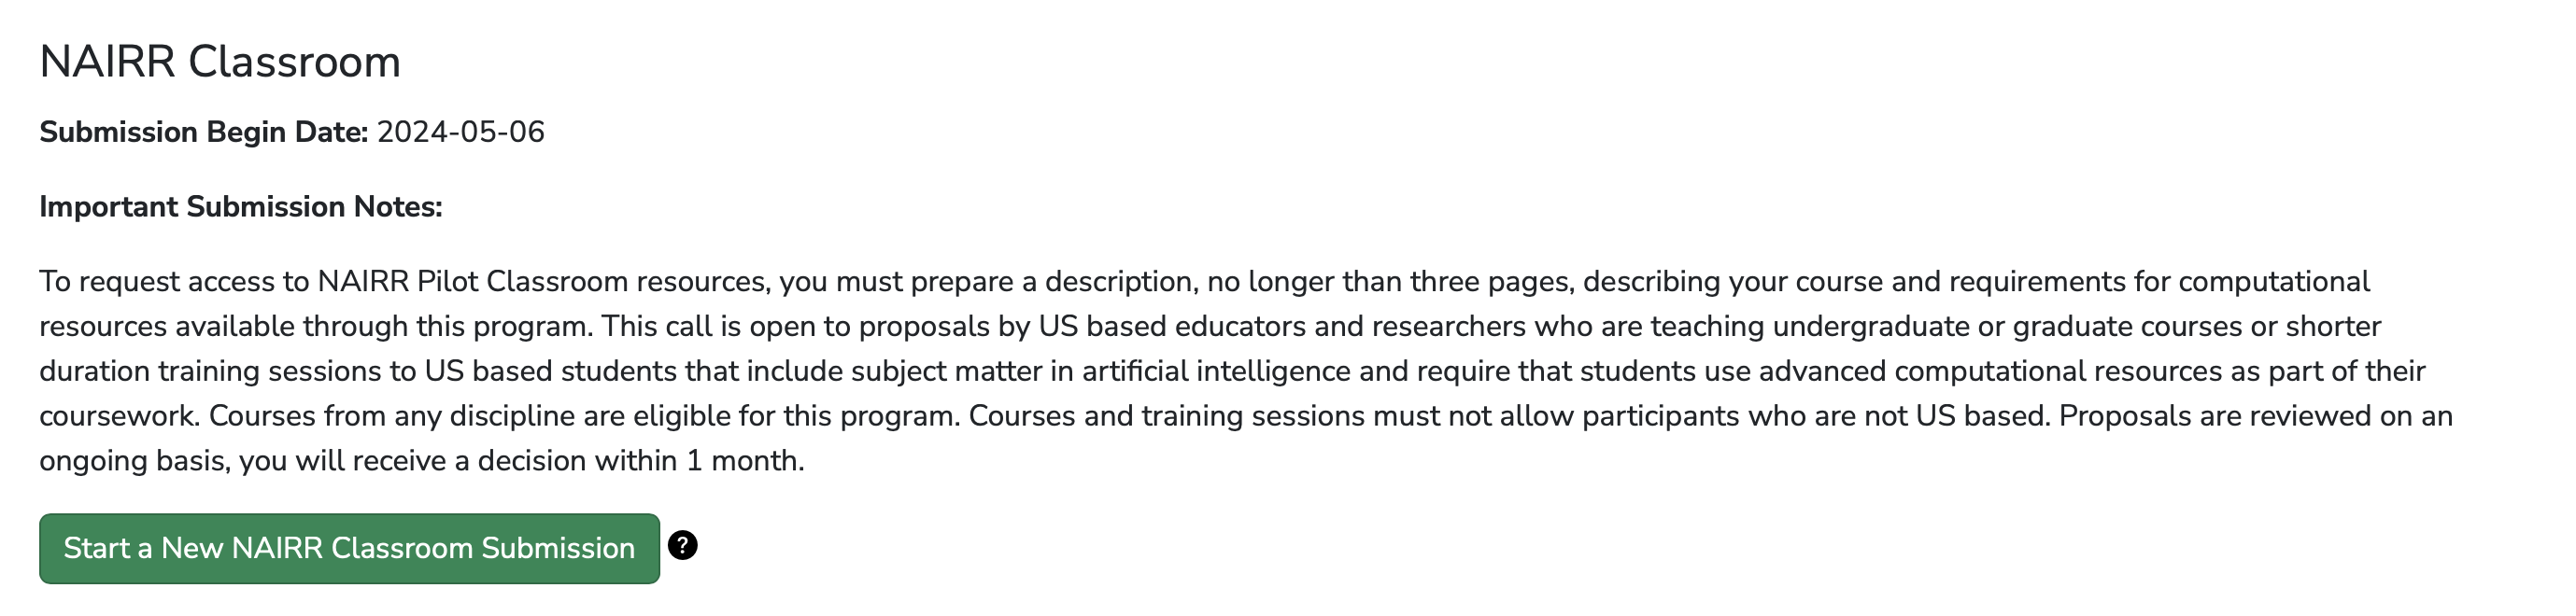
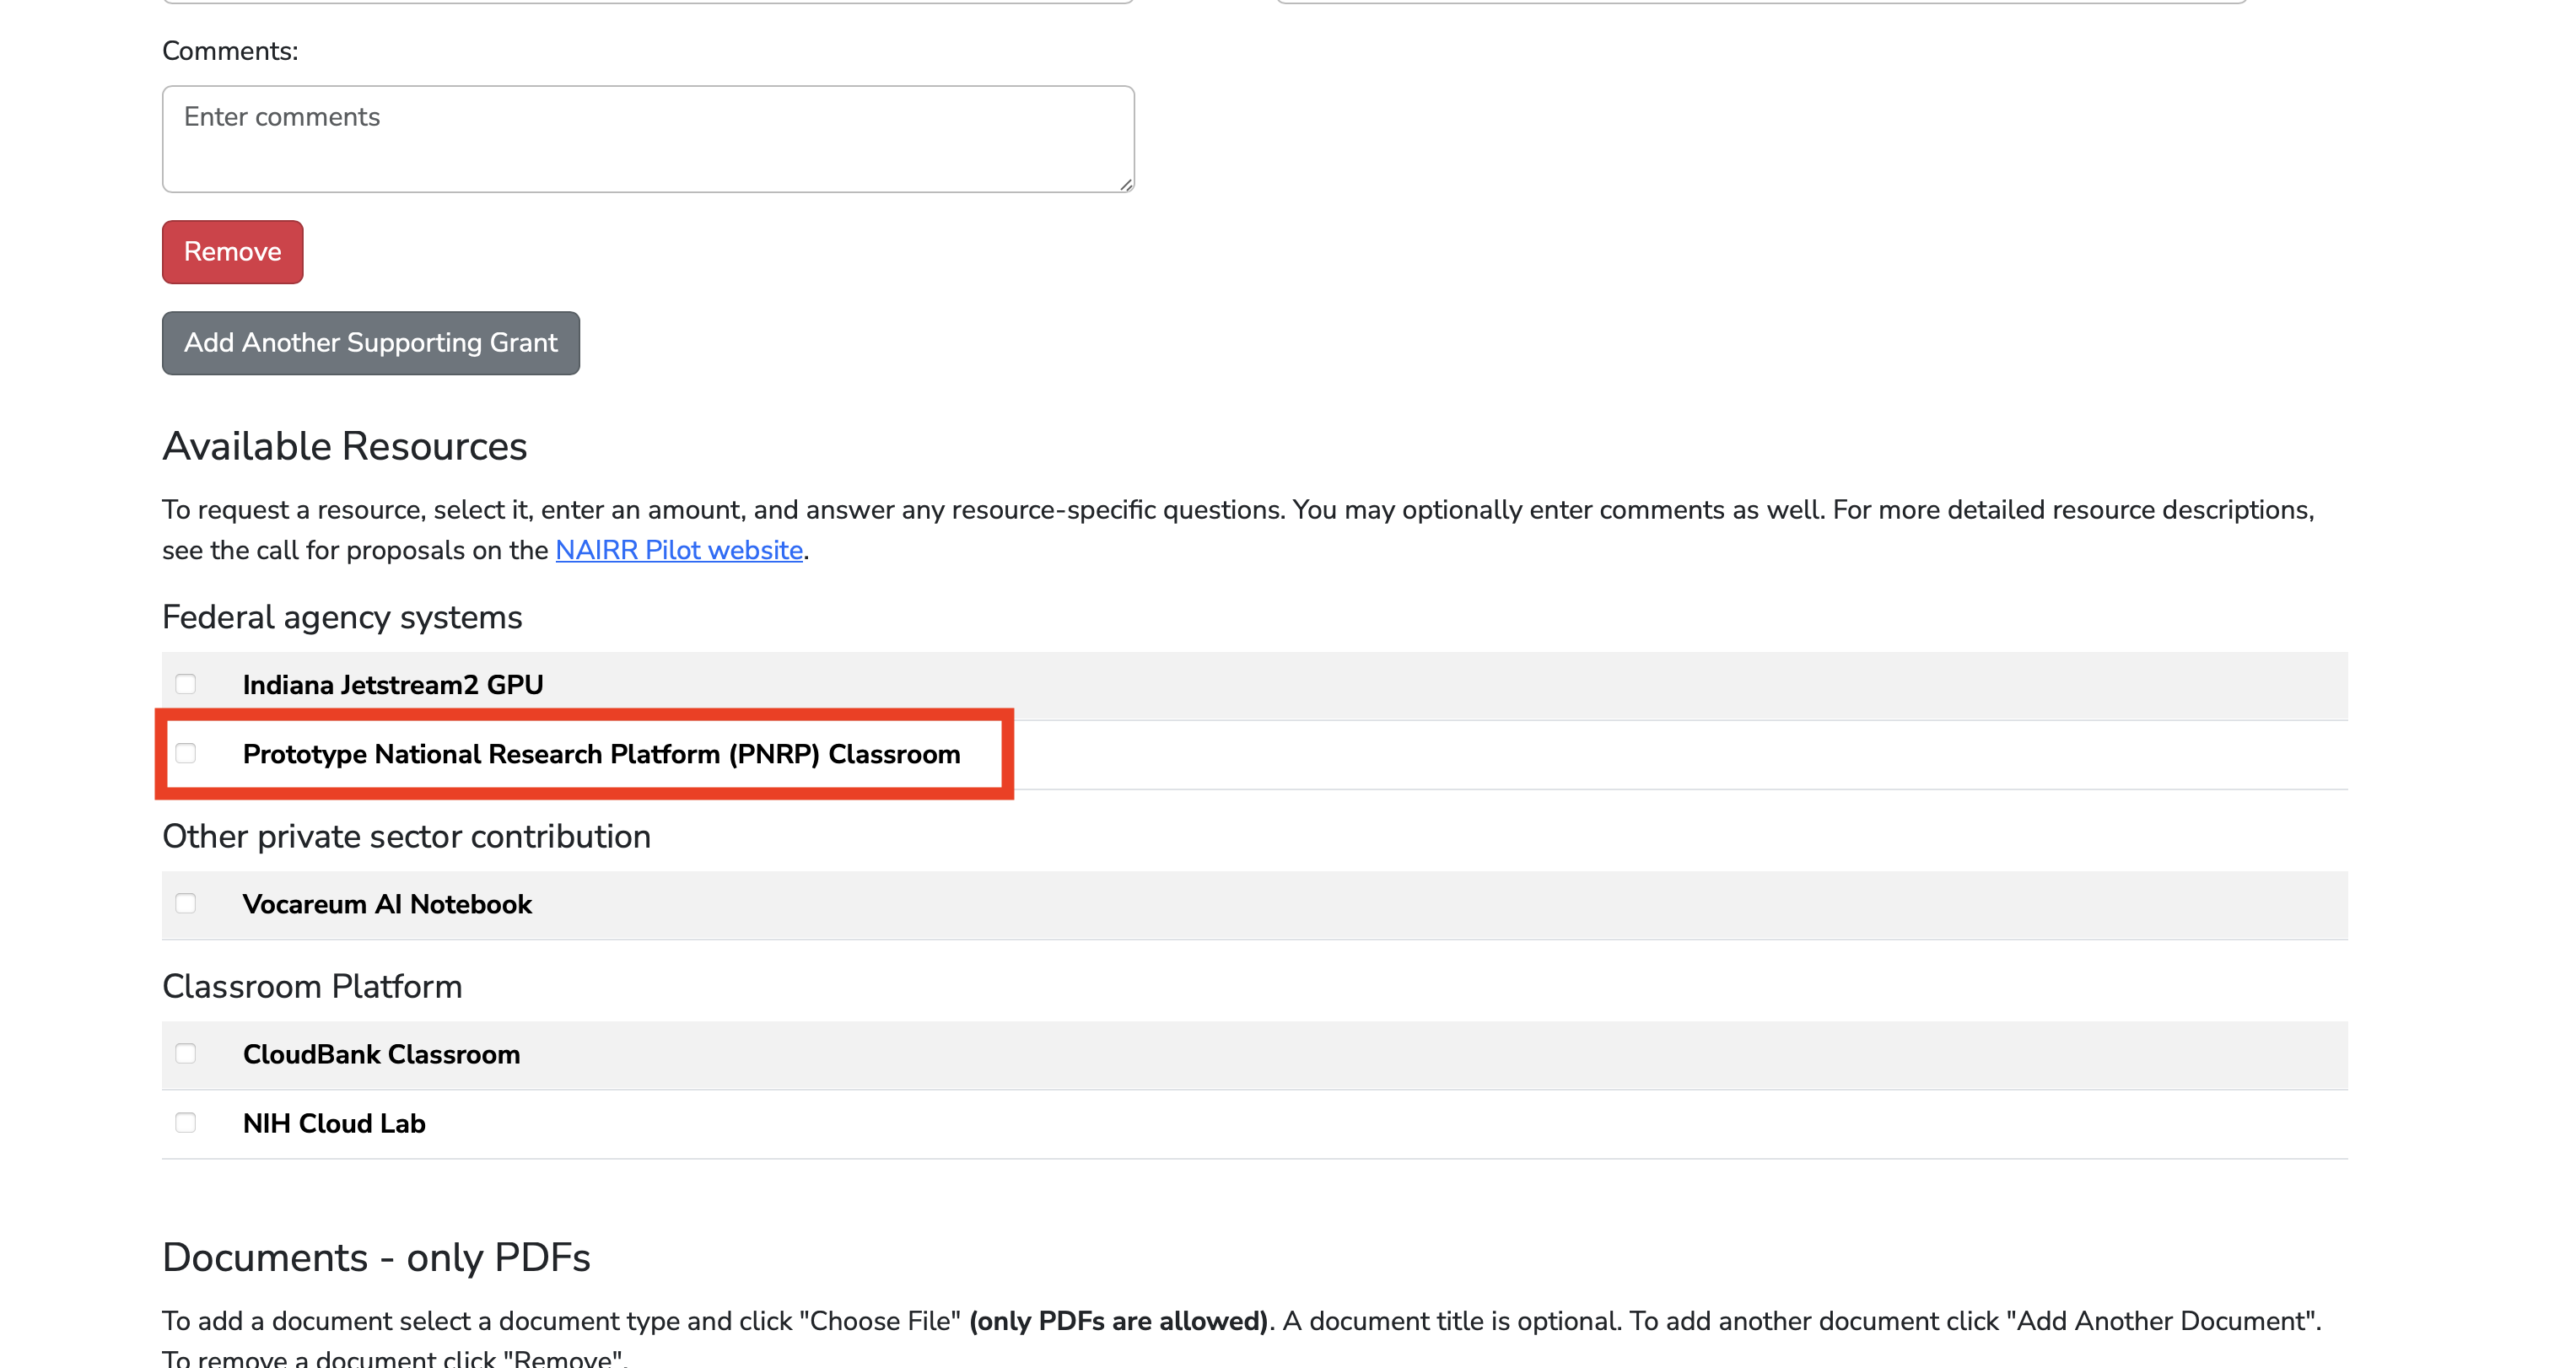
What that means in practice for an instructor:
| You want | NRP gives you |
|---|---|
| Every student in the same environment | A container image you control, identical for the whole class |
| No laptop setup on day one | Browser-based JupyterLab, campus login |
| GPUs for a deep-learning unit | GPU profiles on the spawn menu, with per-profile limits |
| An AI assistant students can actually use | A hosted chatbot and an OpenAI-compatible API, no per-seat billing |
| Shared datasets and notebooks | One RWX volume mounted into every student's server |
| No passwords to distribute | CILogon institutional login |
The hardware you can ask for
NRP is deliberately heterogeneous. A course should ask for the class of device that matches the work, not the biggest one available.
CPUs. The default. Most teaching workloads — pandas, scikit-learn, the whole intro-to-data-science curriculum — never need anything else, and CPU-only pods schedule fastest because there is the most of that capacity.
NVIDIA GPUs. Many models across the cluster, from older training-friendly cards to current datacenter parts. They are not interchangeable: ask for a class that matches the job.
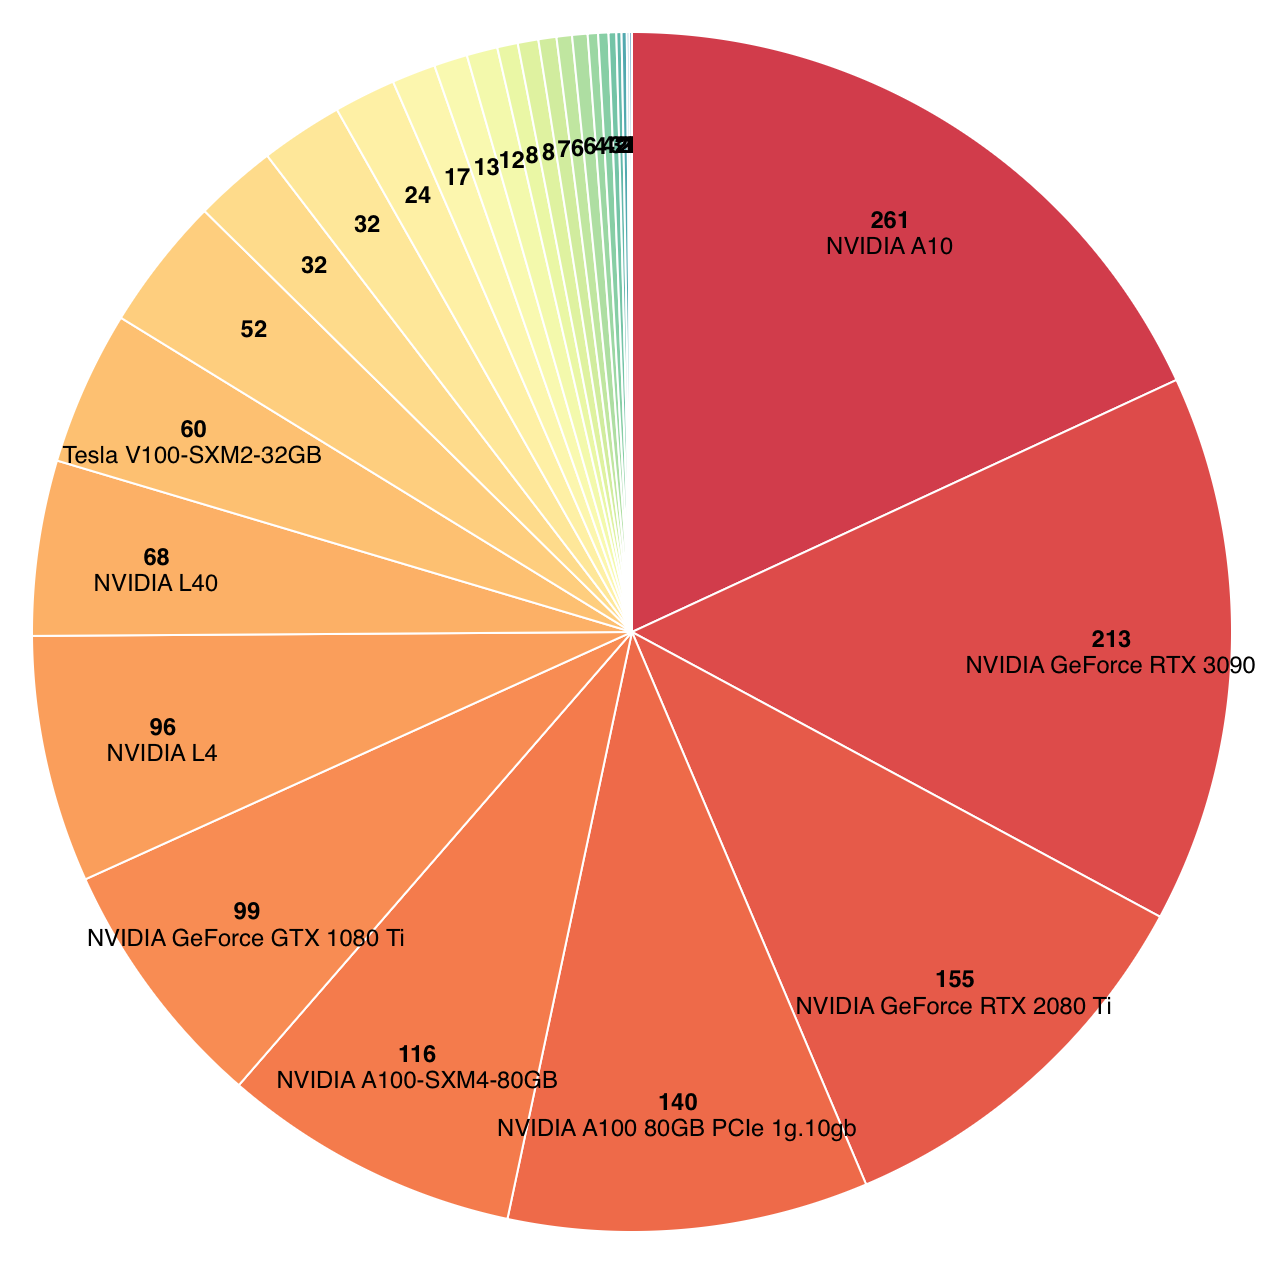
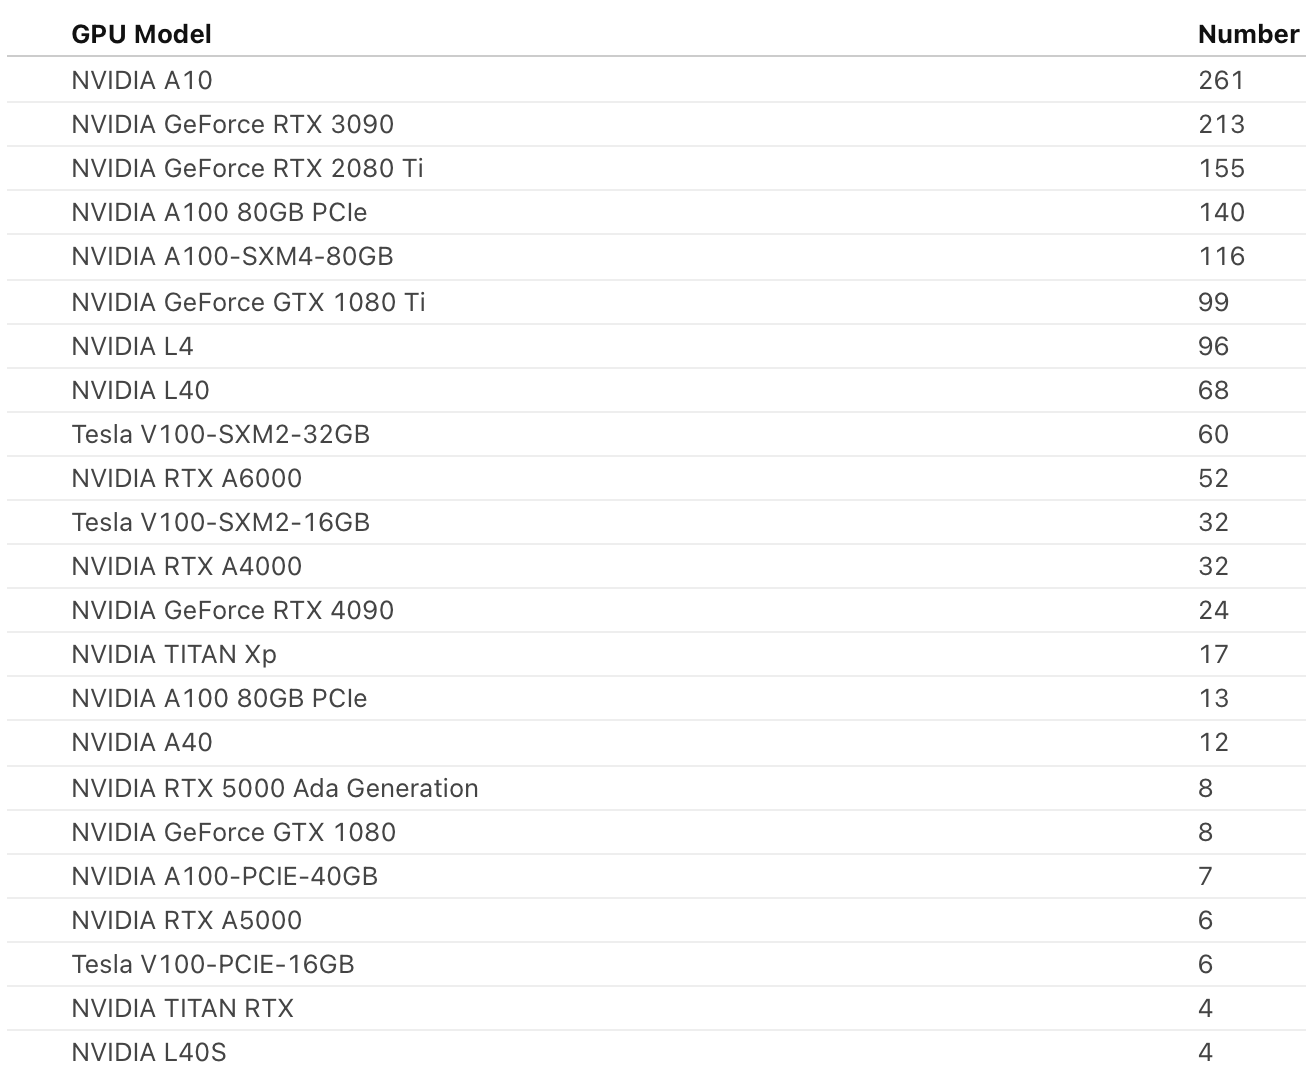
Seeing what is actually available
Before requesting anything, look at what the cluster has right now — GPU models and counts, regions, node labels, and current utilization.
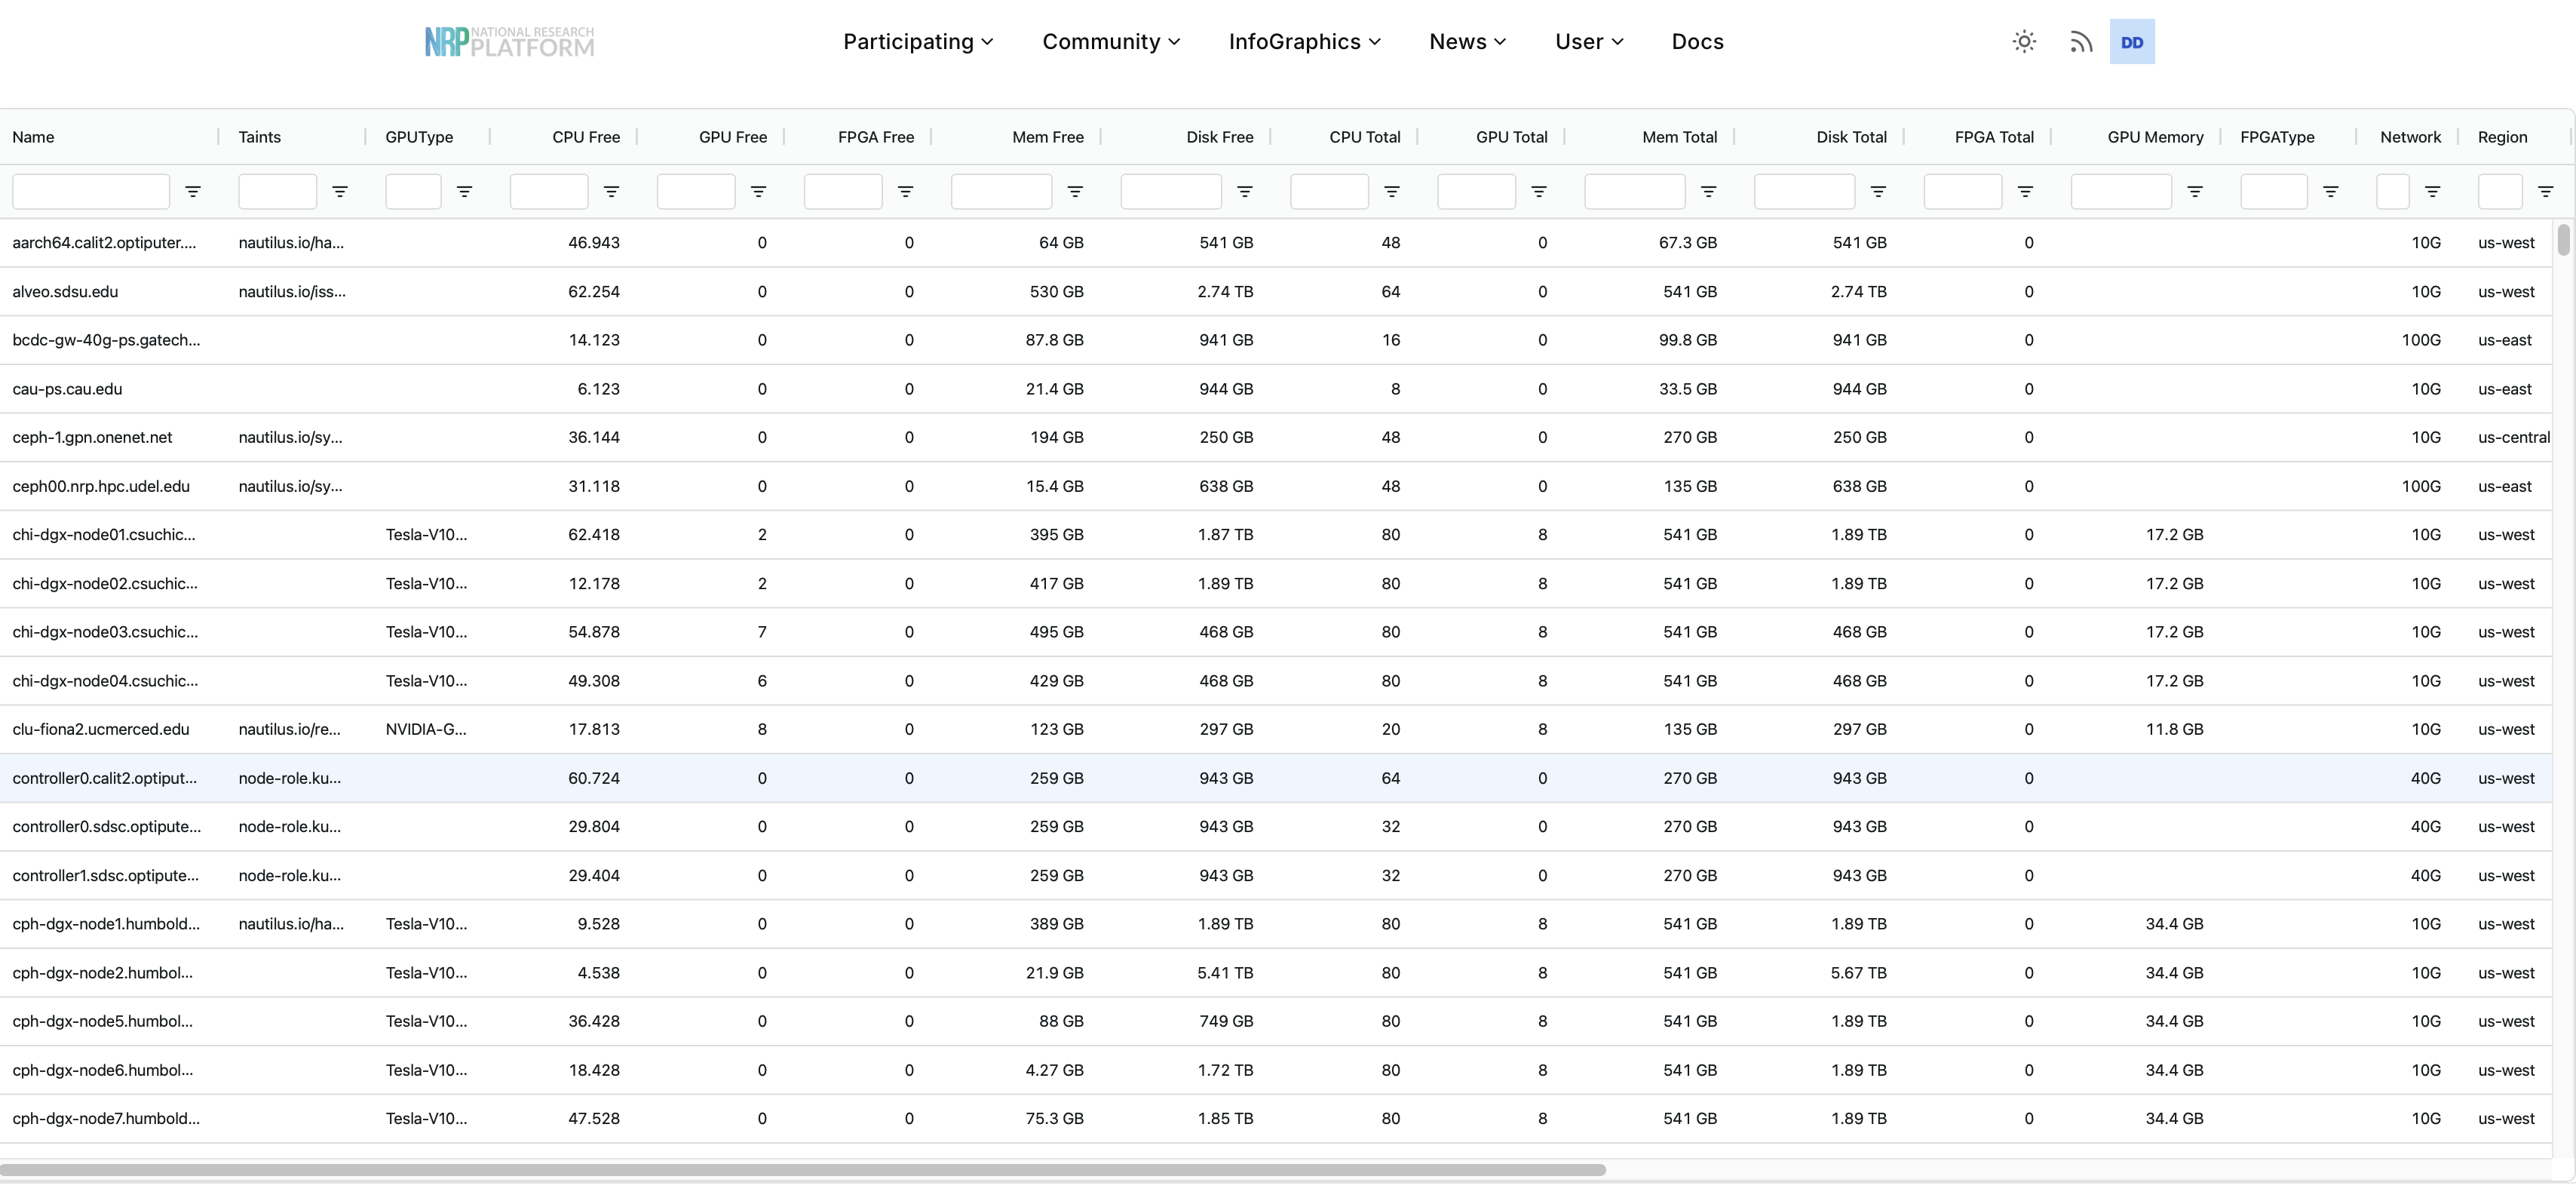
Three ways to request resources
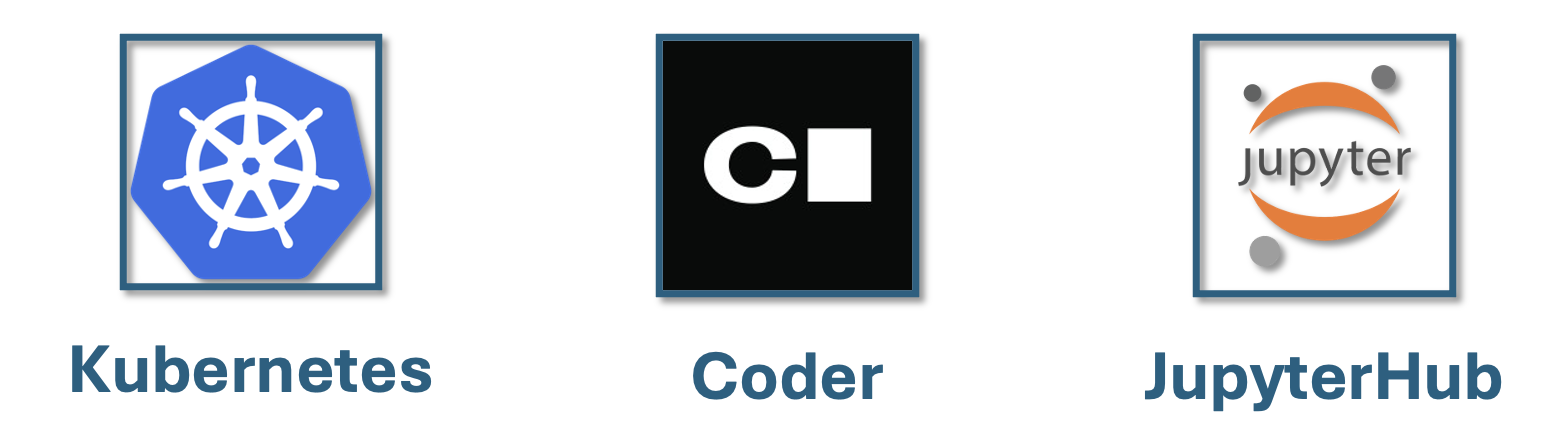
Almost everyone reaches the cluster one of three ways. They differ in how much Kubernetes you have to know, which is exactly the axis that matters for a classroom.
| Route | What it is | Barrier | Best for |
|---|---|---|---|
| JupyterHub | A browser-based JupyterLab server, sized from a spawn menu | Lowest — a login and a dropdown | Students, coursework, anyone new to the cluster |
Kubernetes (kubectl) | Submit pods, jobs, and services directly with YAML | Highest — you write manifests | Batch work, training runs, services, deploying a hub |
| Coder | A browser-based VS Code connected to cluster resources | Low | Development that outgrows a notebook |
Today we use two of them. We start in JupyterHub, because that is where a class starts; and in the last section we drive Kubernetes from a hub terminal to deploy a JupyterHub of our own.
There is also a second sense of the word "request", and mixing them up is a common source of confusion:
- A portal or allocation request — asking NRP for access, namespace membership, quotas, or a policy exception for a class.
- A Kubernetes workload request — asking the scheduler for CPU, memory, and accelerator devices inside a YAML manifest.
Workload requests are declarative. Over-requesting does not make anything faster; it just makes your students wait longer for a slot.
Access with CILogon
NRP authenticates through CILogon, so users sign in with an existing campus account — there is no separate NRP password to issue or reset. For a course this is the single biggest operational win: enrollment is an allowlist, not a credential-distribution problem.
When you sign in, CILogon asks which identity provider to authenticate against. The order of preference:
- Your own institution. Search for it by name — this is the right answer whenever it is available, because your account is then tied to your campus identity and survives as long as your affiliation does.
- Google or Microsoft, using your campus email address. Many institutions are not listed as CILogon identity providers. If yours is not, sign in with Google or Microsoft and choose your
@your-institution.eduaddress, not a personal one — access is judged on the institutional address behind it.
Whichever you pick, use the same one every time: a different provider produces a different NRP identity, and namespace membership is attached to the identity, not to you.
Namespaces: where a course lives
Compute on NRP lives in a namespace — a Kubernetes grouping that scopes resources and membership. For teaching, the namespace is the course:
- Admins (you, the instructor) add and remove members and create resources.
- Users (your students) work inside it.
- Admins are also responsible for members following cluster policy.
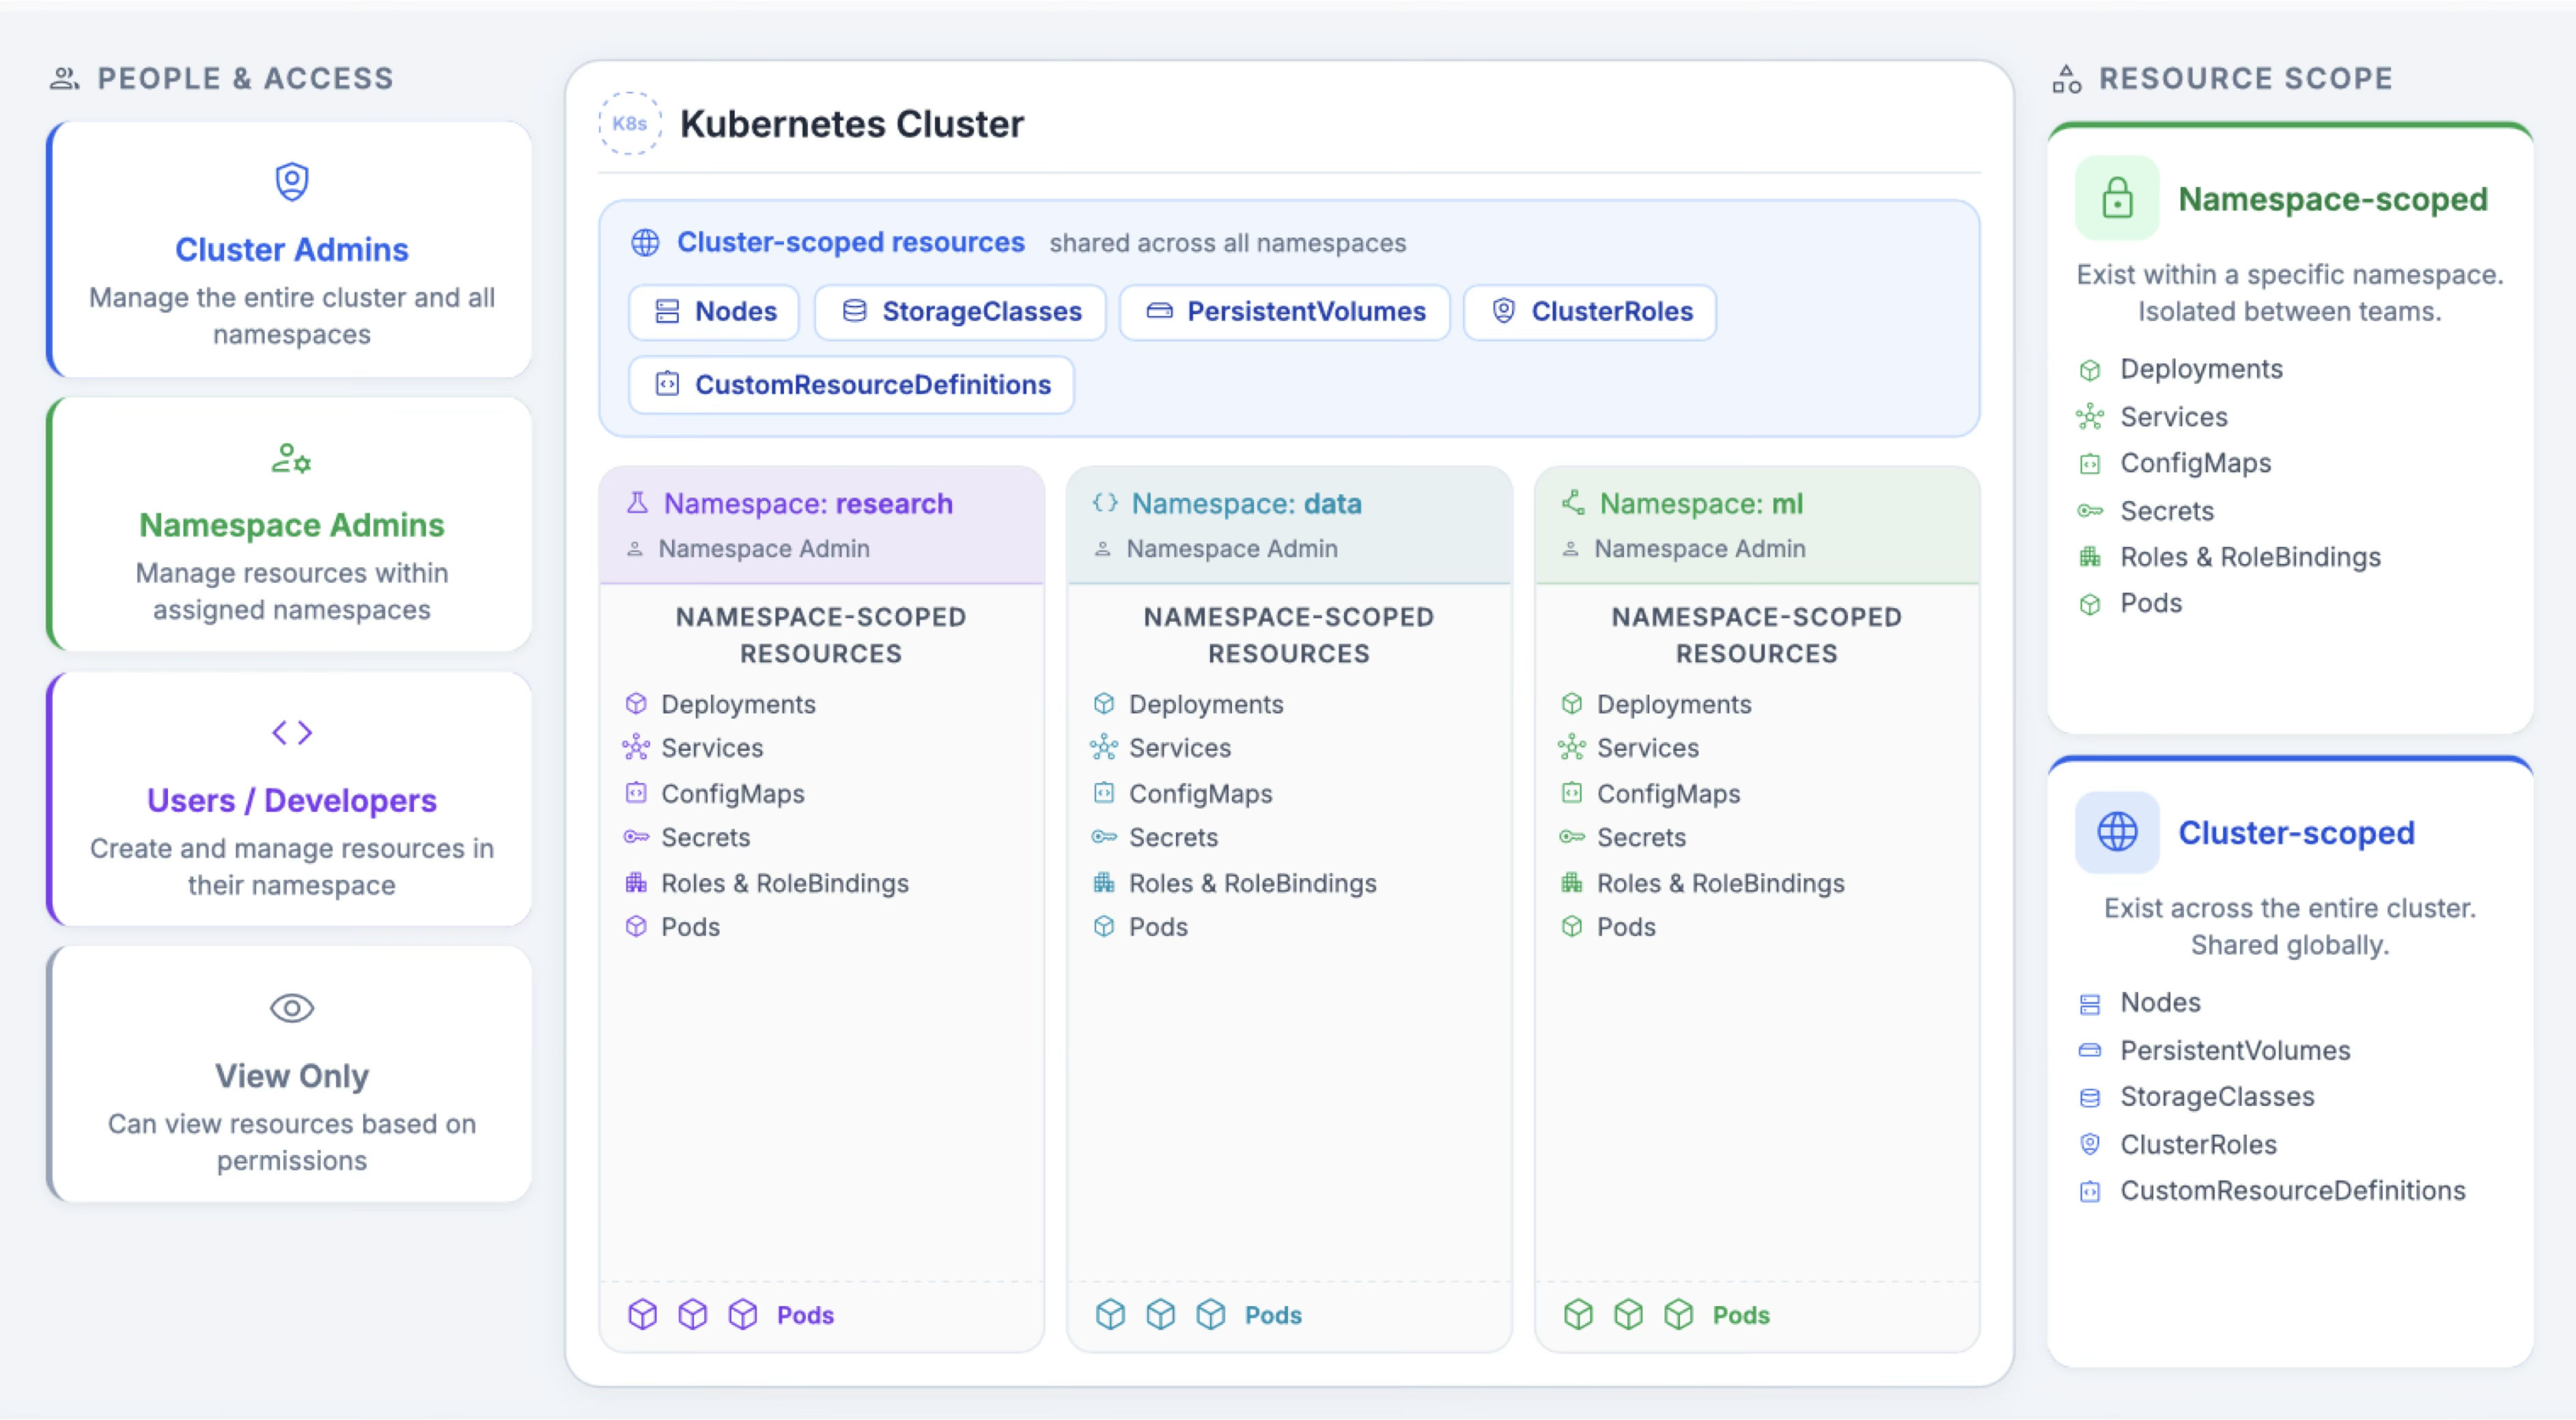
Most of what you create — pods, deployments, services, secrets, storage claims — is namespace-scoped: it lives in your course's namespace and is invisible to everyone else's. A smaller set of things is cluster-scoped and shared by the whole platform: the nodes themselves, StorageClasses, PersistentVolumes. That split is why a course namespace is a safe sandbox — students can fill it without touching anyone else's work.
A JupyterHub can be deployed once per namespace, so one namespace maps naturally onto one course hub.
Getting your own access
Two steps, neither of which has to happen live today:
1. Sign in once at nrp.ai with CILogon, as above. That creates your NRP identity — nothing is allocated to you yet, but the identity has to exist before anything can be.
2. Request a namespace with the form at get-started.nrp-nautilus.io. It asks who you are, your institution, the email on your NRP account, and whether you want the hosted LLM endpoints. An administrator reviews it, usually within a working day, and replies by email.
Namespaces are requested by faculty, staff, and research scientists. If you are a student, your advisor or instructor submits the request — and for a course, that is the right shape anyway: the instructor owns the namespace and adds students to it.
Already have a namespace and just want to be added? Ask its admin, and send them the identity shown when you sign in at nrp.ai.
From there, NRP's Getting started is the reference for everything that follows — installing kubectl and the kubelogin plugin, downloading your kubeconfig, and your first pod. We will not work through it today; everything in this workshop runs in the browser.
Next we put NRP's hosted LLMs to work from a Jupyter notebook: AI for the classroom.
- NRP is shared national cyberinfrastructure built on the Nautilus Kubernetes cluster.
- CILogon means students sign in with existing campus credentials — no new passwords.
- Compute lives in a namespace, which for teaching maps onto a course.
- JupyterHub is the lowest-barrier way in;
kubectland Coder are there when you outgrow it.