
Introduction & Access
▶ Launch RCSI workspace in JupyterHub — signs you in at jh-training.nrp-nautilus.io, pulls the repo, and opens JupyterLab in the training workspace directory. A CPU-only session is all you need.
This tutorial runs on the National Research Platform (NRP) from a JupyterHub session: first you'll use NRP's managed AI services (LLM inference and RAG), then you'll point an agentic coding CLI at that same managed endpoint.
What NRP is
NRP is a shared national cyberinfrastructure built on the Nautilus Kubernetes cluster. It provides hundreds of GPU nodes, shared storage, and managed services such as JupyterHub, S3, a vector database (Milvus), and an OpenAI-compatible managed LLM endpoint — all free for U.S. academic research, teaching, and outreach.
- Scale
- 500+ nodes
- 1400+ GPUs
- 30+ FPGAs
Click to reveal more

A quick mental model:
- CILogon signs you in through your institution's identity provider.
- JupyterHub gives you a browser-based JupyterLab workspace and terminal.
- Kubernetes namespaces isolate each class or project's workloads.
- Managed services (LLM, Milvus, …) mean you call an API instead of running and paying for your own servers.
NAIRR Classroom Provider
- Provides a Jupyter platform for your classroom
- Access to NRP Resources (CPU, A10 GPU, storage, LLMs,...)
Interacting with NRP
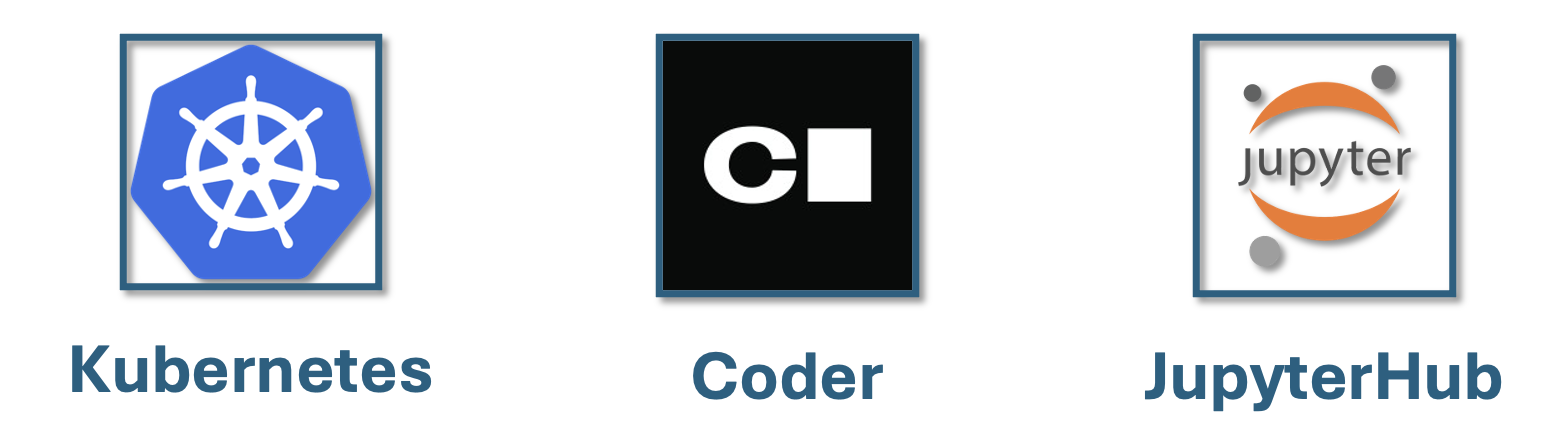
The majority of NRP users interact with the cluster using the following three methods.
- via Kubernetes: Directly submit and manage containerized workloads (services and batch jobs) using Kubernetes APIs and tools like
kubectl. - via the Coder service: Launch a browser-based VS Code environment connected to cluster resources for interactive development and execution.
- via NRP deployed Jupyterhub: Start a JupyterLab notebook server on the cluster for interactive analysis, prototyping, and teaching workflows.
Today, we will be using two of these services. We will launch a jupyterhub server. From the jupyterhub server, we will interact with kubernetes directly using the hub's terminal.
Log in
Open the workspace link from the README and sign in through CILogon. The training JupyterHub is the easiest path because kubectl and the LLM environment variables are already wired up for you.
A CPU-only session is enough
Everything here — managed LLM inference, RAG, and agentic coding — runs on a CPU-only session. The spawn-form defaults (1 core / 8 GB) are fine; you do not need a GPU.
Confirm your environment
Open a terminal from the JupyterLab launcher and run:
cd ~/rcsi/workspace
# the managed LLM endpoint
echo "$OPENAI_API_BASE"
kubectl auth can-i list pods -n nrp-training-k8s
You should see the endpoint URL and a yes. That's everything the notebook needs.
Next: open workspace/2_inference.ipynb and run the cells top to bottom.