
Welcome, Kubernetes & NRP Architecture
Launch the workspace in JupyterHub
▶ Launch the workspace in JupyterHub — signs you in at jh-training.nrp-nautilus.io, pulls the tutorial workspace, and opens JupyterLab on the training GPU nodes.
Intro slides
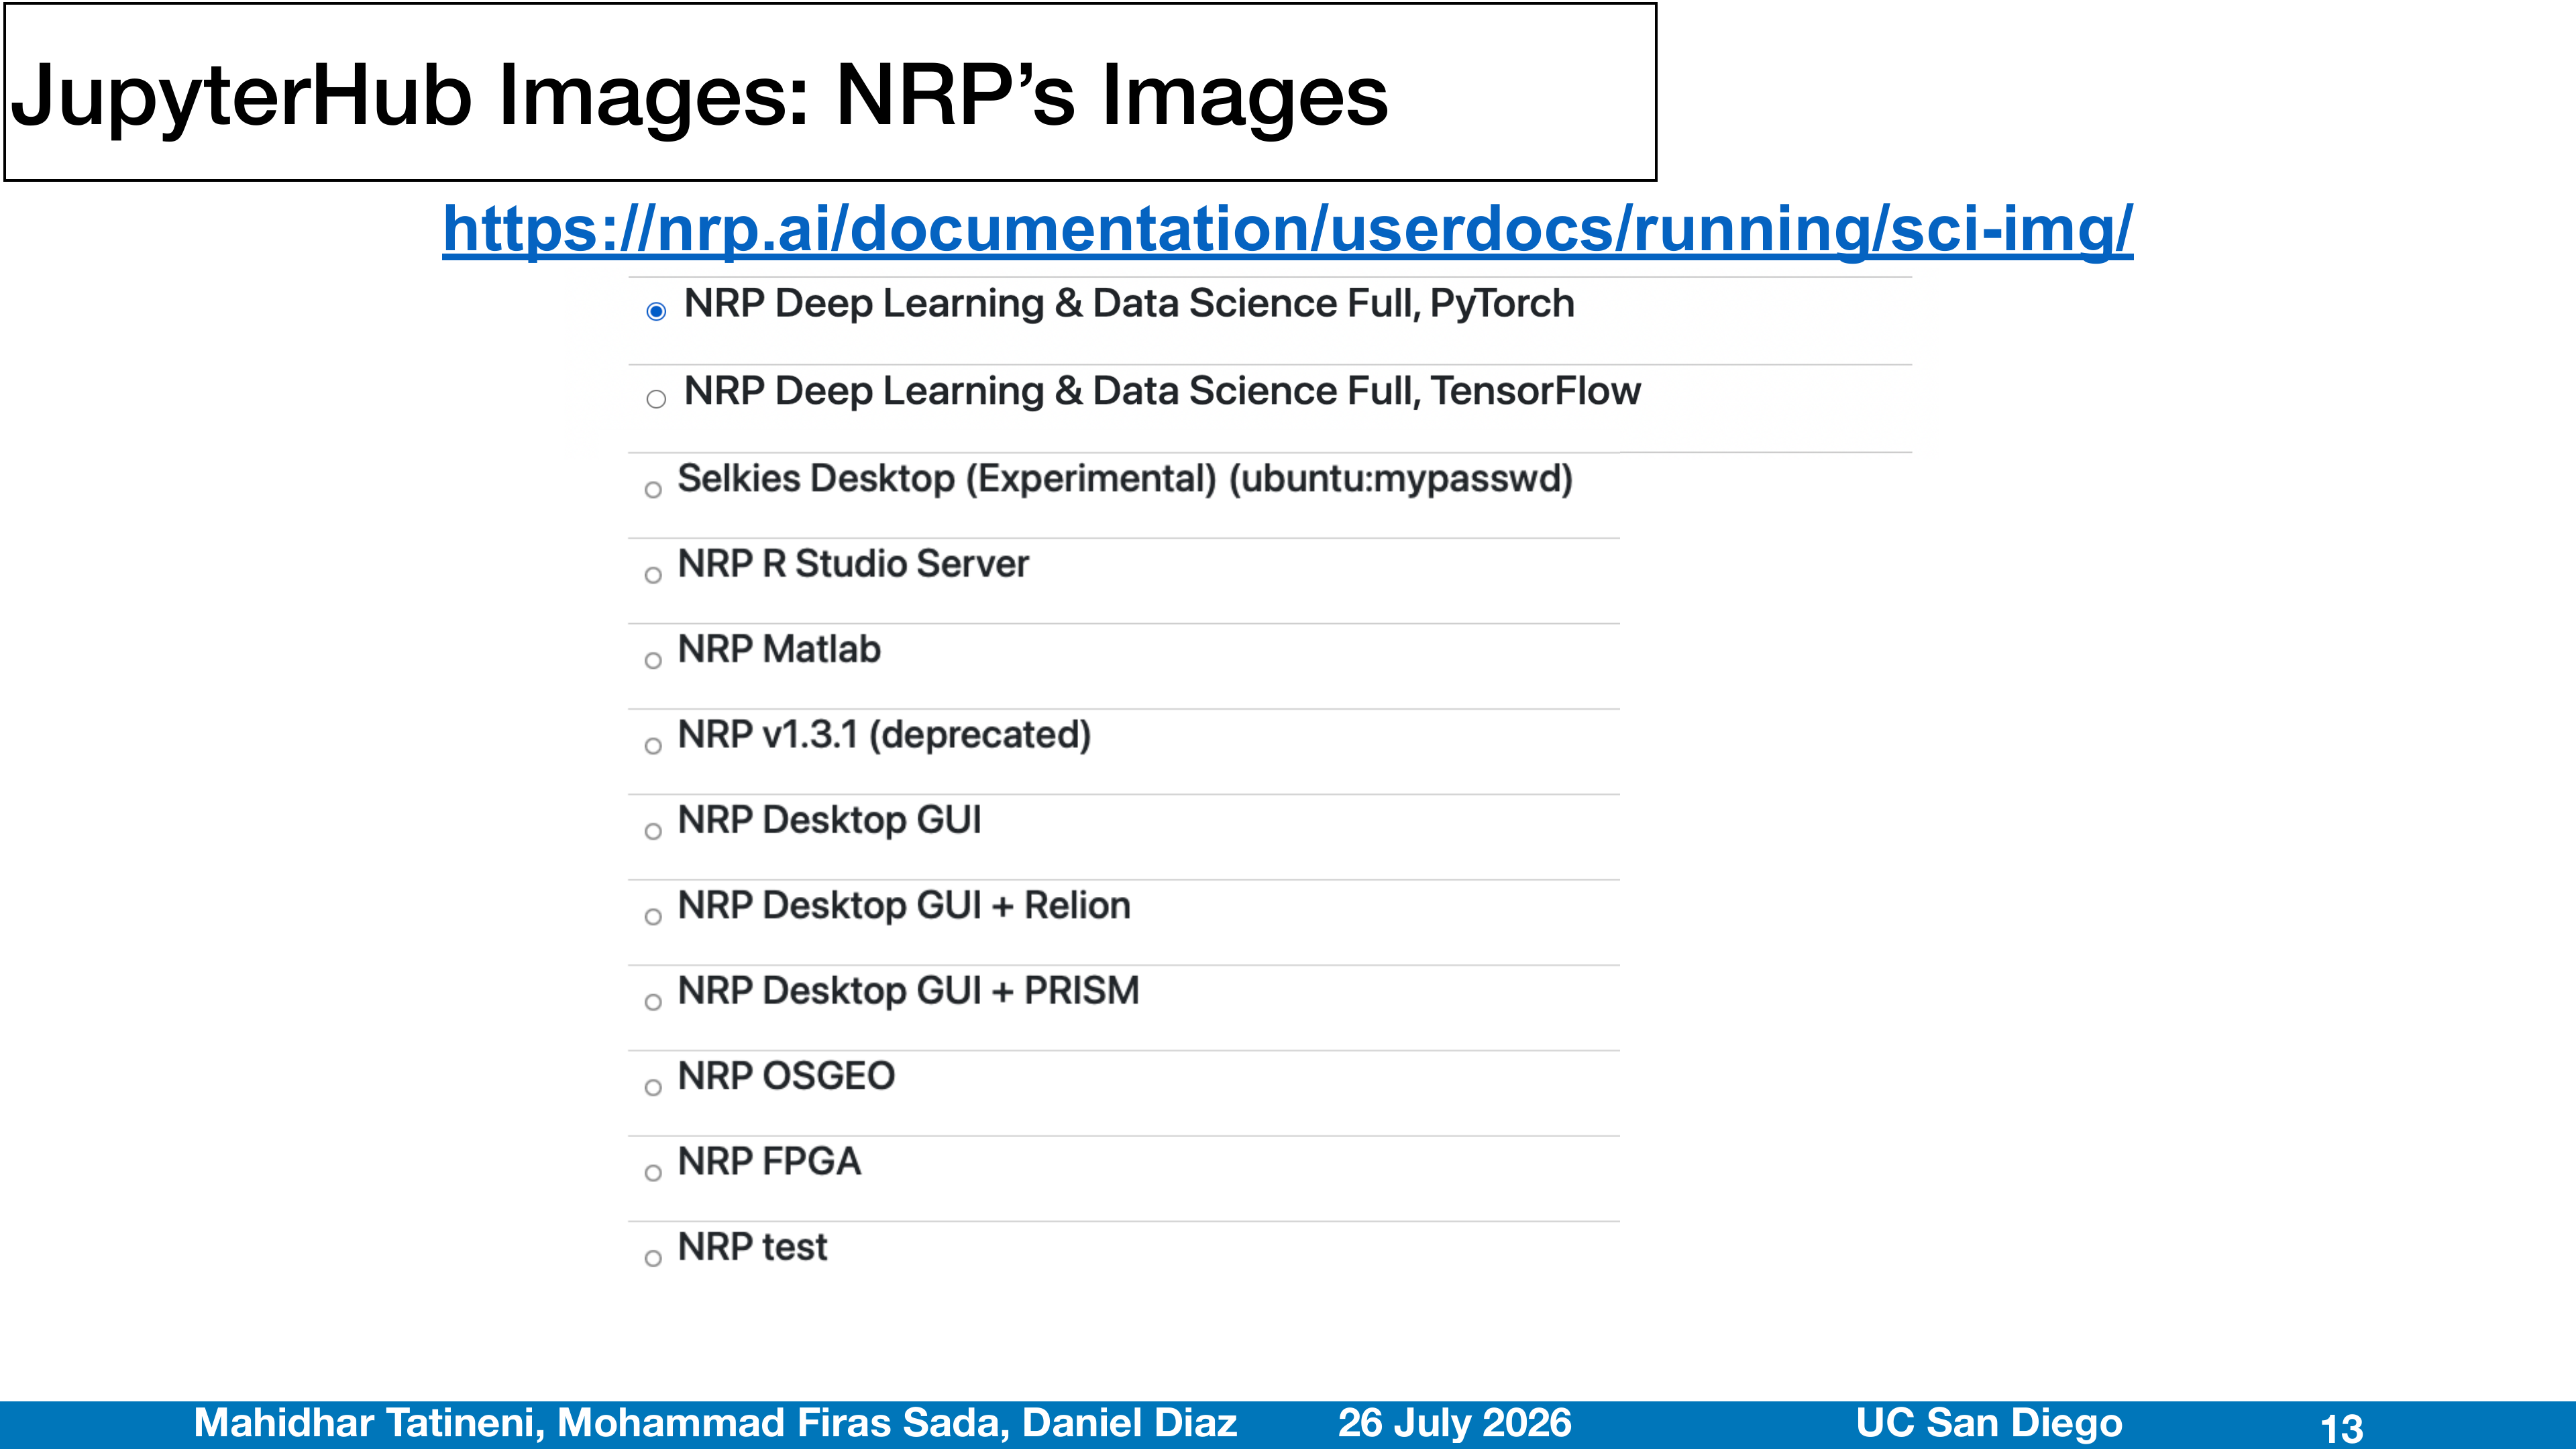
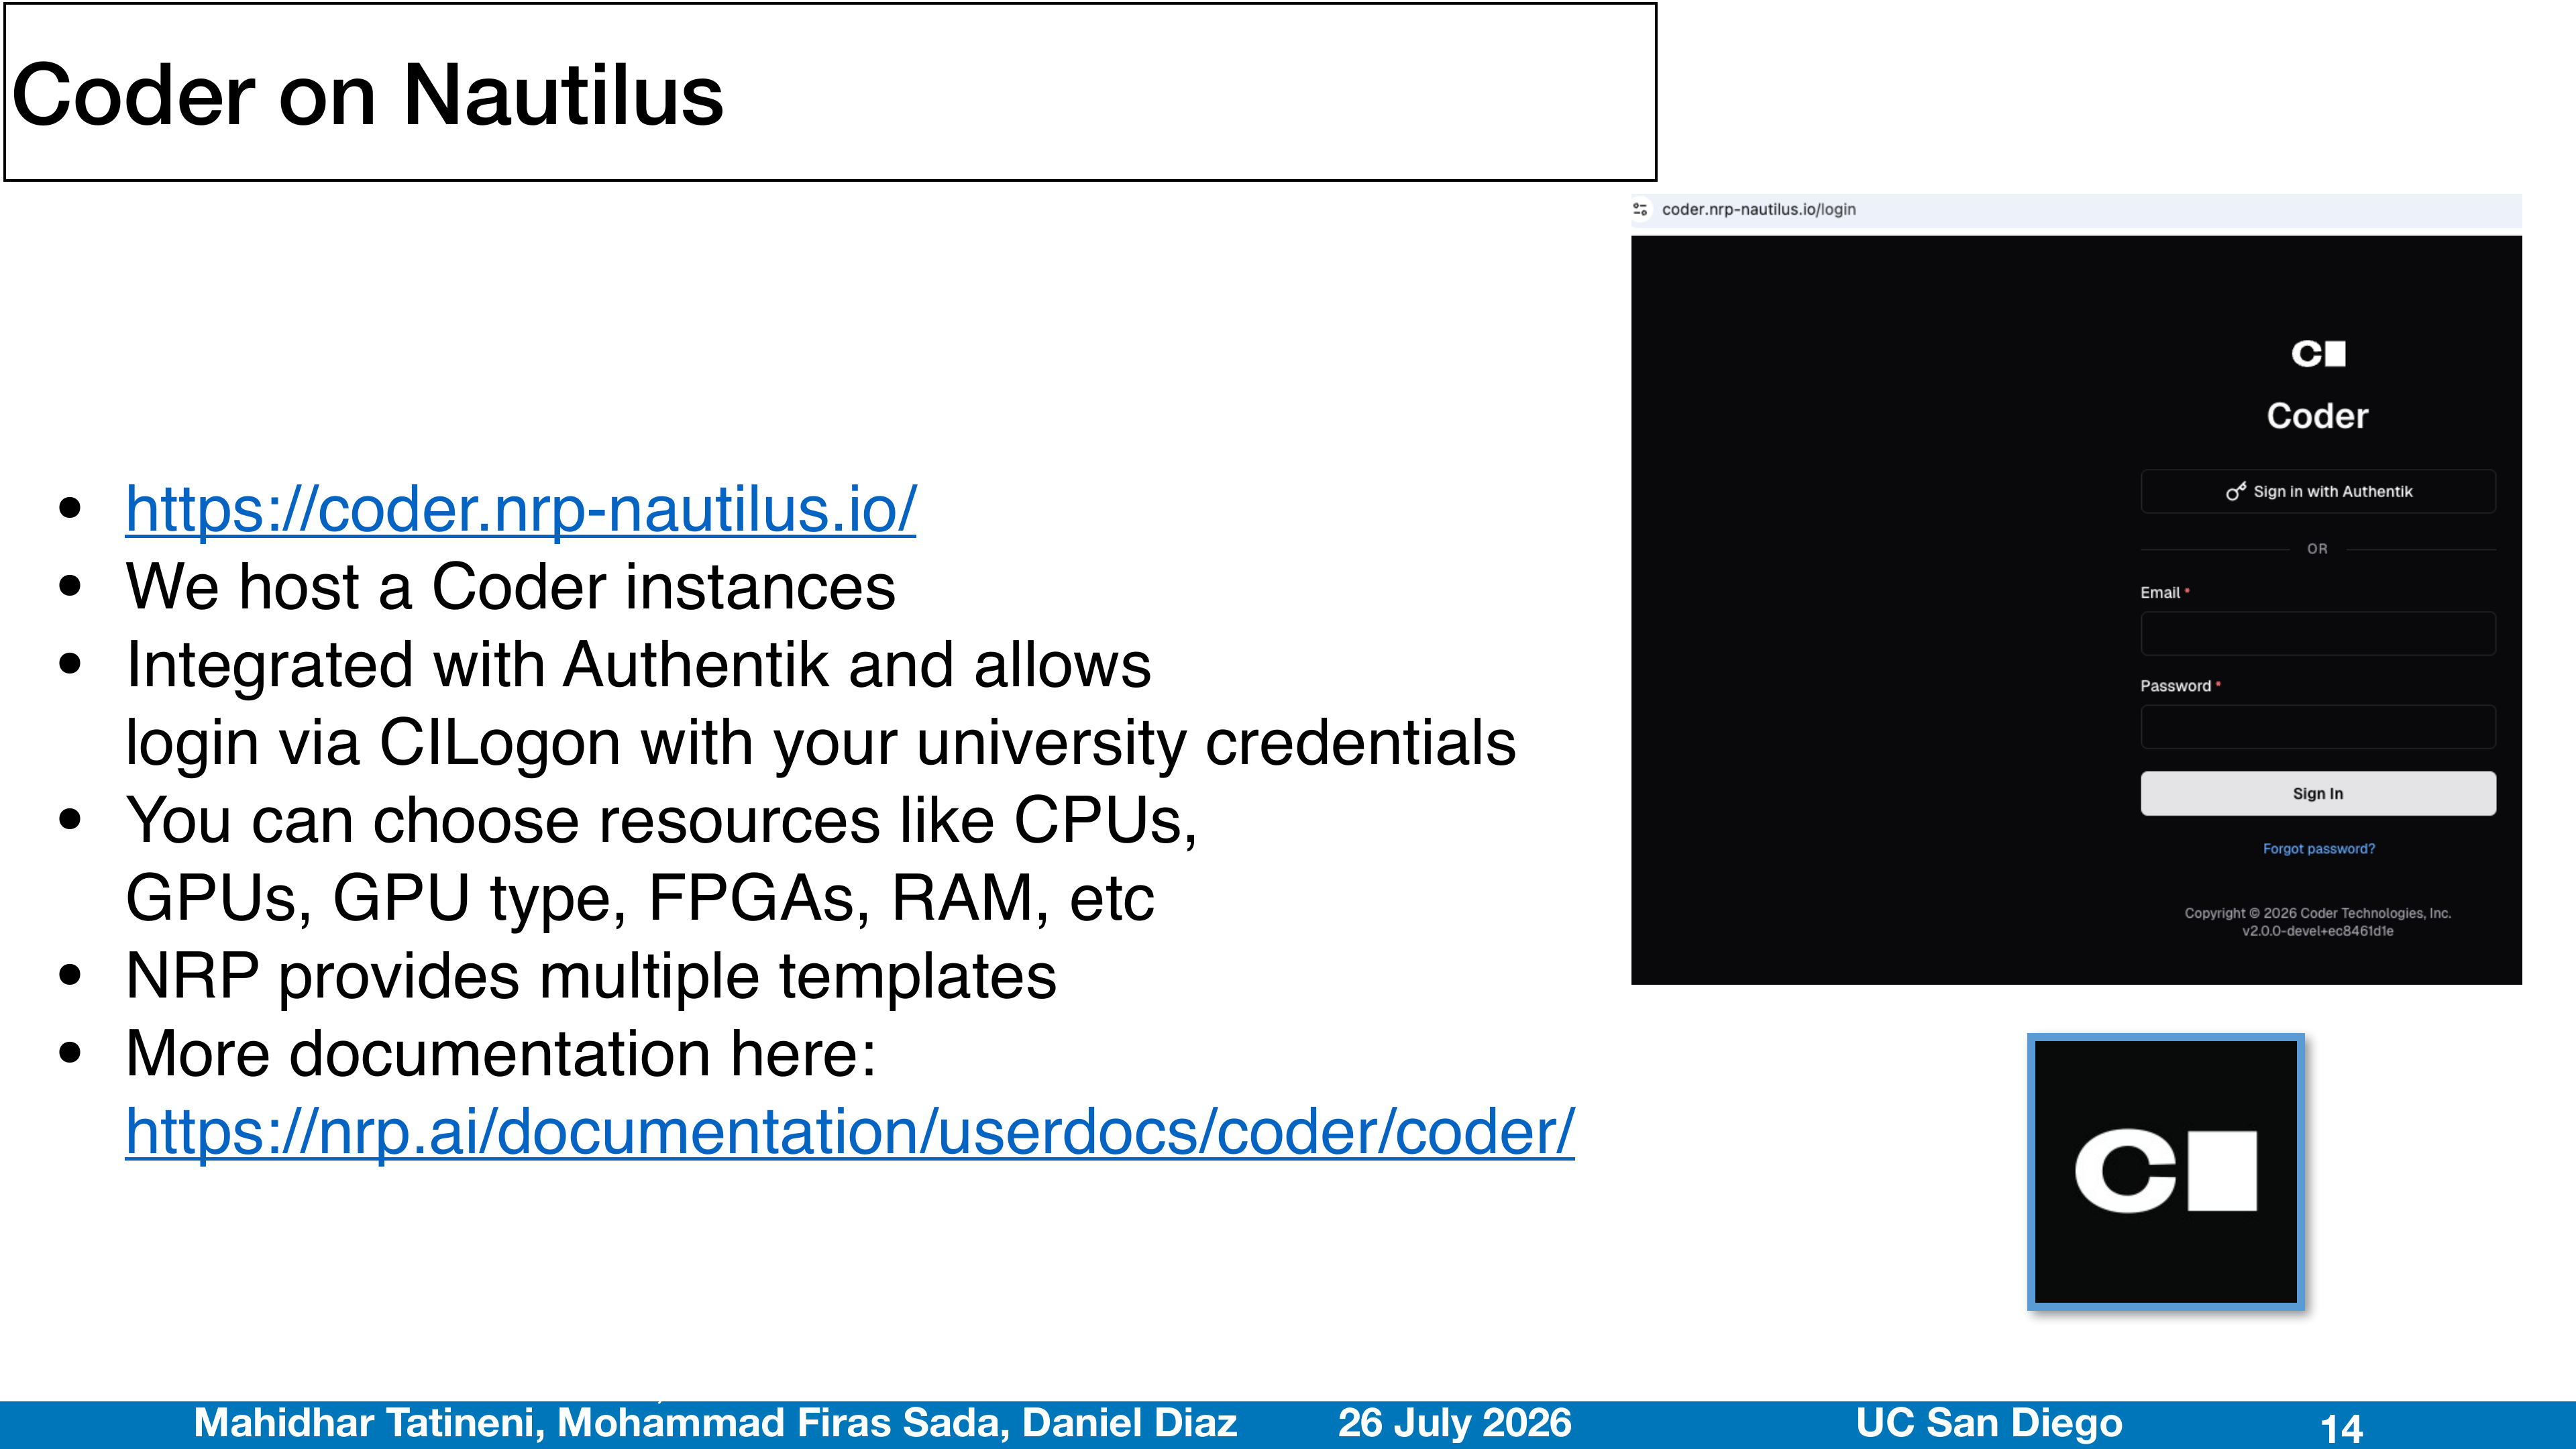
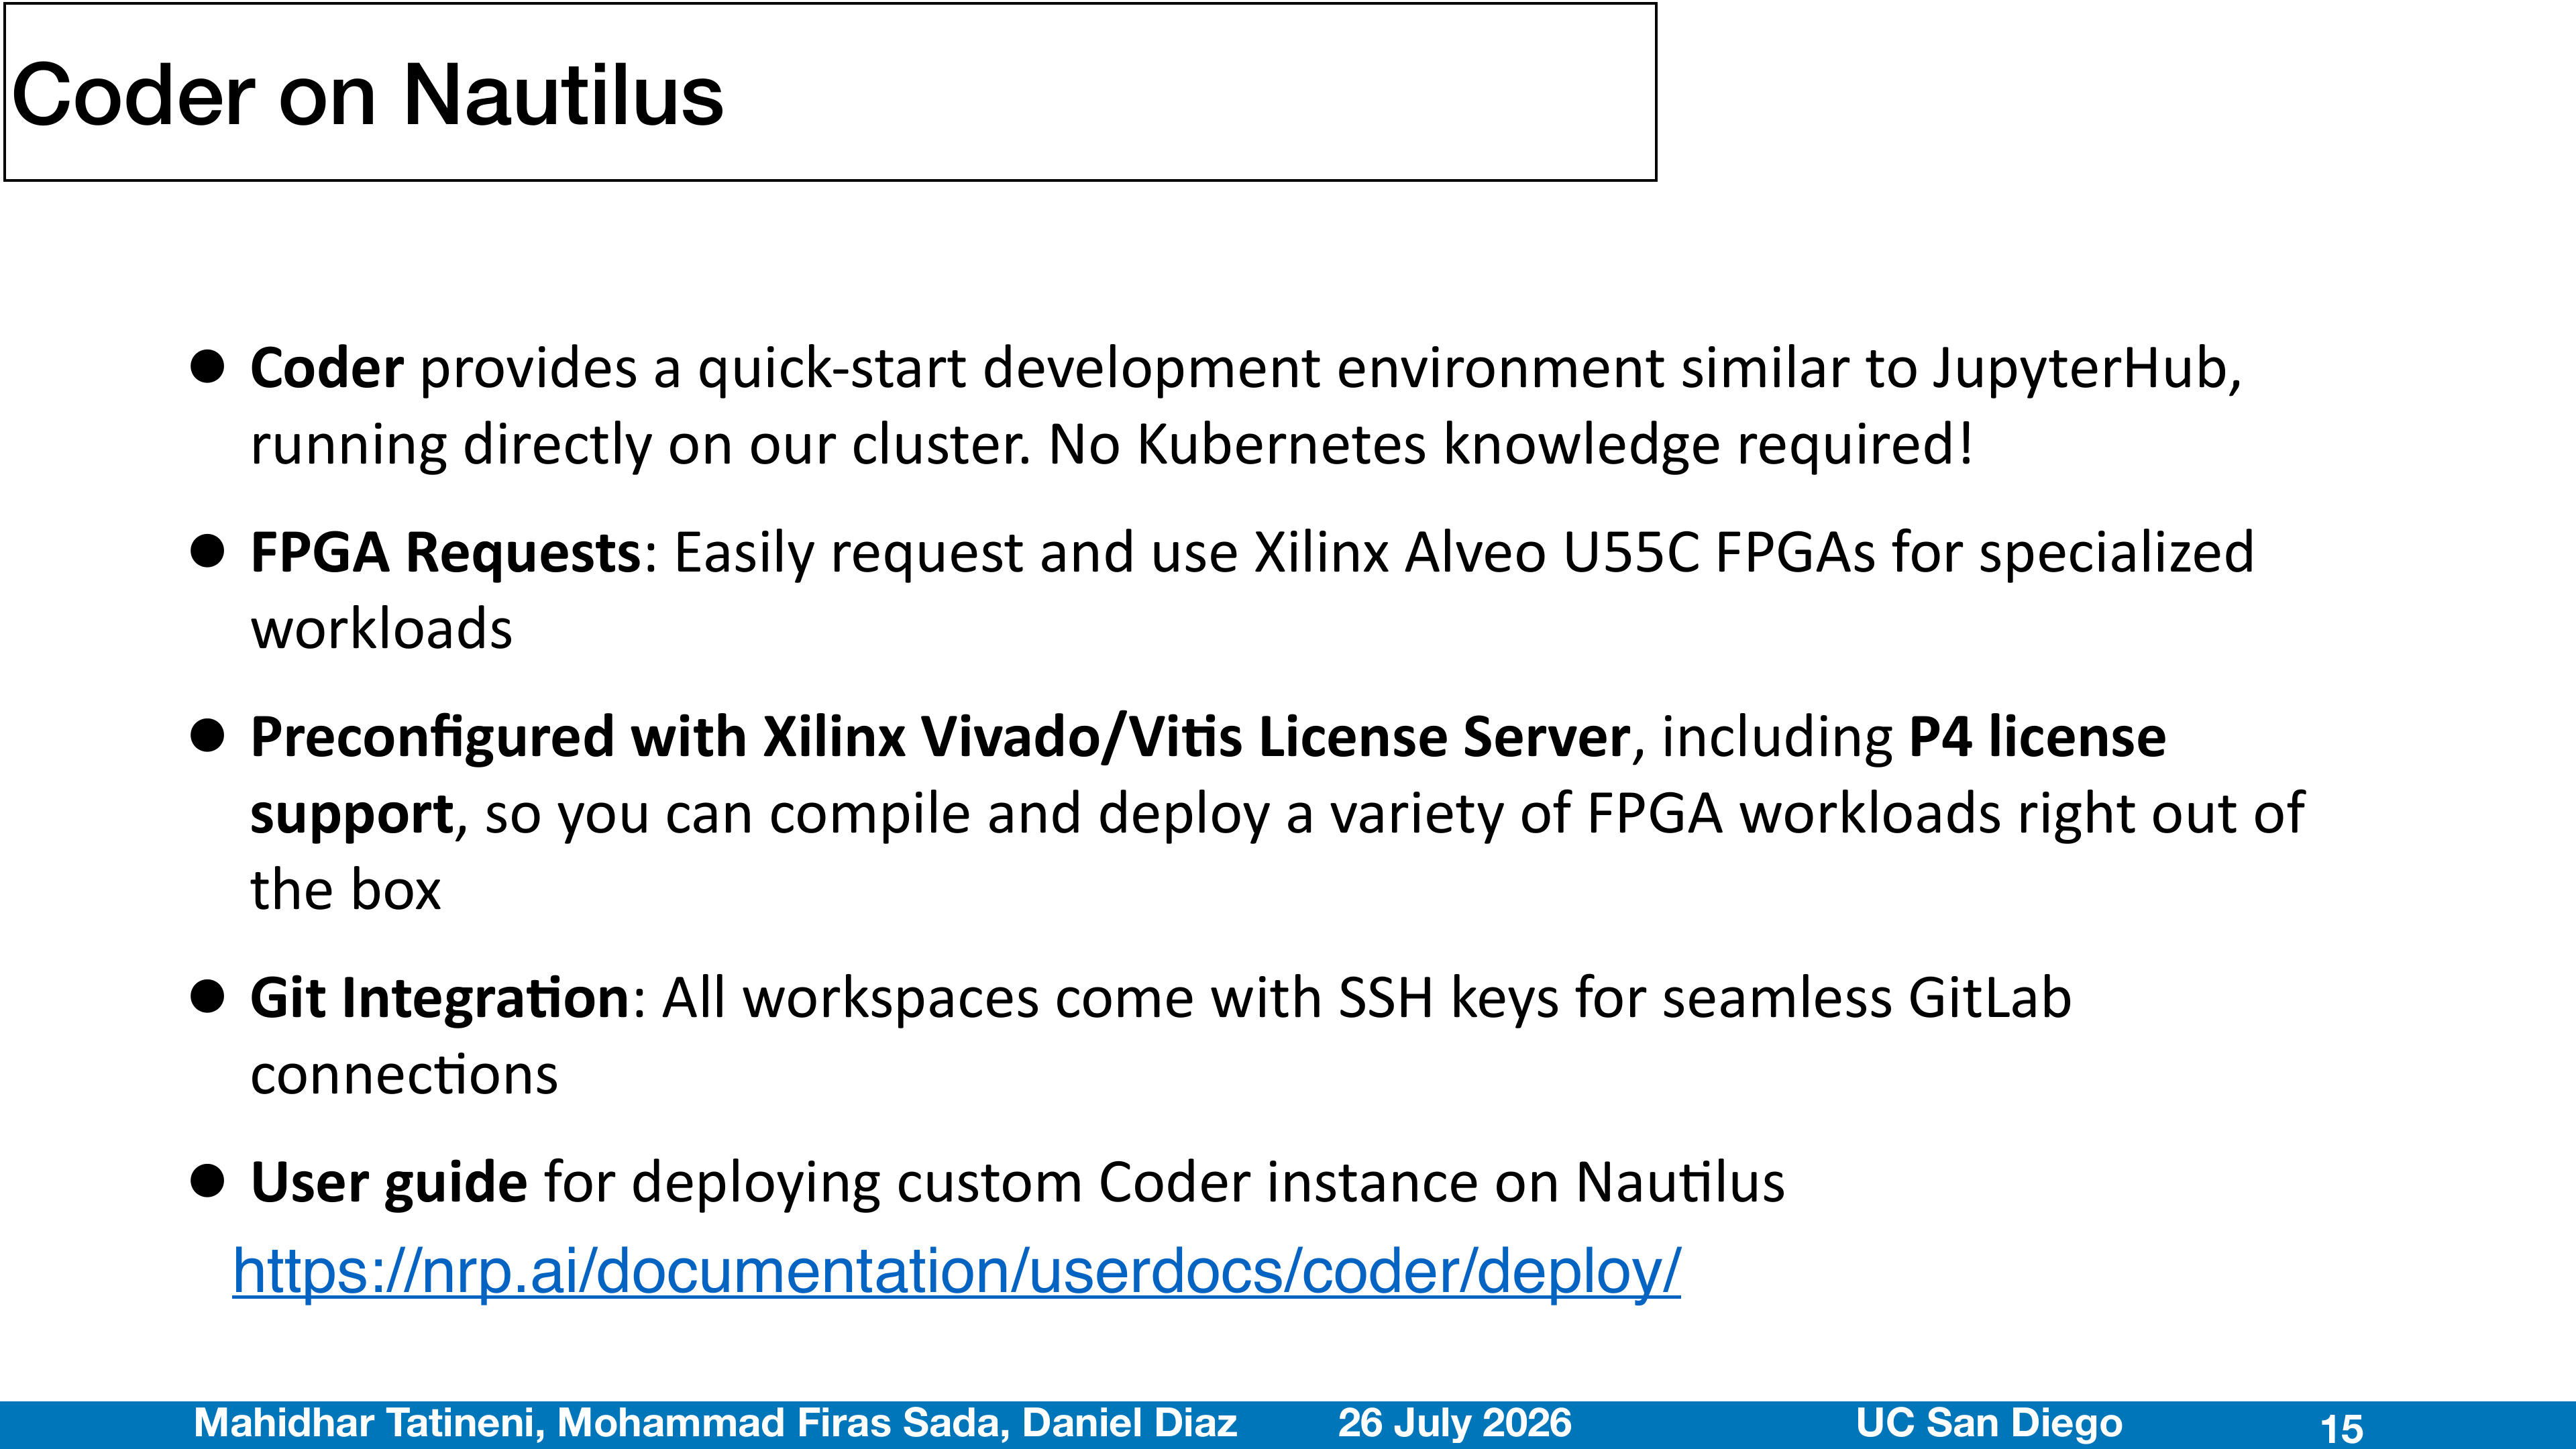
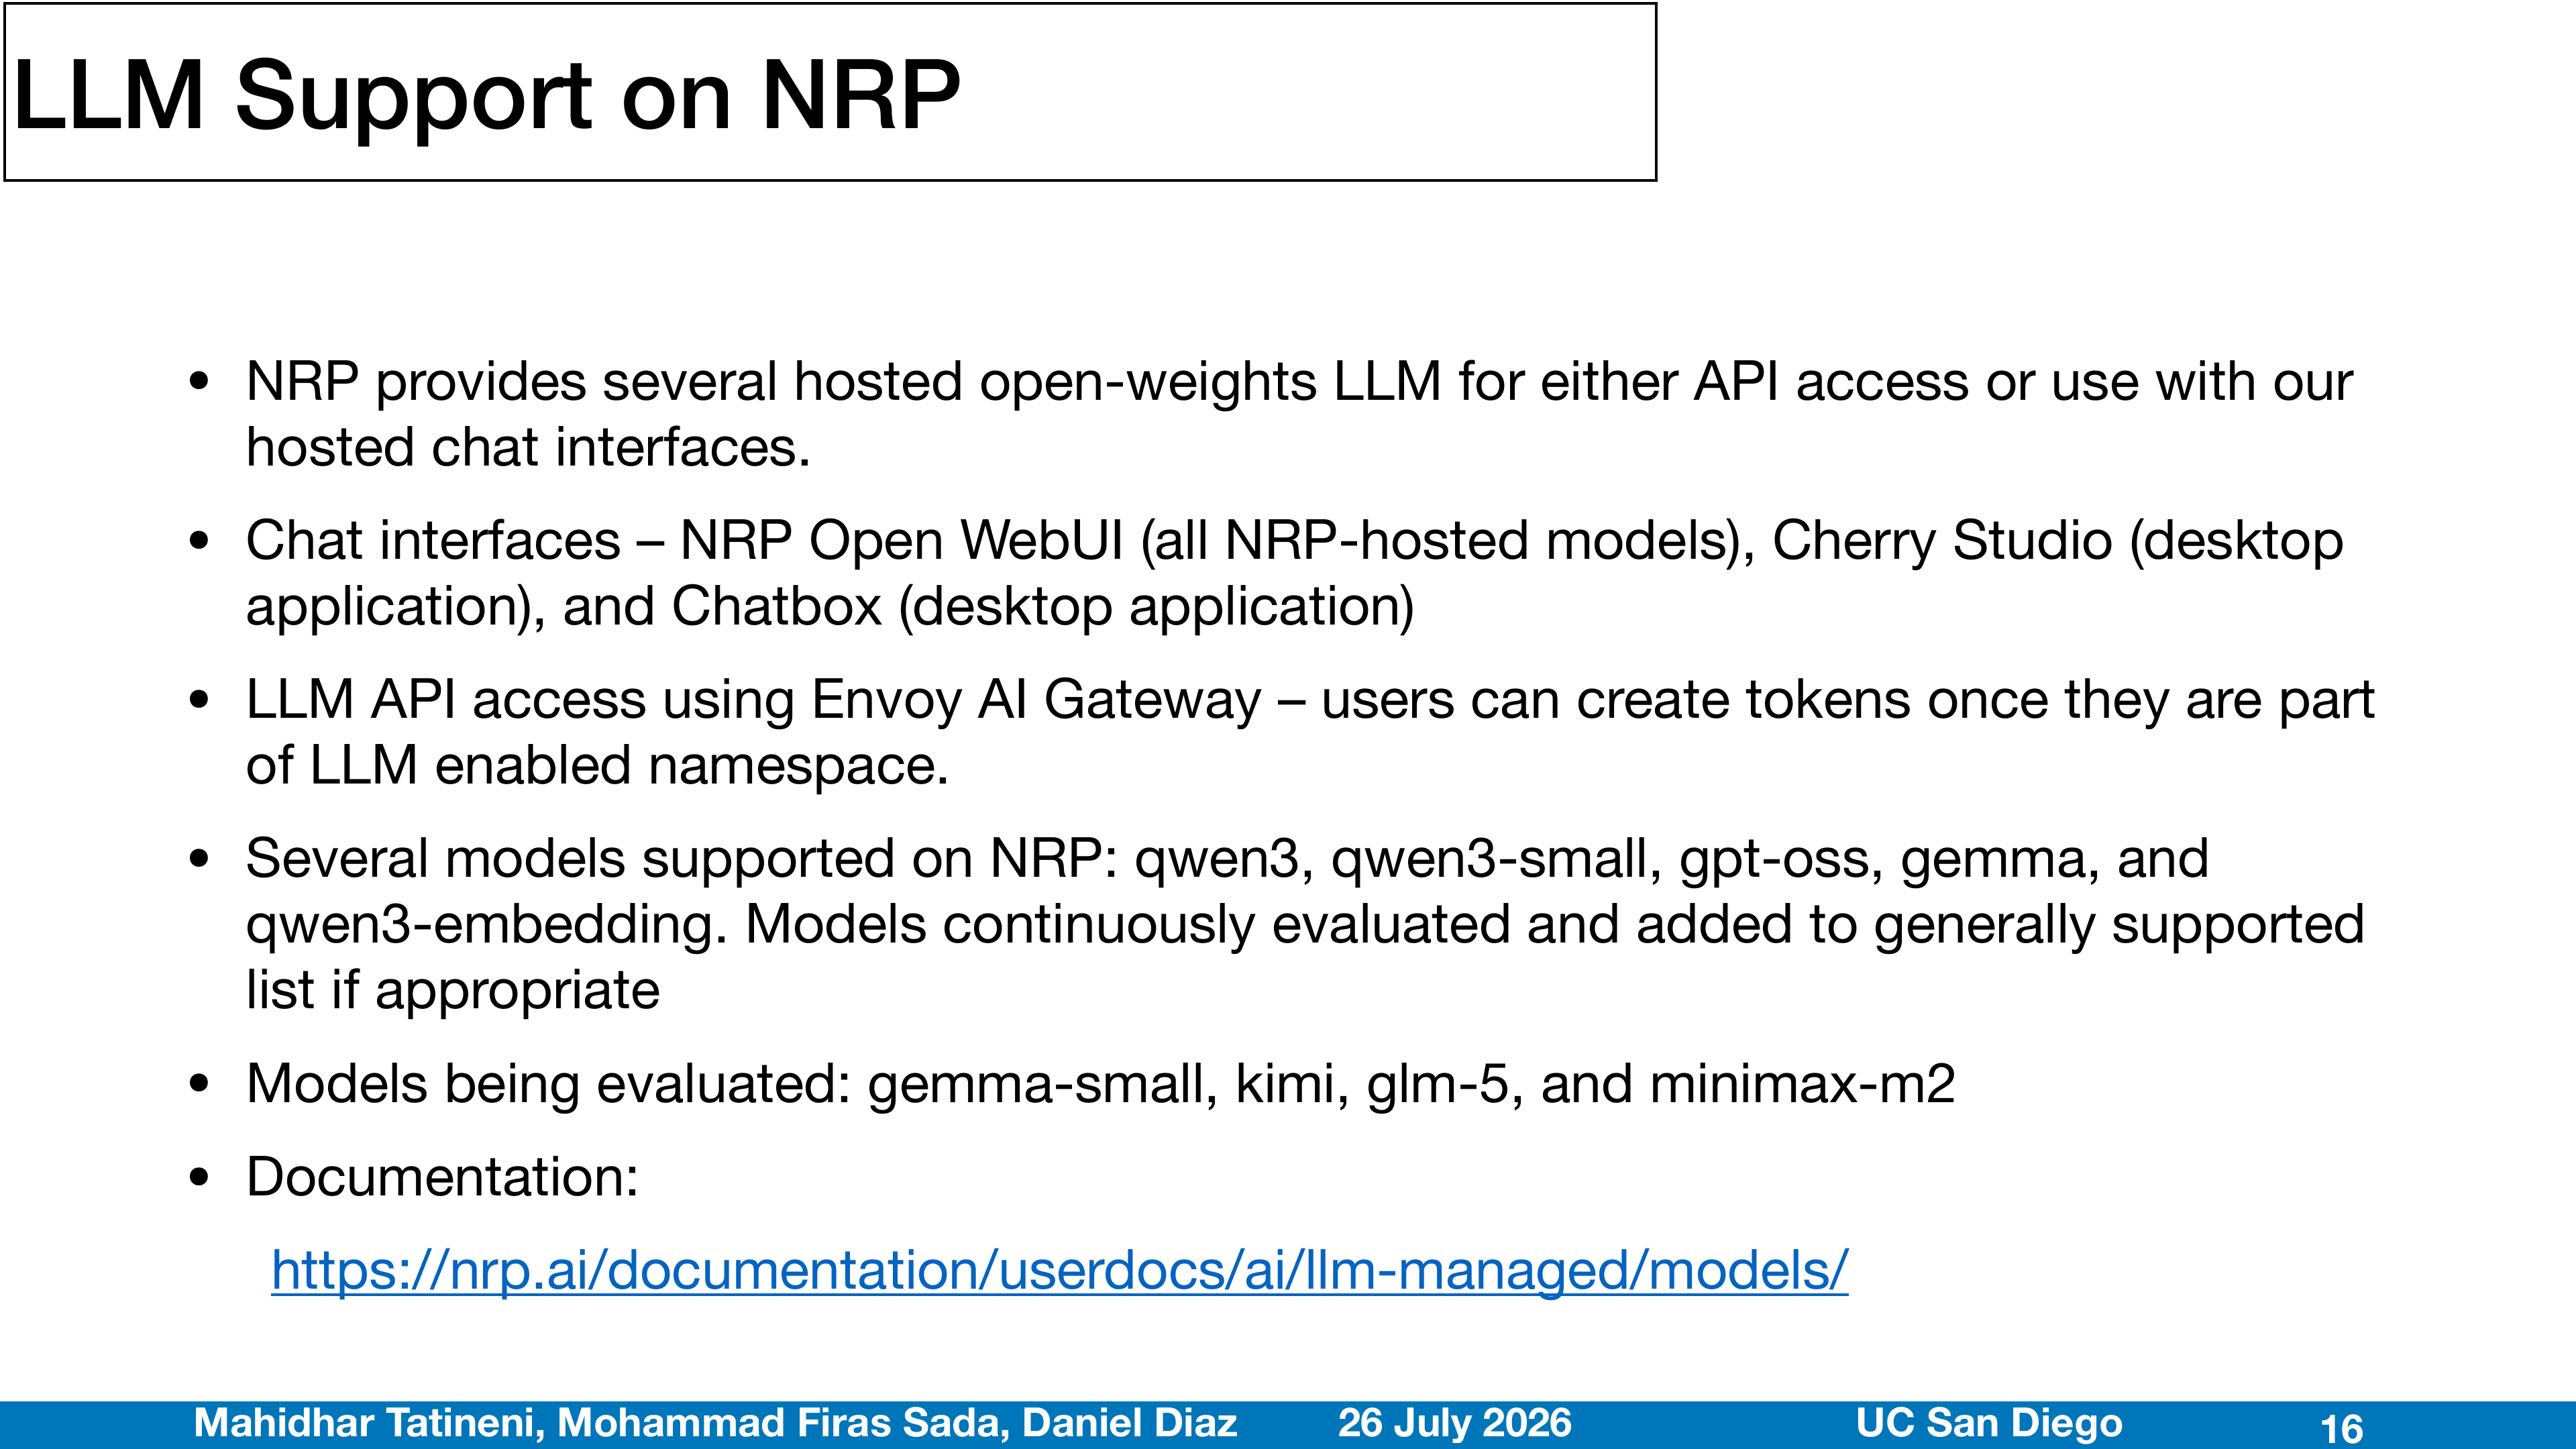
Session 1 · 40 min
Welcome to Kubernetes for AI-Enabled Scientific Research Computing, and Education at PEARC26. This full-day tutorial takes you from the concept of batch-oriented HPC to the practical use of service-oriented, Kubernetes-managed resources on the National Research Platform (NRP) — interactive AI notebooks, LLM services, GPU workloads, and course-scale JupyterHub deployments.
Run all commands from a JupyterHub terminal unless noted otherwise. Command blocks are formatted for copy/paste into that terminal.
Schedule — full day at a glance
6 hours of material, plus a morning coffee break, a lunch, and an afternoon coffee break at fixed times. For the hands-on you work in the shared nrp-training-k8s namespace, plus your own nrp-training-NNN namespace (claimed below) for the JupyterHub capstone. The last hour helps you set up your own NRP access to keep going after PEARC.
Session lengths below are approximate — the three breaks are the only fixed clock times in the day.
| Duration | Session |
|---|---|
| 40 min | Welcome, claim your namespace, Kubernetes & NRP architecture (this episode) |
| 70 min | Basic Docker & Kubernetes hands-on |
| 30 min (10:30 – 11:00 a.m.) | Coffee break |
| 50 min | AI & computational science applications |
| 30 min | Persistent storage & I/O for AI/scientific workloads |
| 60 min (12:30 – 1:30 p.m.) | Lunch |
| 40 min | JupyterHub on NRP |
| 70 min | Advanced: custom JupyterHub & building images in NRP GitLab |
| 30 min (3:00 – 3:30 p.m.) | Coffee break |
| 60 min | Get your own NRP access + wrap-up / Q&A |
Claim your namespace for the day
You'll do most exercises in the shared nrp-training-k8s namespace, but the final JupyterHub capstone needs a namespace of your own. One curl — to a small claim service running inside the cluster — reserves one of the pre-created nrp-training-NNN namespaces and remembers it's yours. Ask by your hub login and you get the same slot back every time:
Bash
curl -s "http://nrp-claim.nrp-training.svc.cluster.local/claim?user=${JUPYTERHUB_USER:-$NRP_USER}"Expected output
text
nrp-training-042Jot down the number — Episode 6 claims it again automatically (the curl is idempotent), so there's nothing to remember, but it's yours for the day.
The National Research Platform
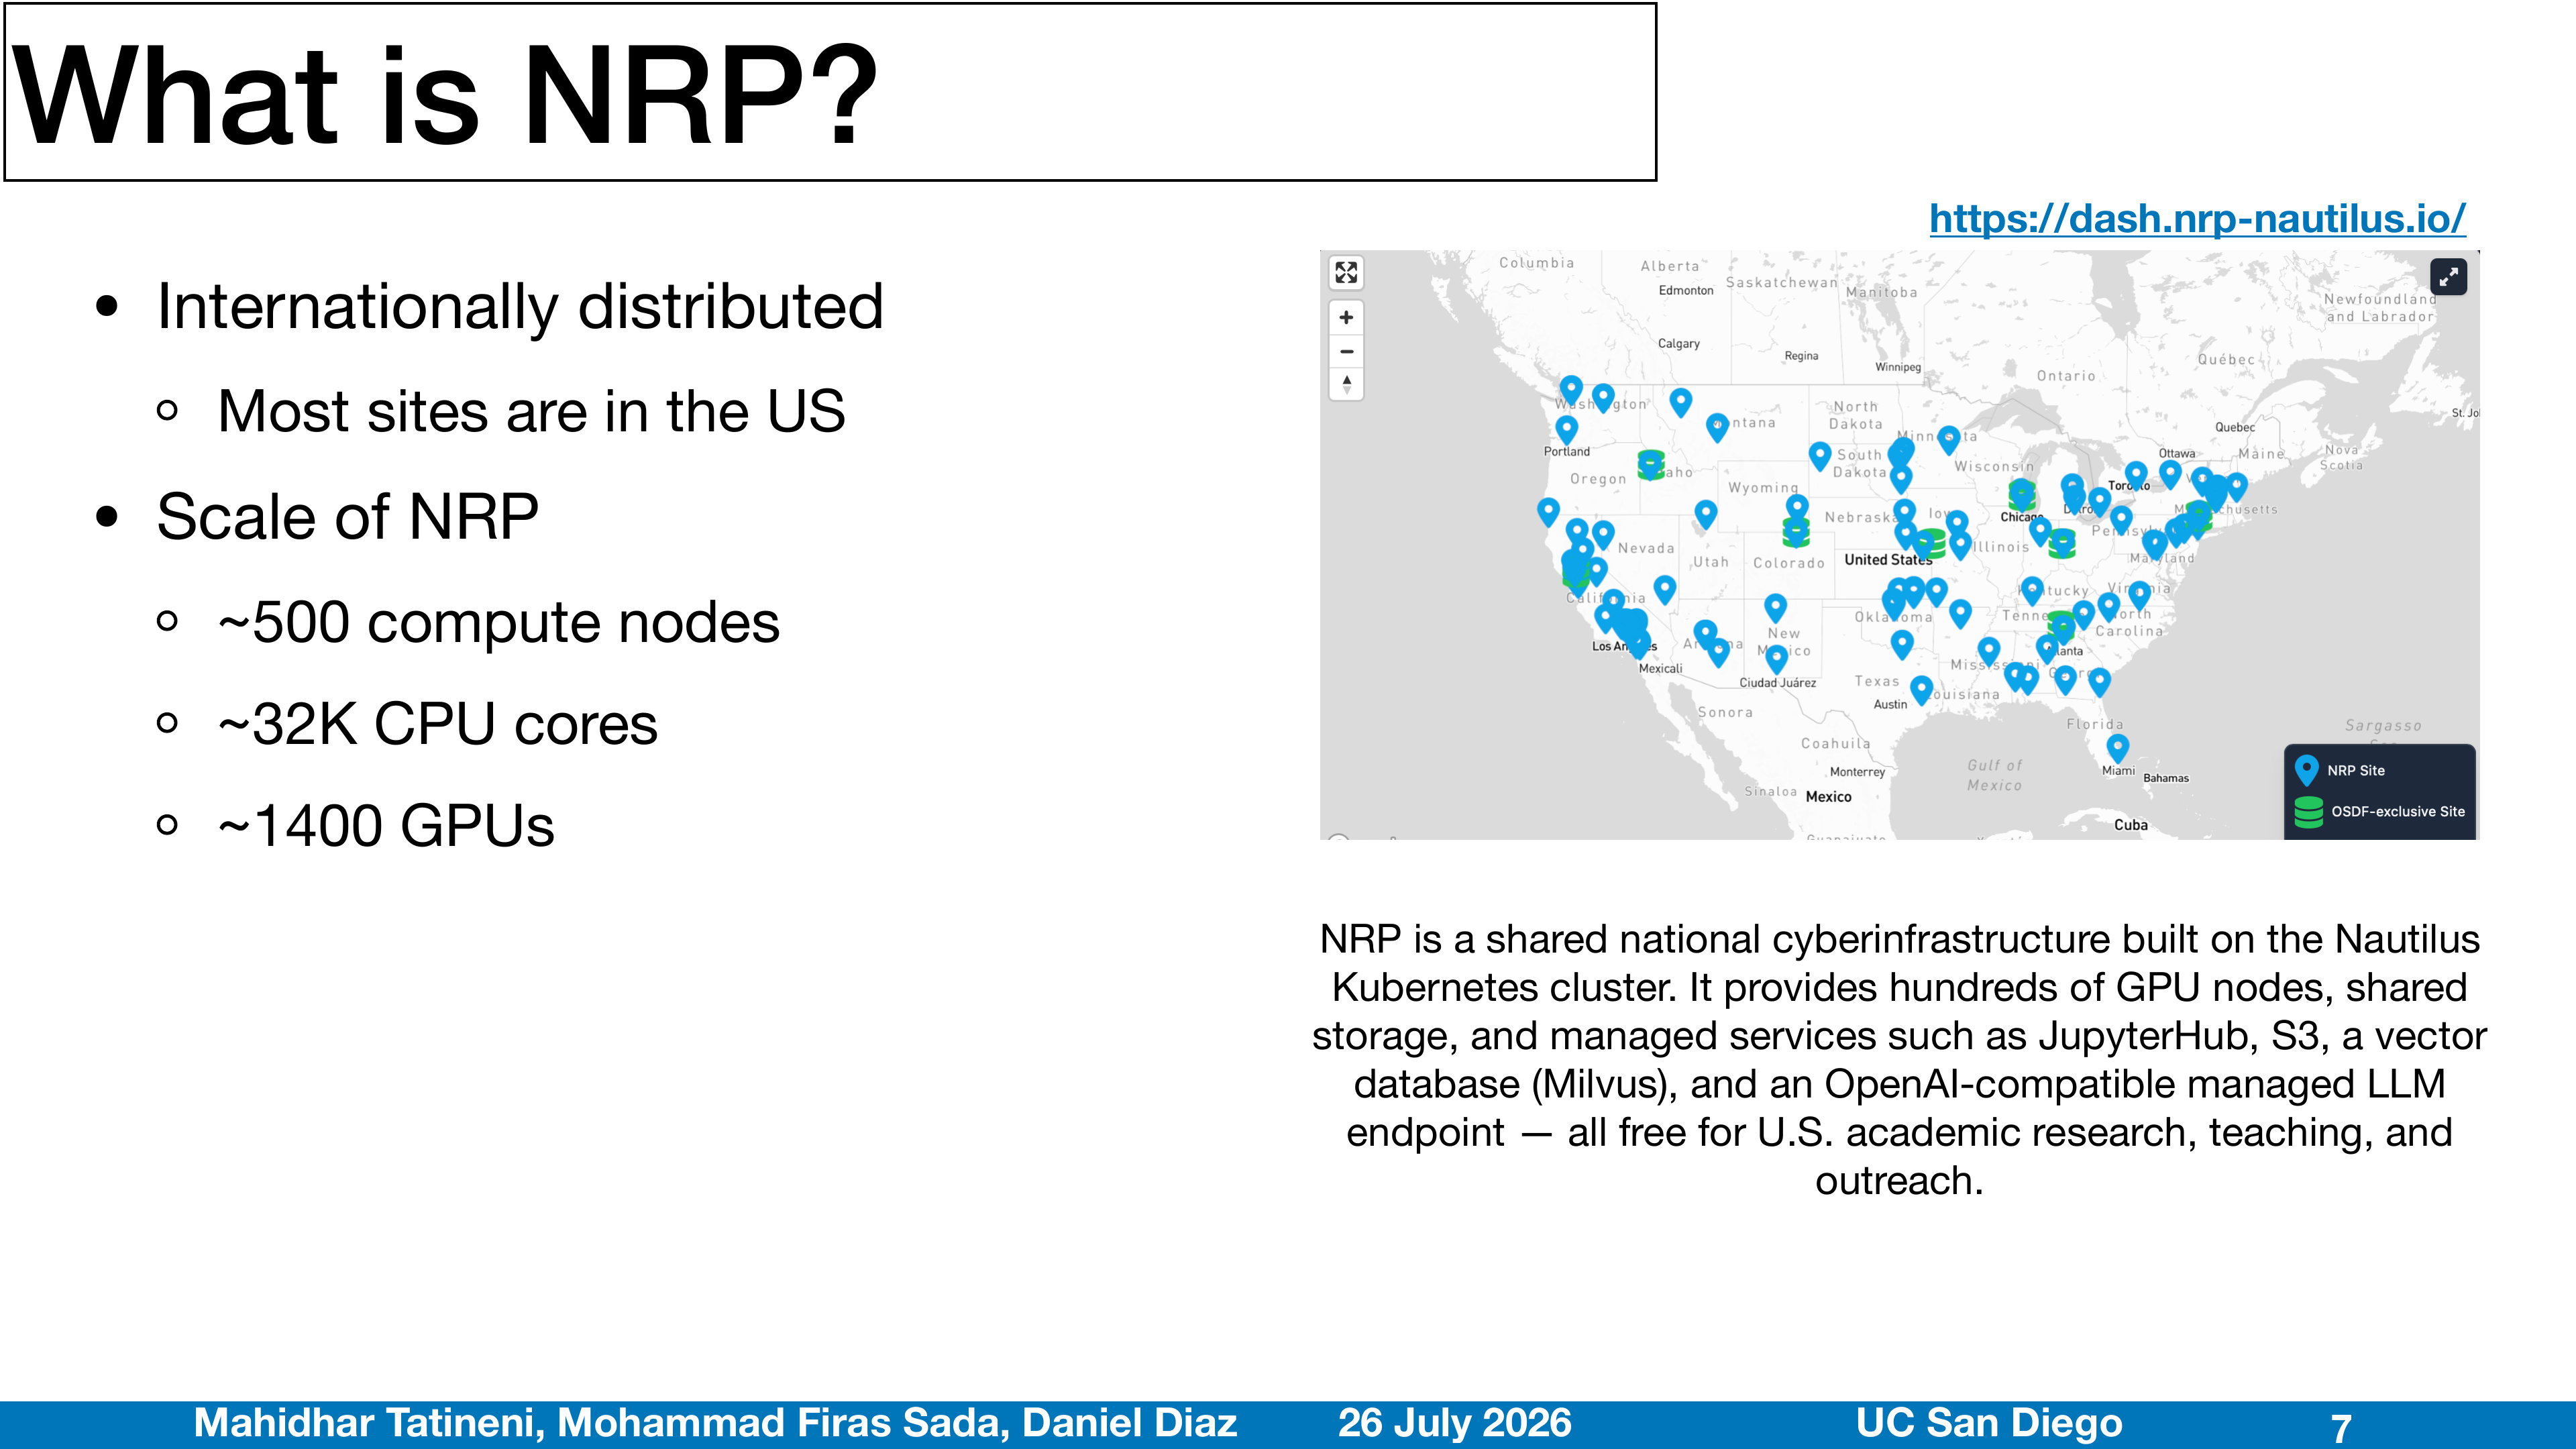
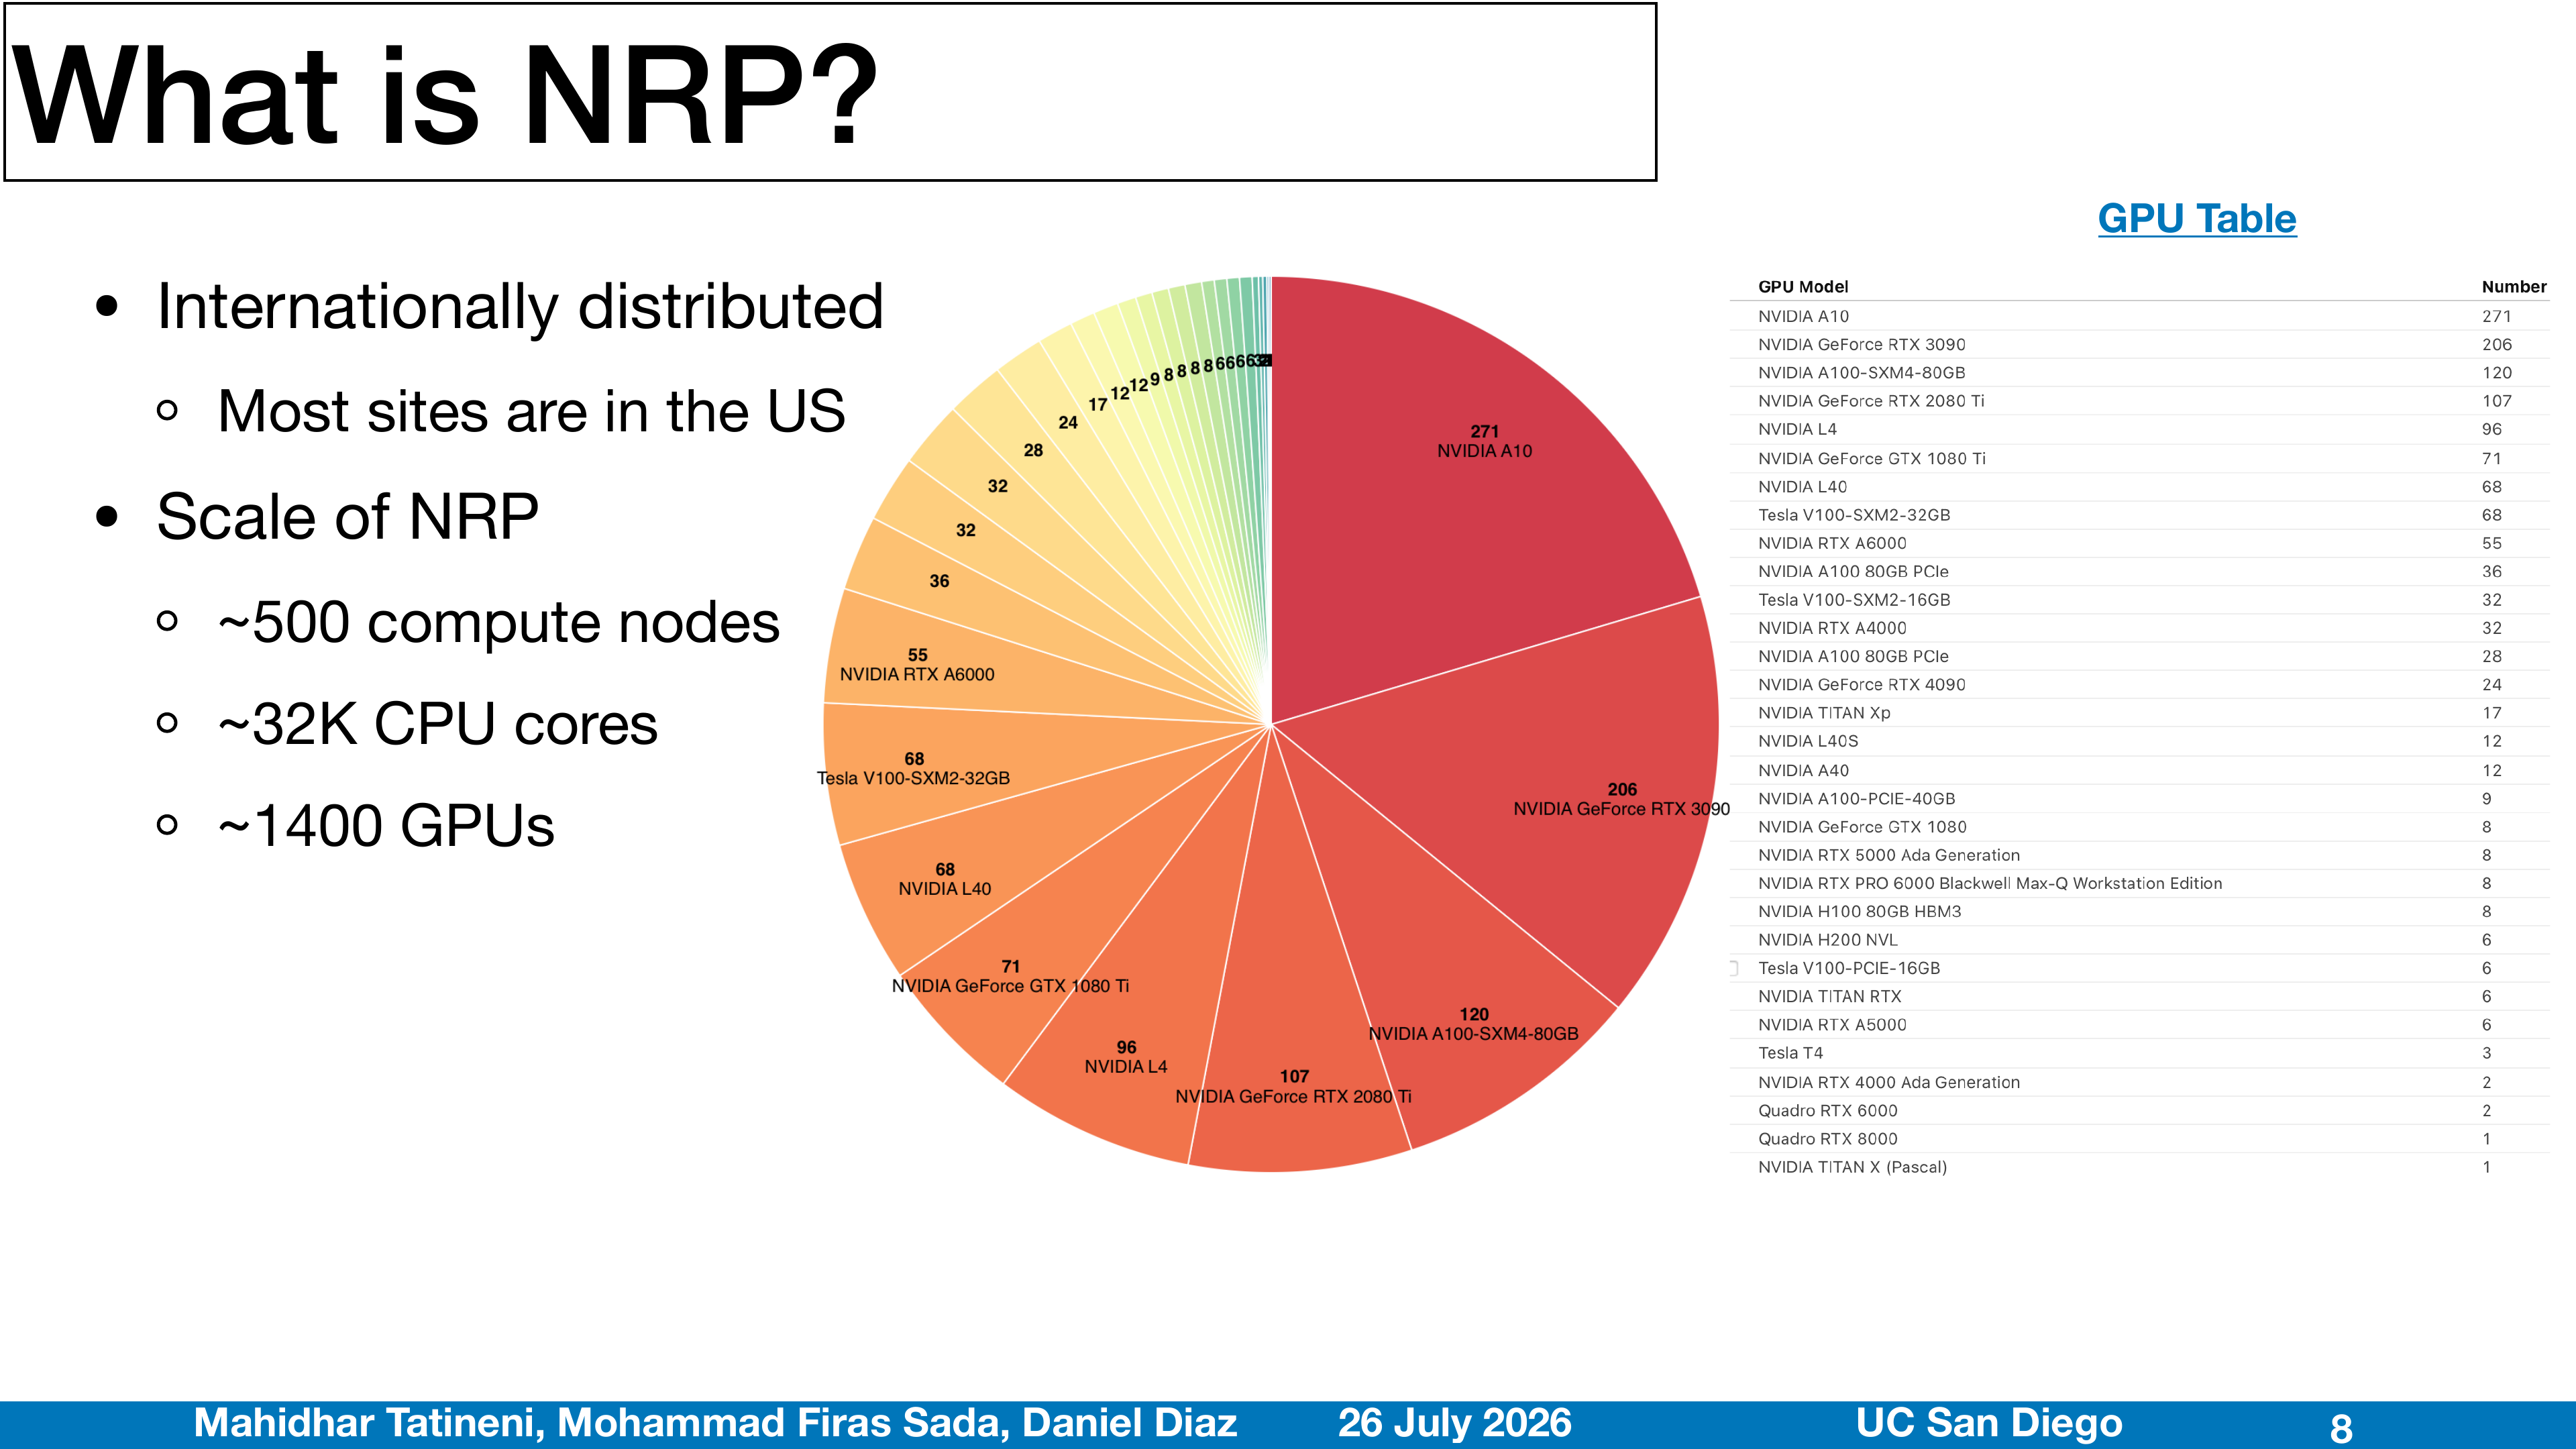
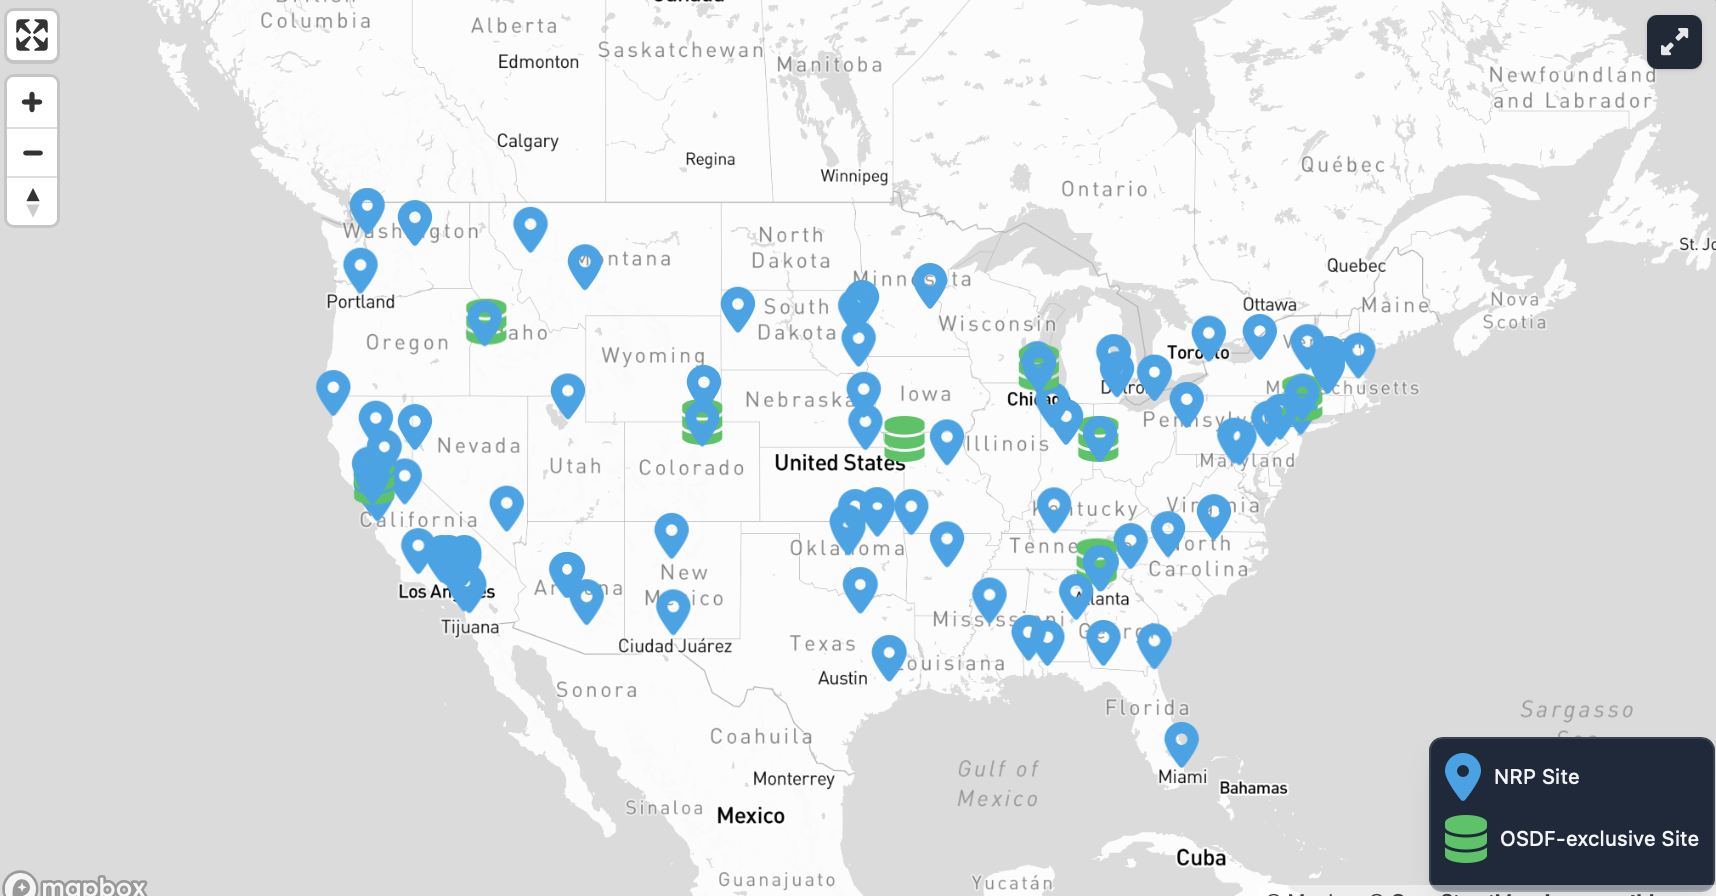
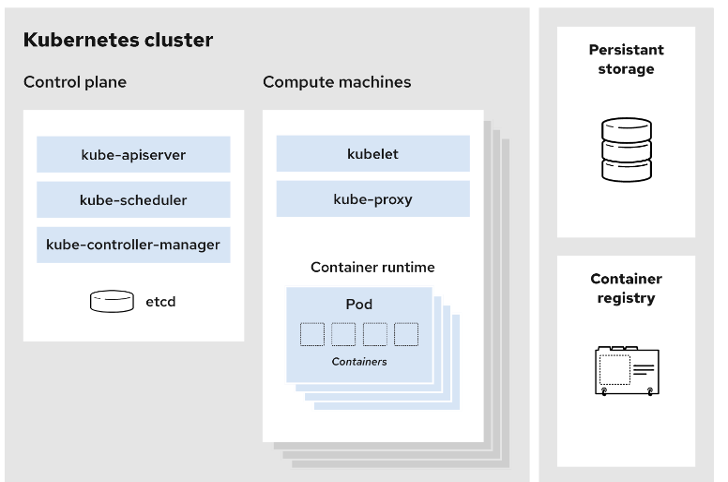
The National Research Platform (NRP) is a partnership of 50+ institutions providing an open, nationally distributed cyberinfrastructure built on a Kubernetes cluster named Nautilus — 500+ nodes, 1500+ GPUs (NVIDIA A10/A100/H100, Qualcomm Cloud AI 100 Ultra), 50+ FPGAs, in continuous operation for over six years. Researchers and educators access it via Kubernetes namespaces, with persistent storage on Ceph and shared services for JupyterHub, GitLab, Coder, and S3.
The core mental model:
- CILogon authenticates users through institutional identity providers.
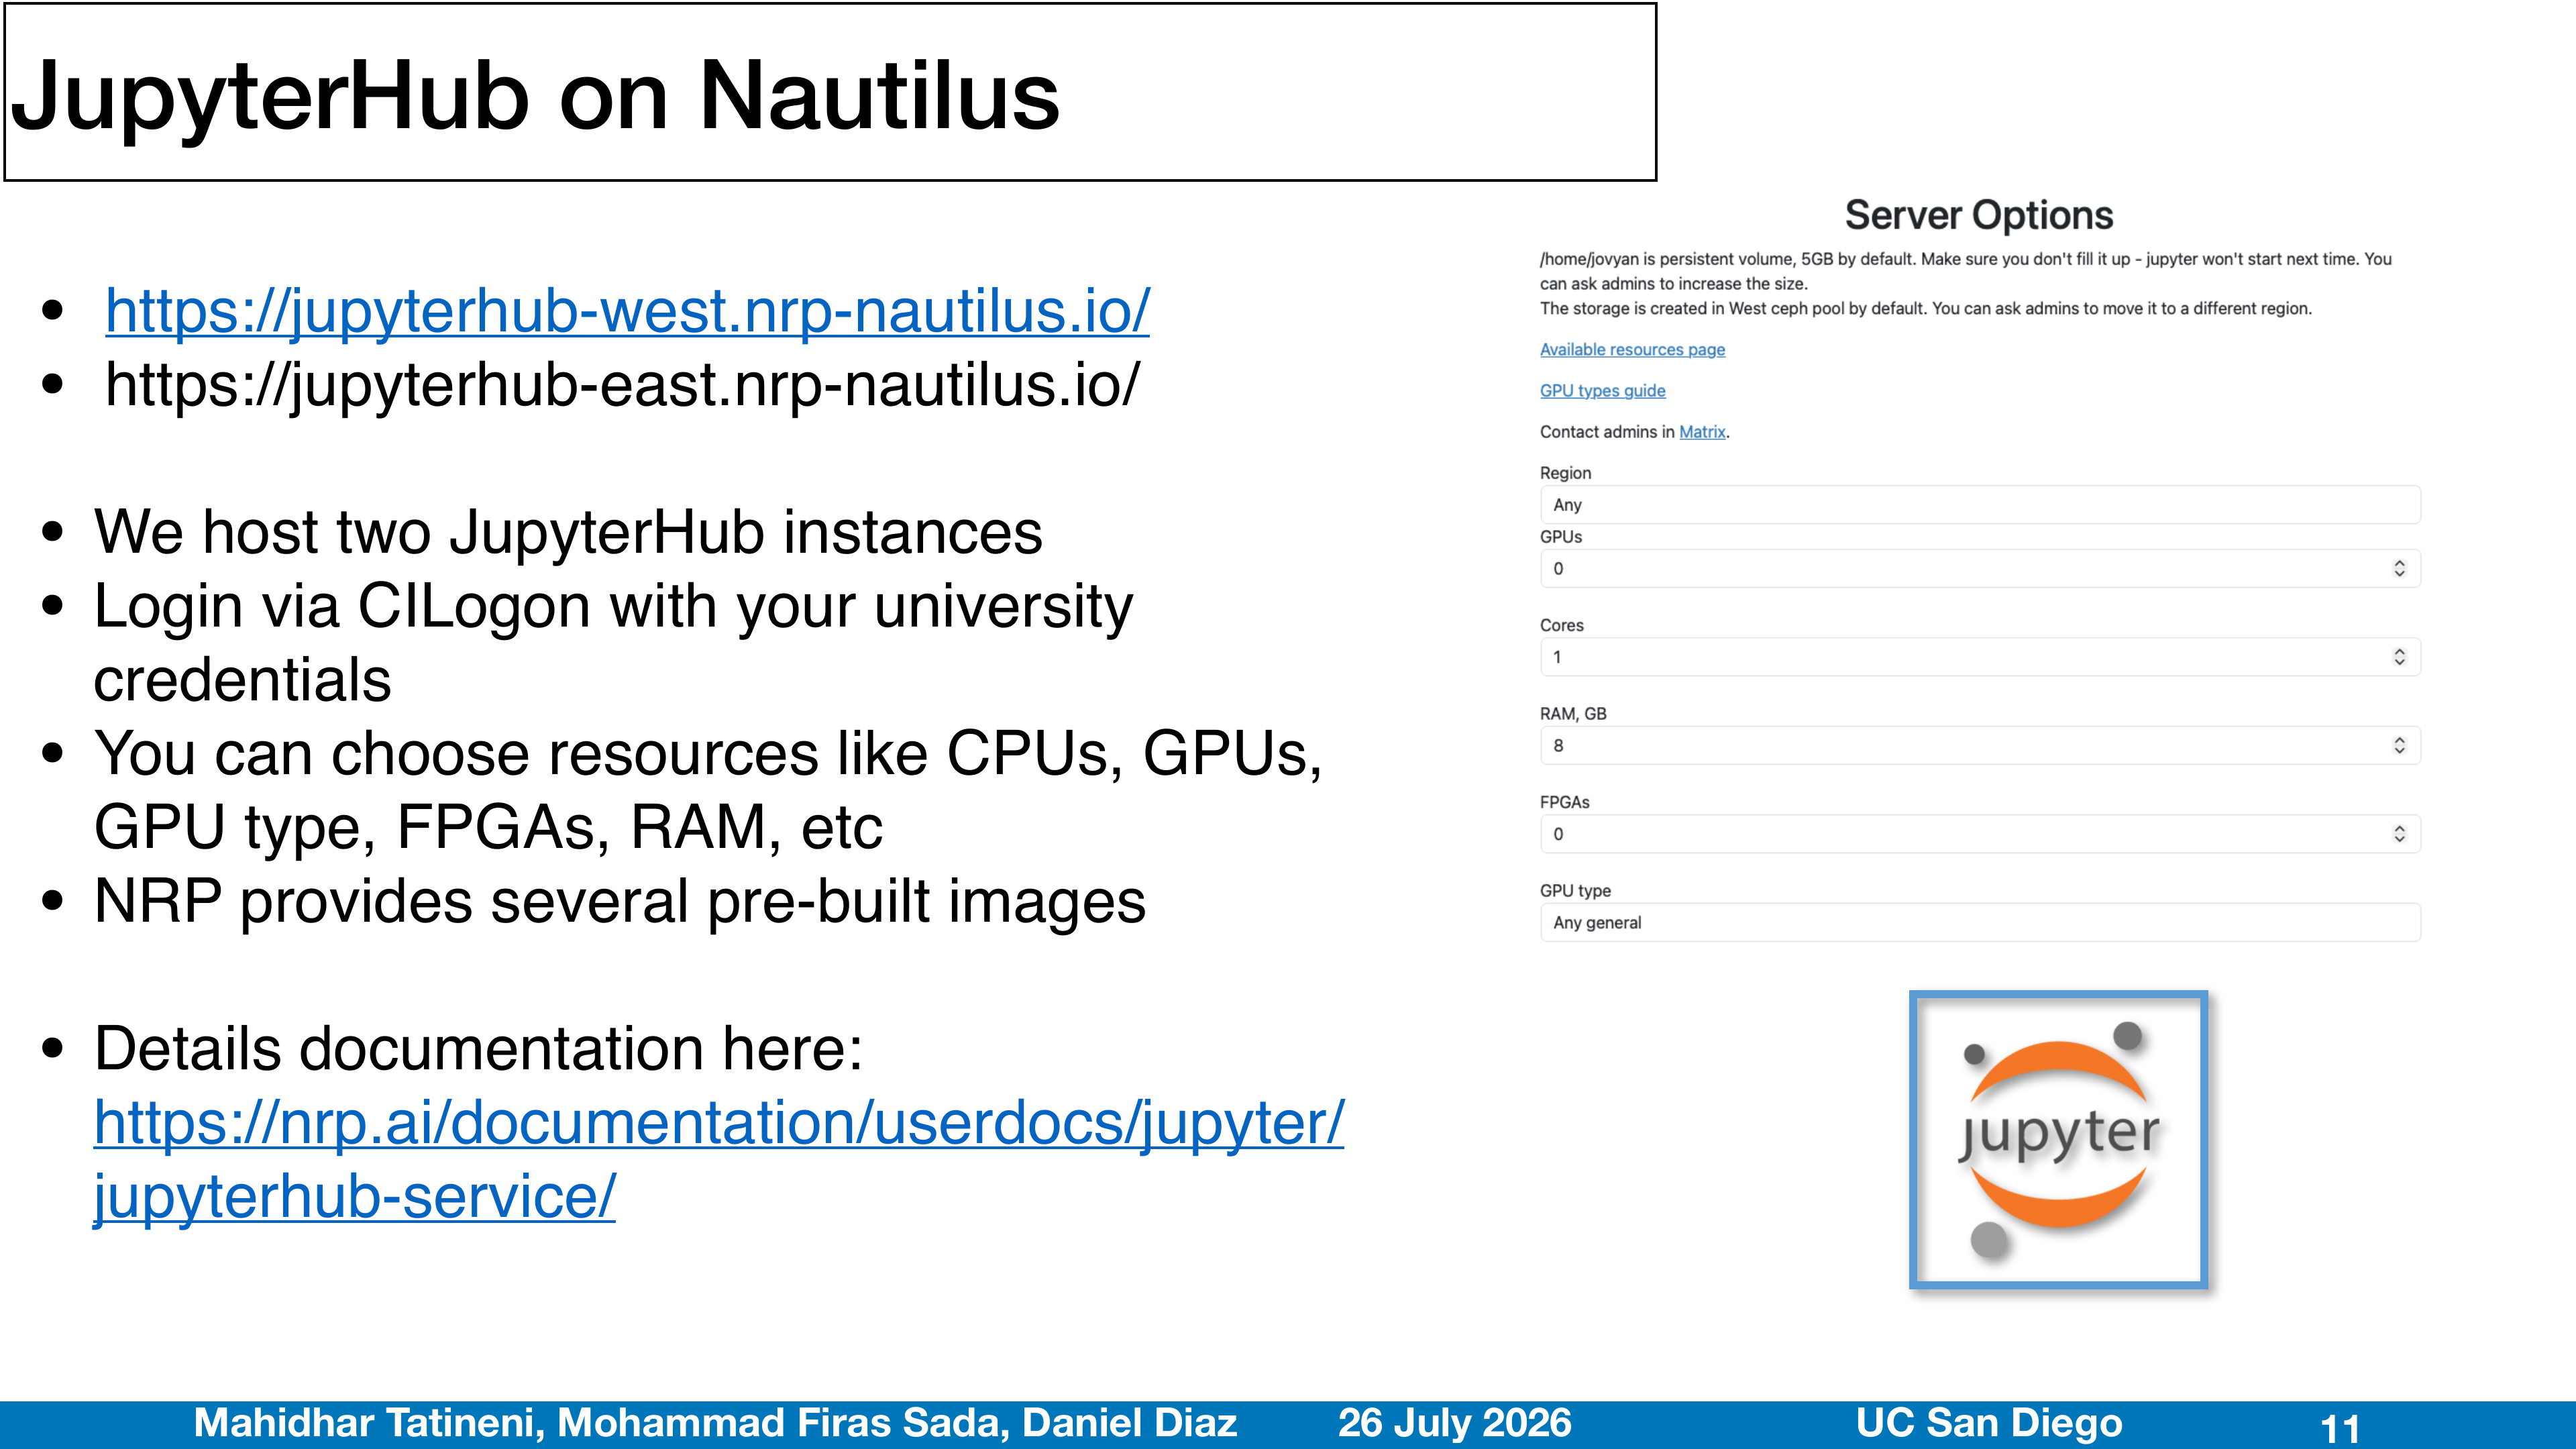
- JupyterHub gives each participant a browser-based JupyterLab workspace and terminal.
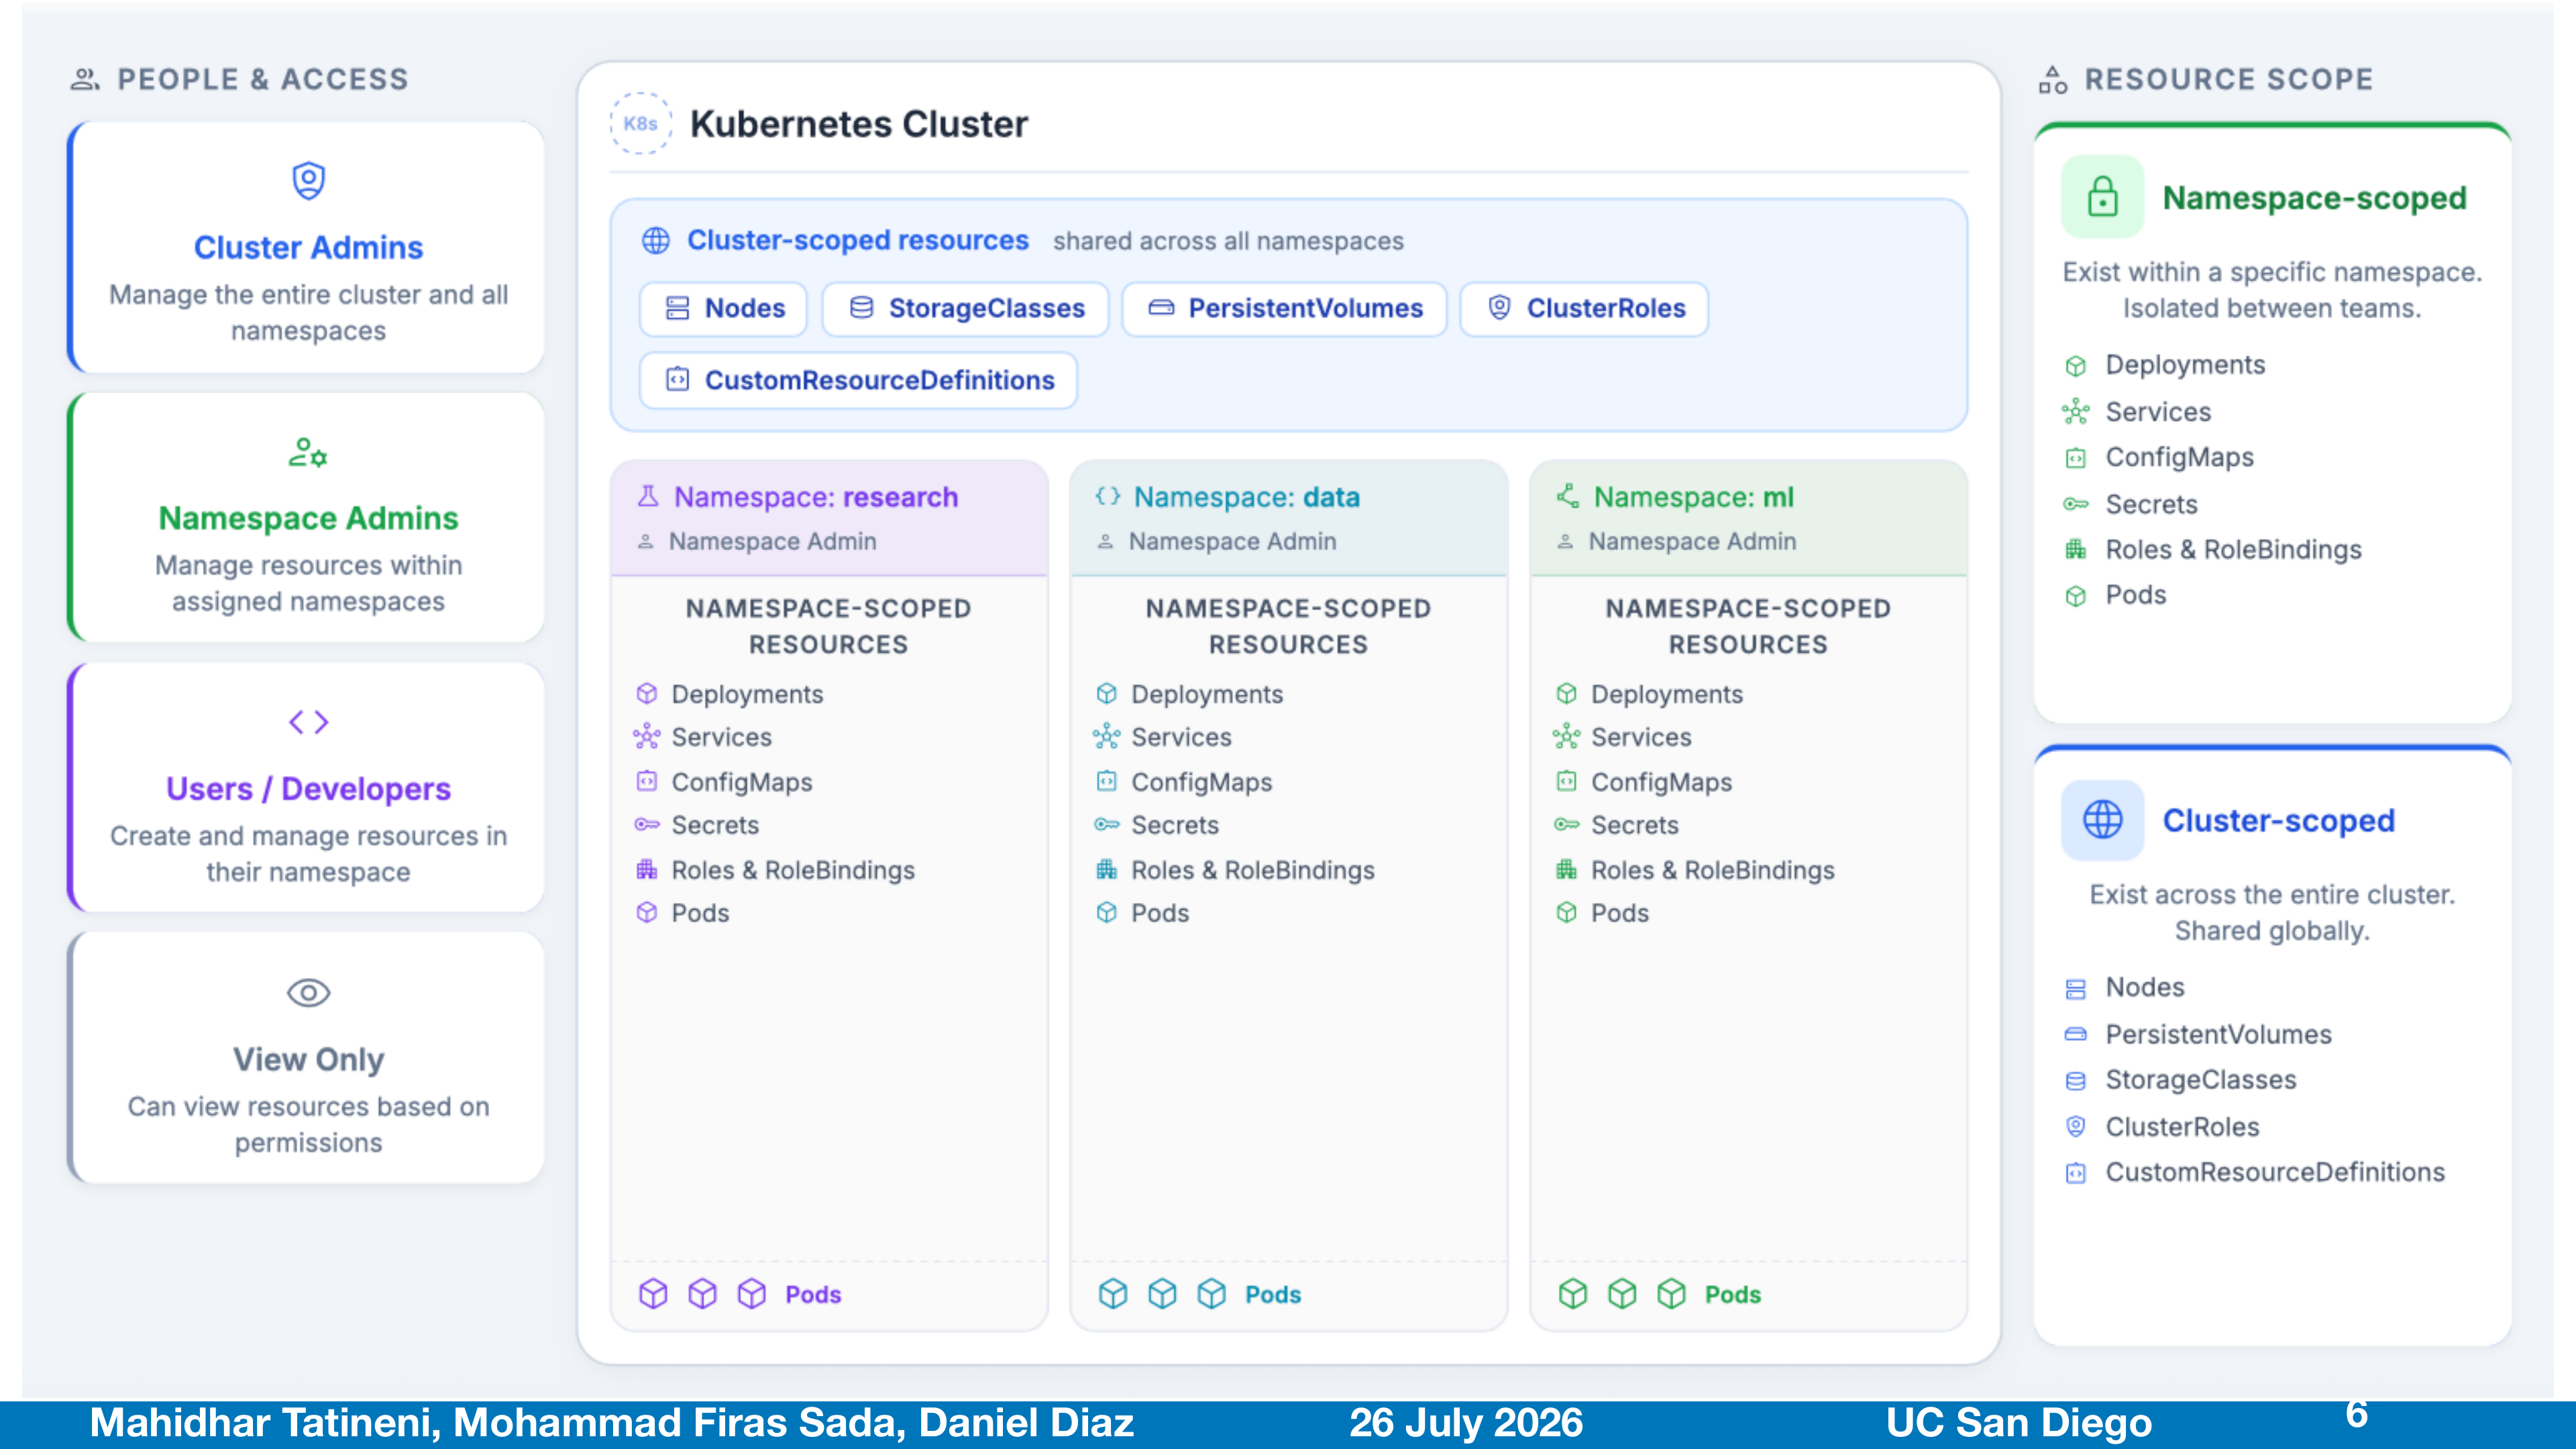
- Kubernetes namespaces isolate class or project workloads.
- YAML manifests describe the compute resources a workload needs.
- Device plugins expose accelerators such as NVIDIA GPUs (
nvidia.com/gpu) and Qualcomm Cloud AI 100 SoCs (qualcomm.com/qaic) to Kubernetes.
Capabilities and scale
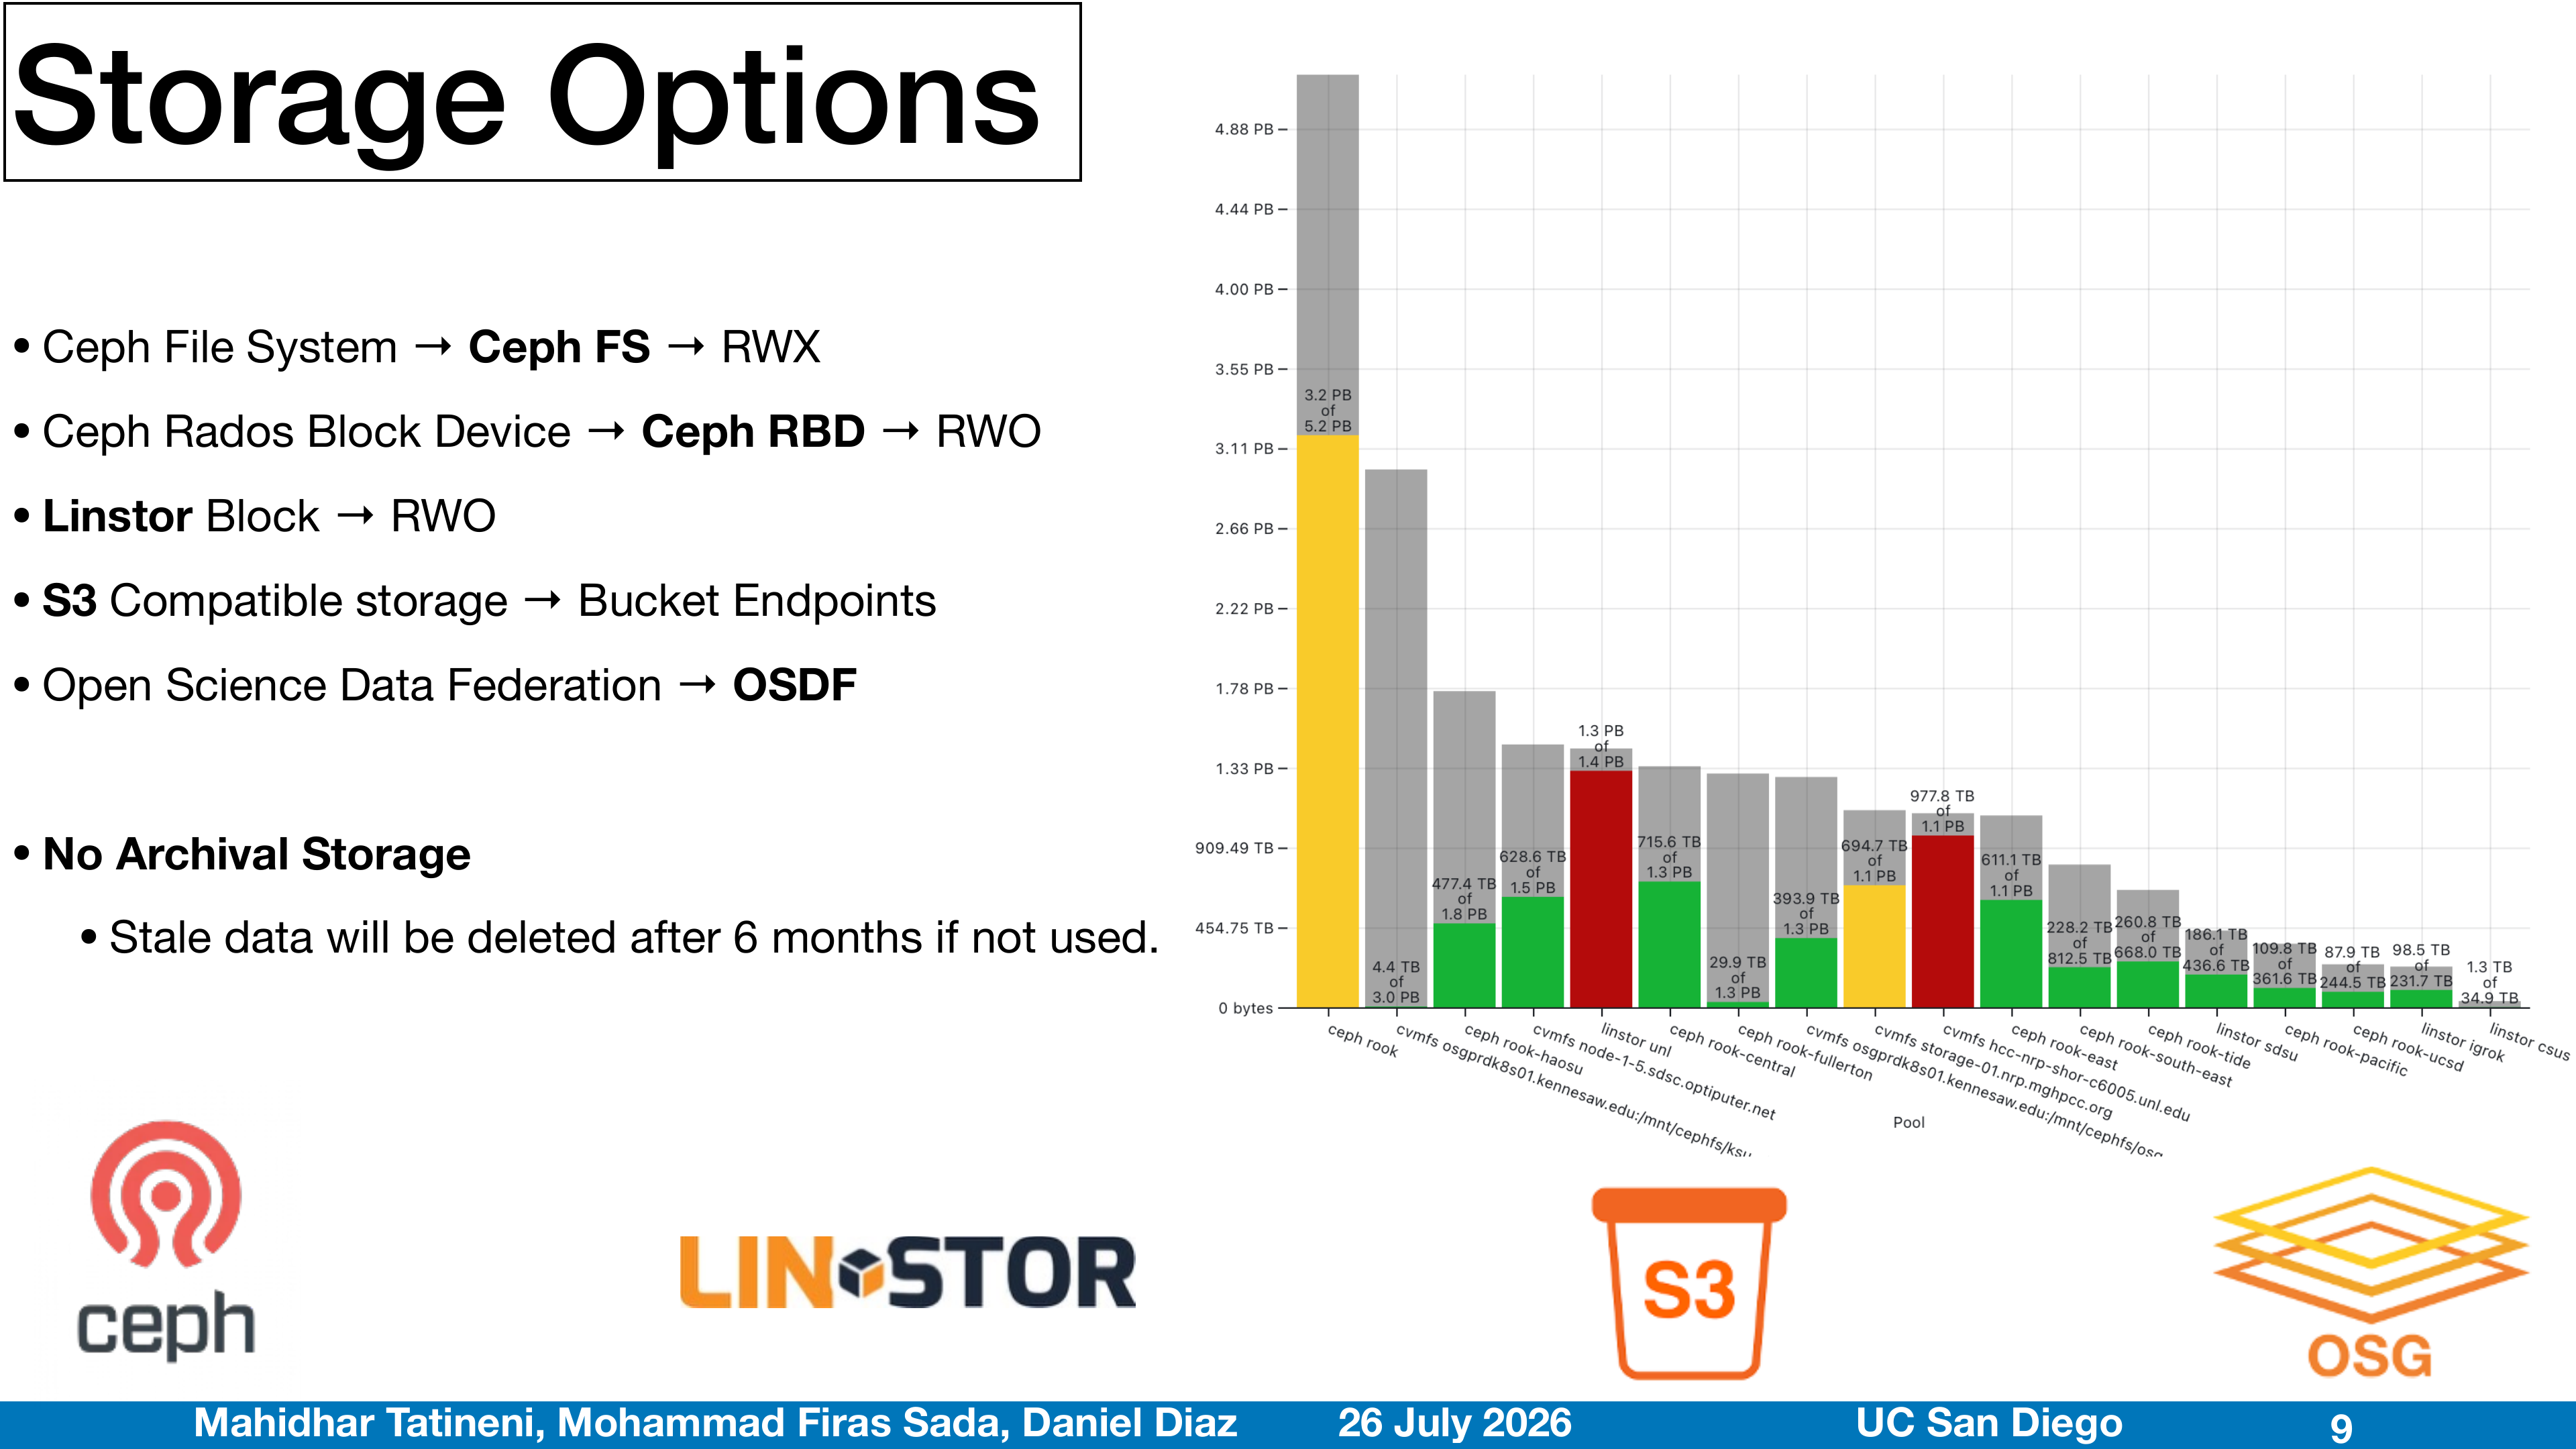
- Storage: CephFS, RBD block storage, CVMFS, S3
- Monitoring: Prometheus, Grafana, PerfSONAR
- Compute and data tools: JupyterHub, GitLab, Coder, WebODM, Nextcloud, Overleaf
- AI services: managed LLM inference (OpenAI-compatible), Milvus vector database
- Scale: 500+ nodes · 1500+ GPUs · 50+ FPGAs
Useful links for the live session:
- Launch the workspace
- NRP live resource view
- NRP namespaces view
- NRP documentation
- NRP support and Matrix chat
How users interact with NRP
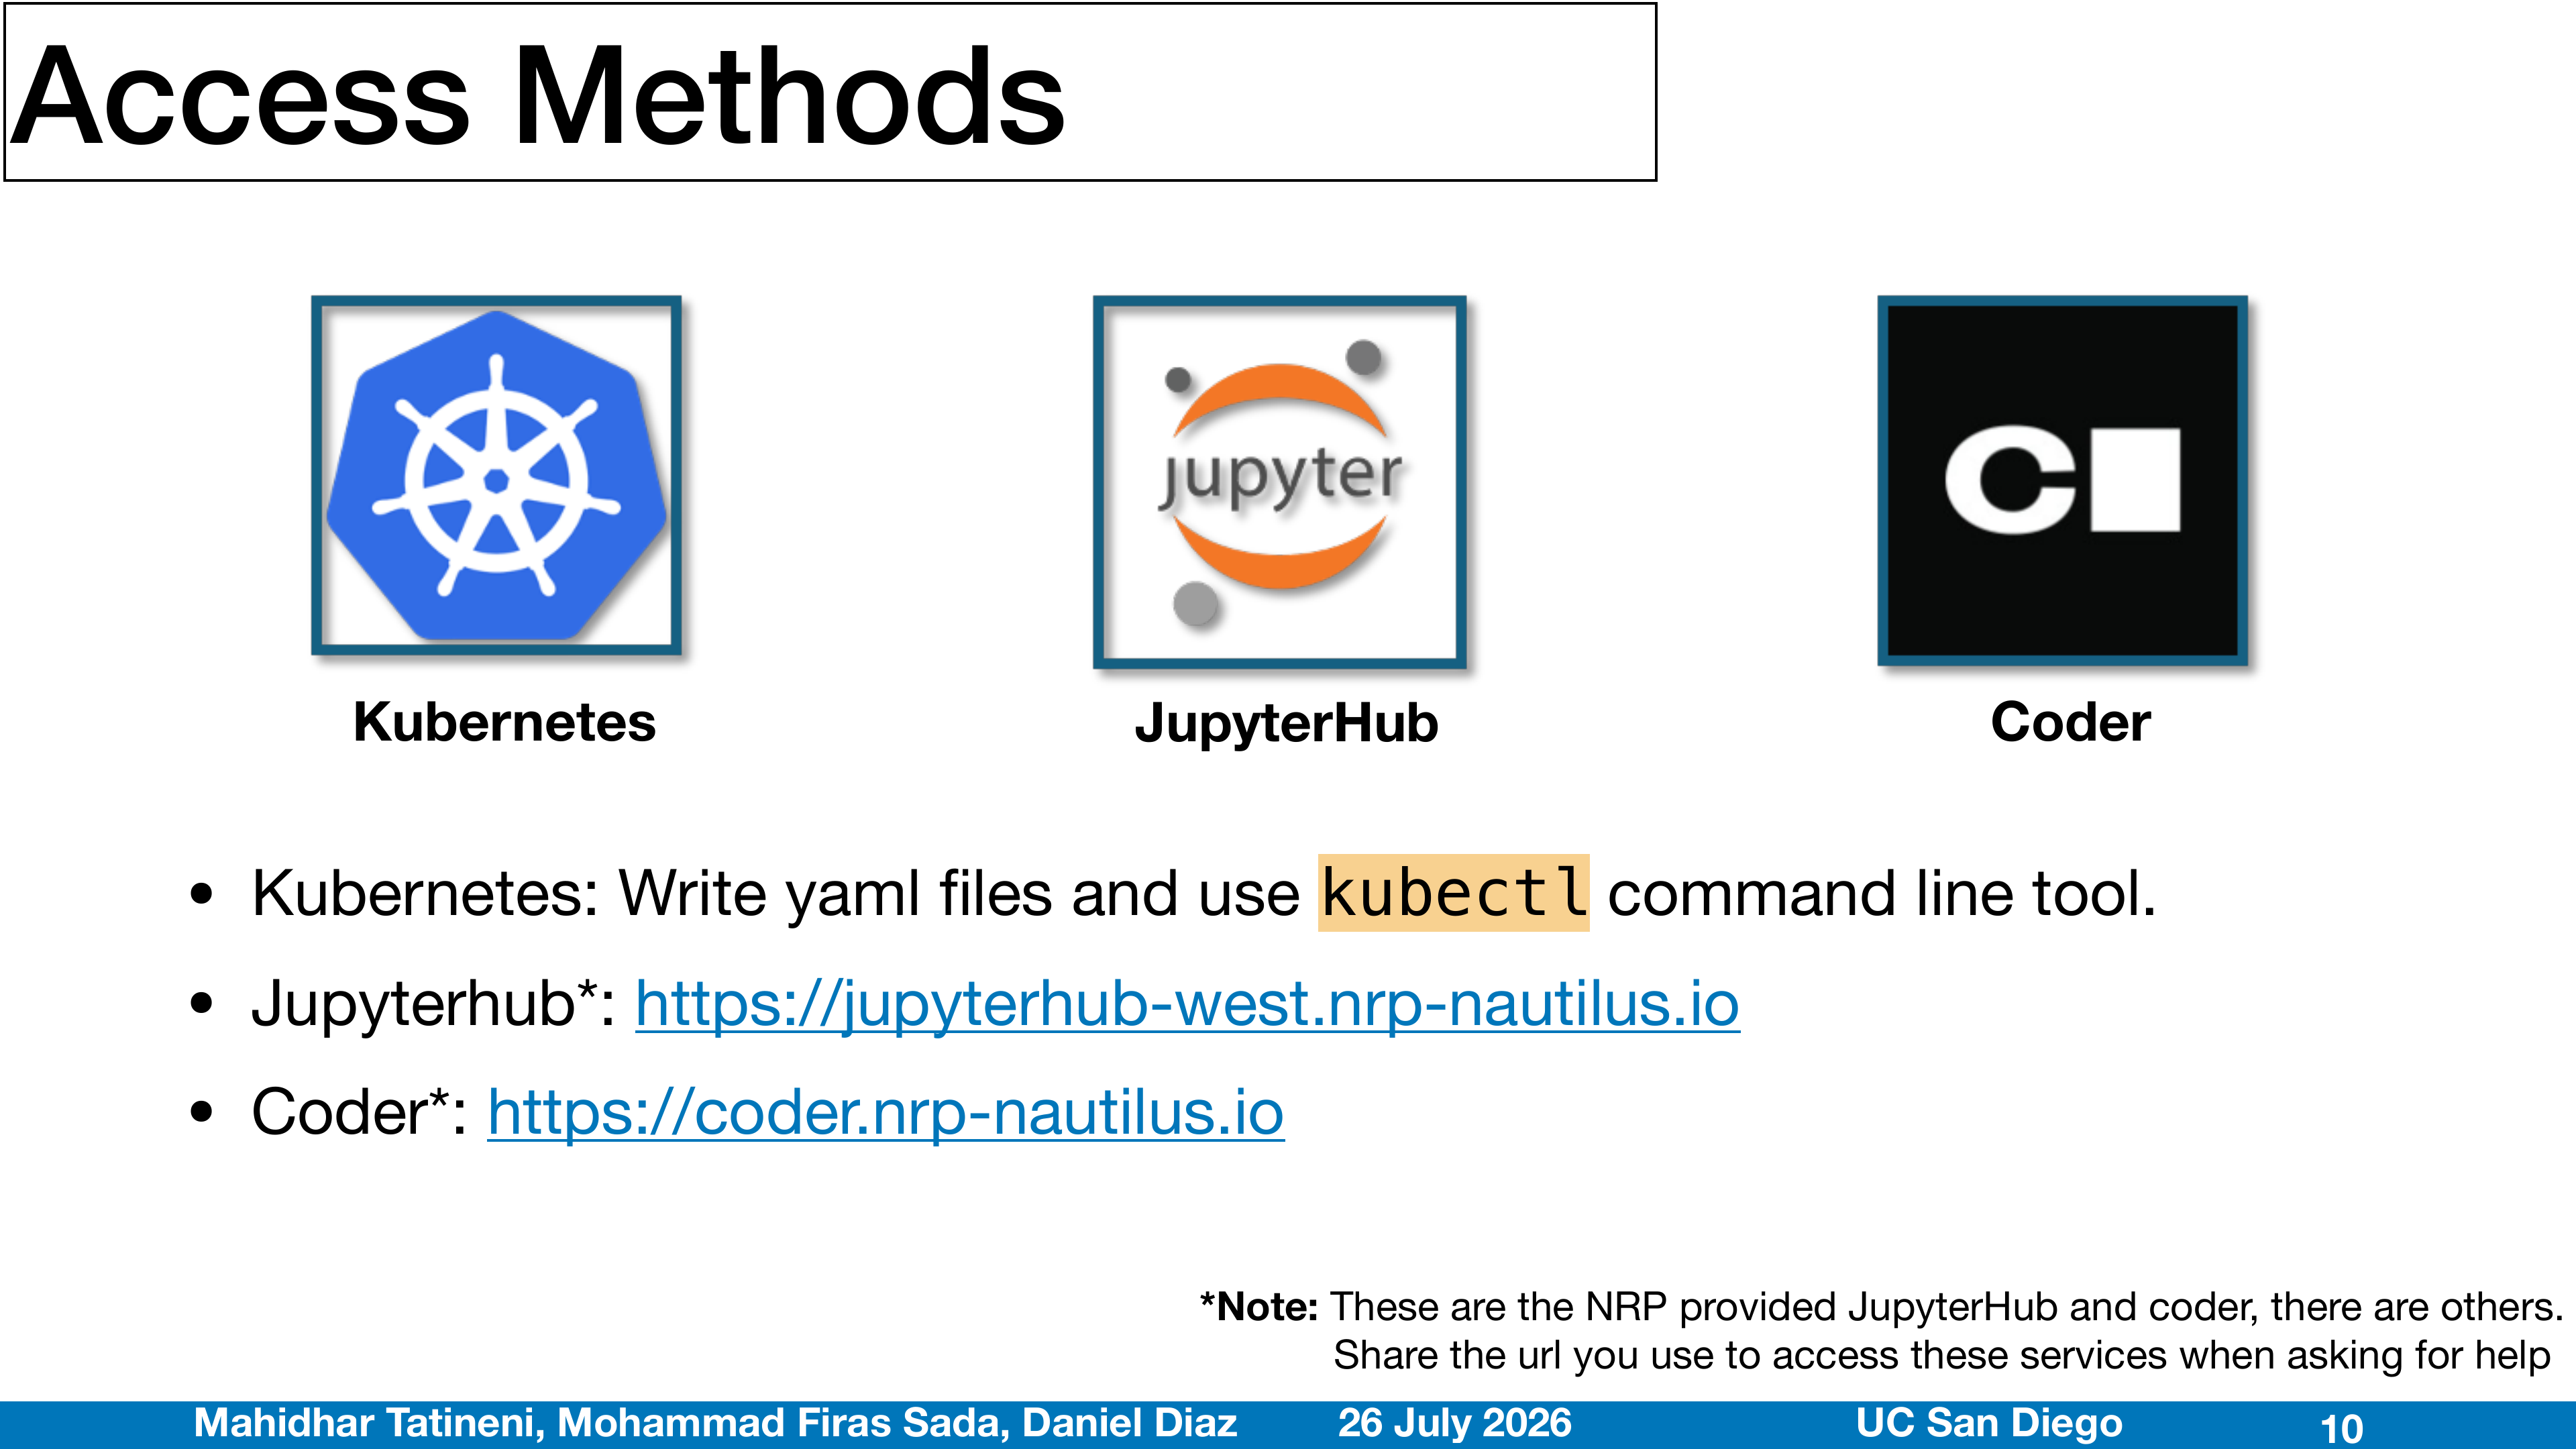
The majority of NRP users interact with the cluster in three ways:
- Kubernetes — directly submit and manage containerized workloads (services and batch jobs) using
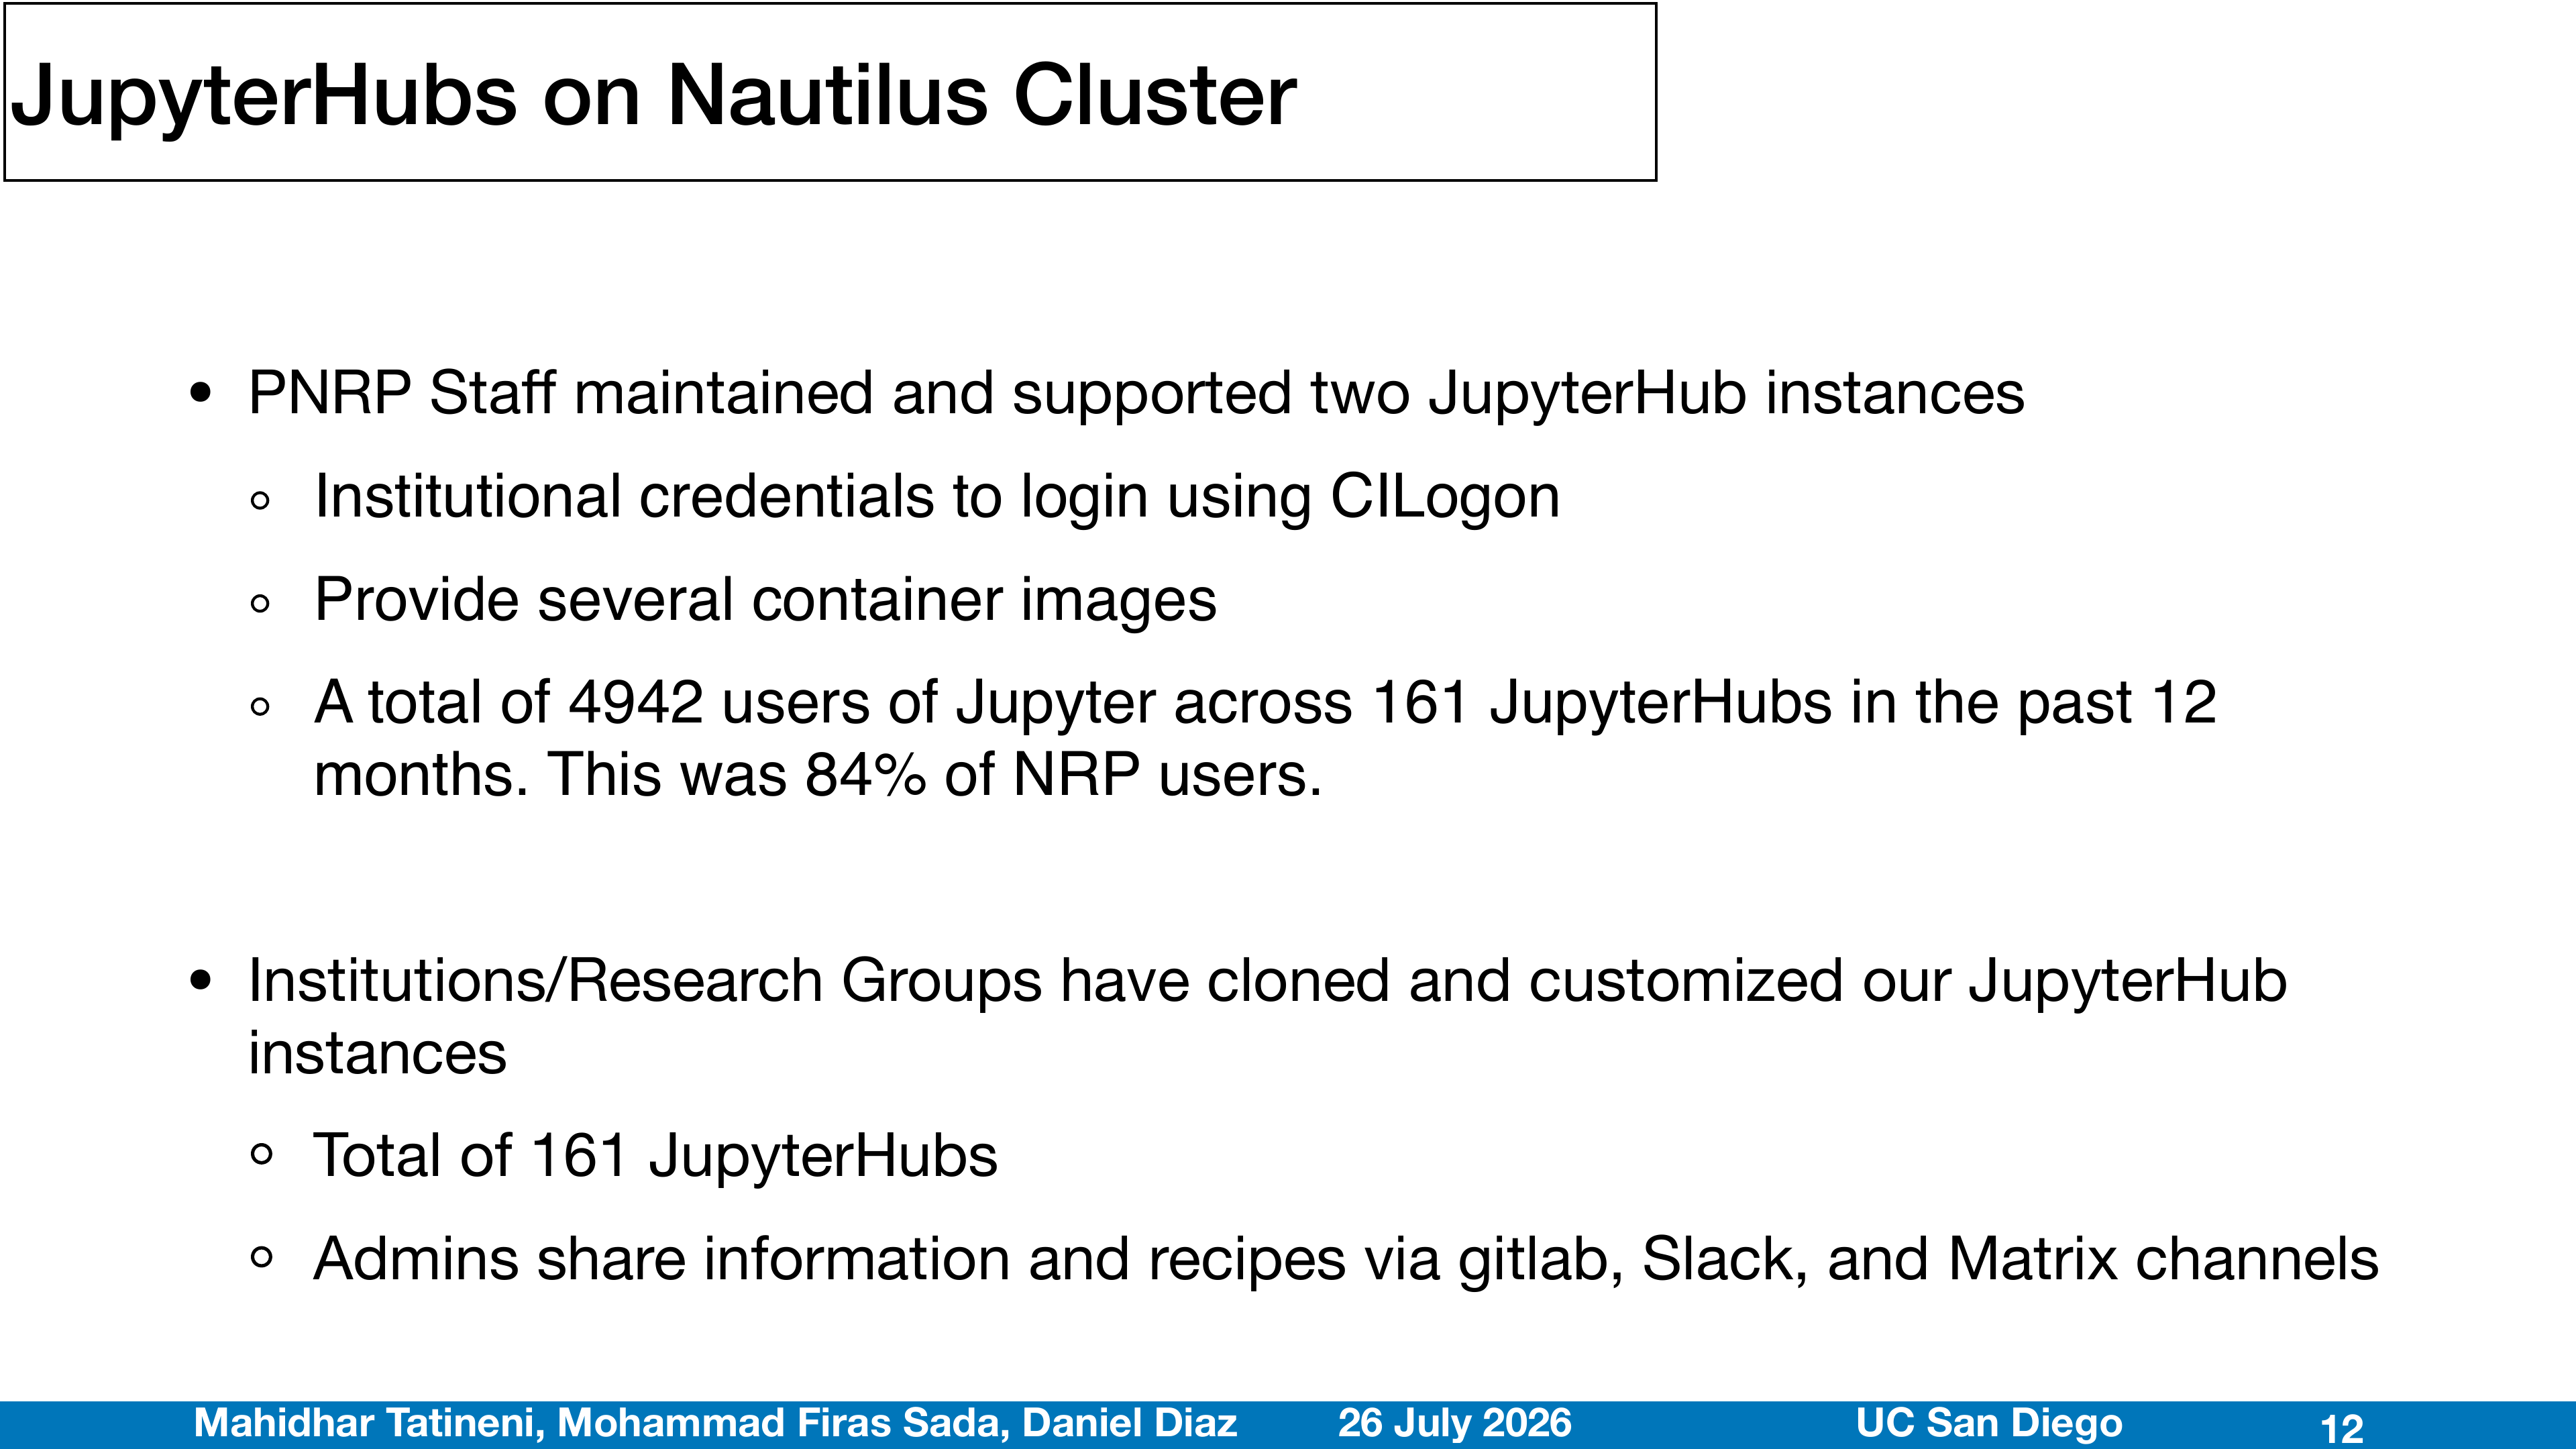
kubectland the Kubernetes APIs. - JupyterHub — start a JupyterLab notebook server on the cluster for interactive analysis, prototyping, and teaching workflows.
- Coder — launch a browser-based VS Code environment connected to cluster resources.
Today you will use JupyterHub as the front door and drive Kubernetes from its terminal.
Kubernetes basics (quick intro)
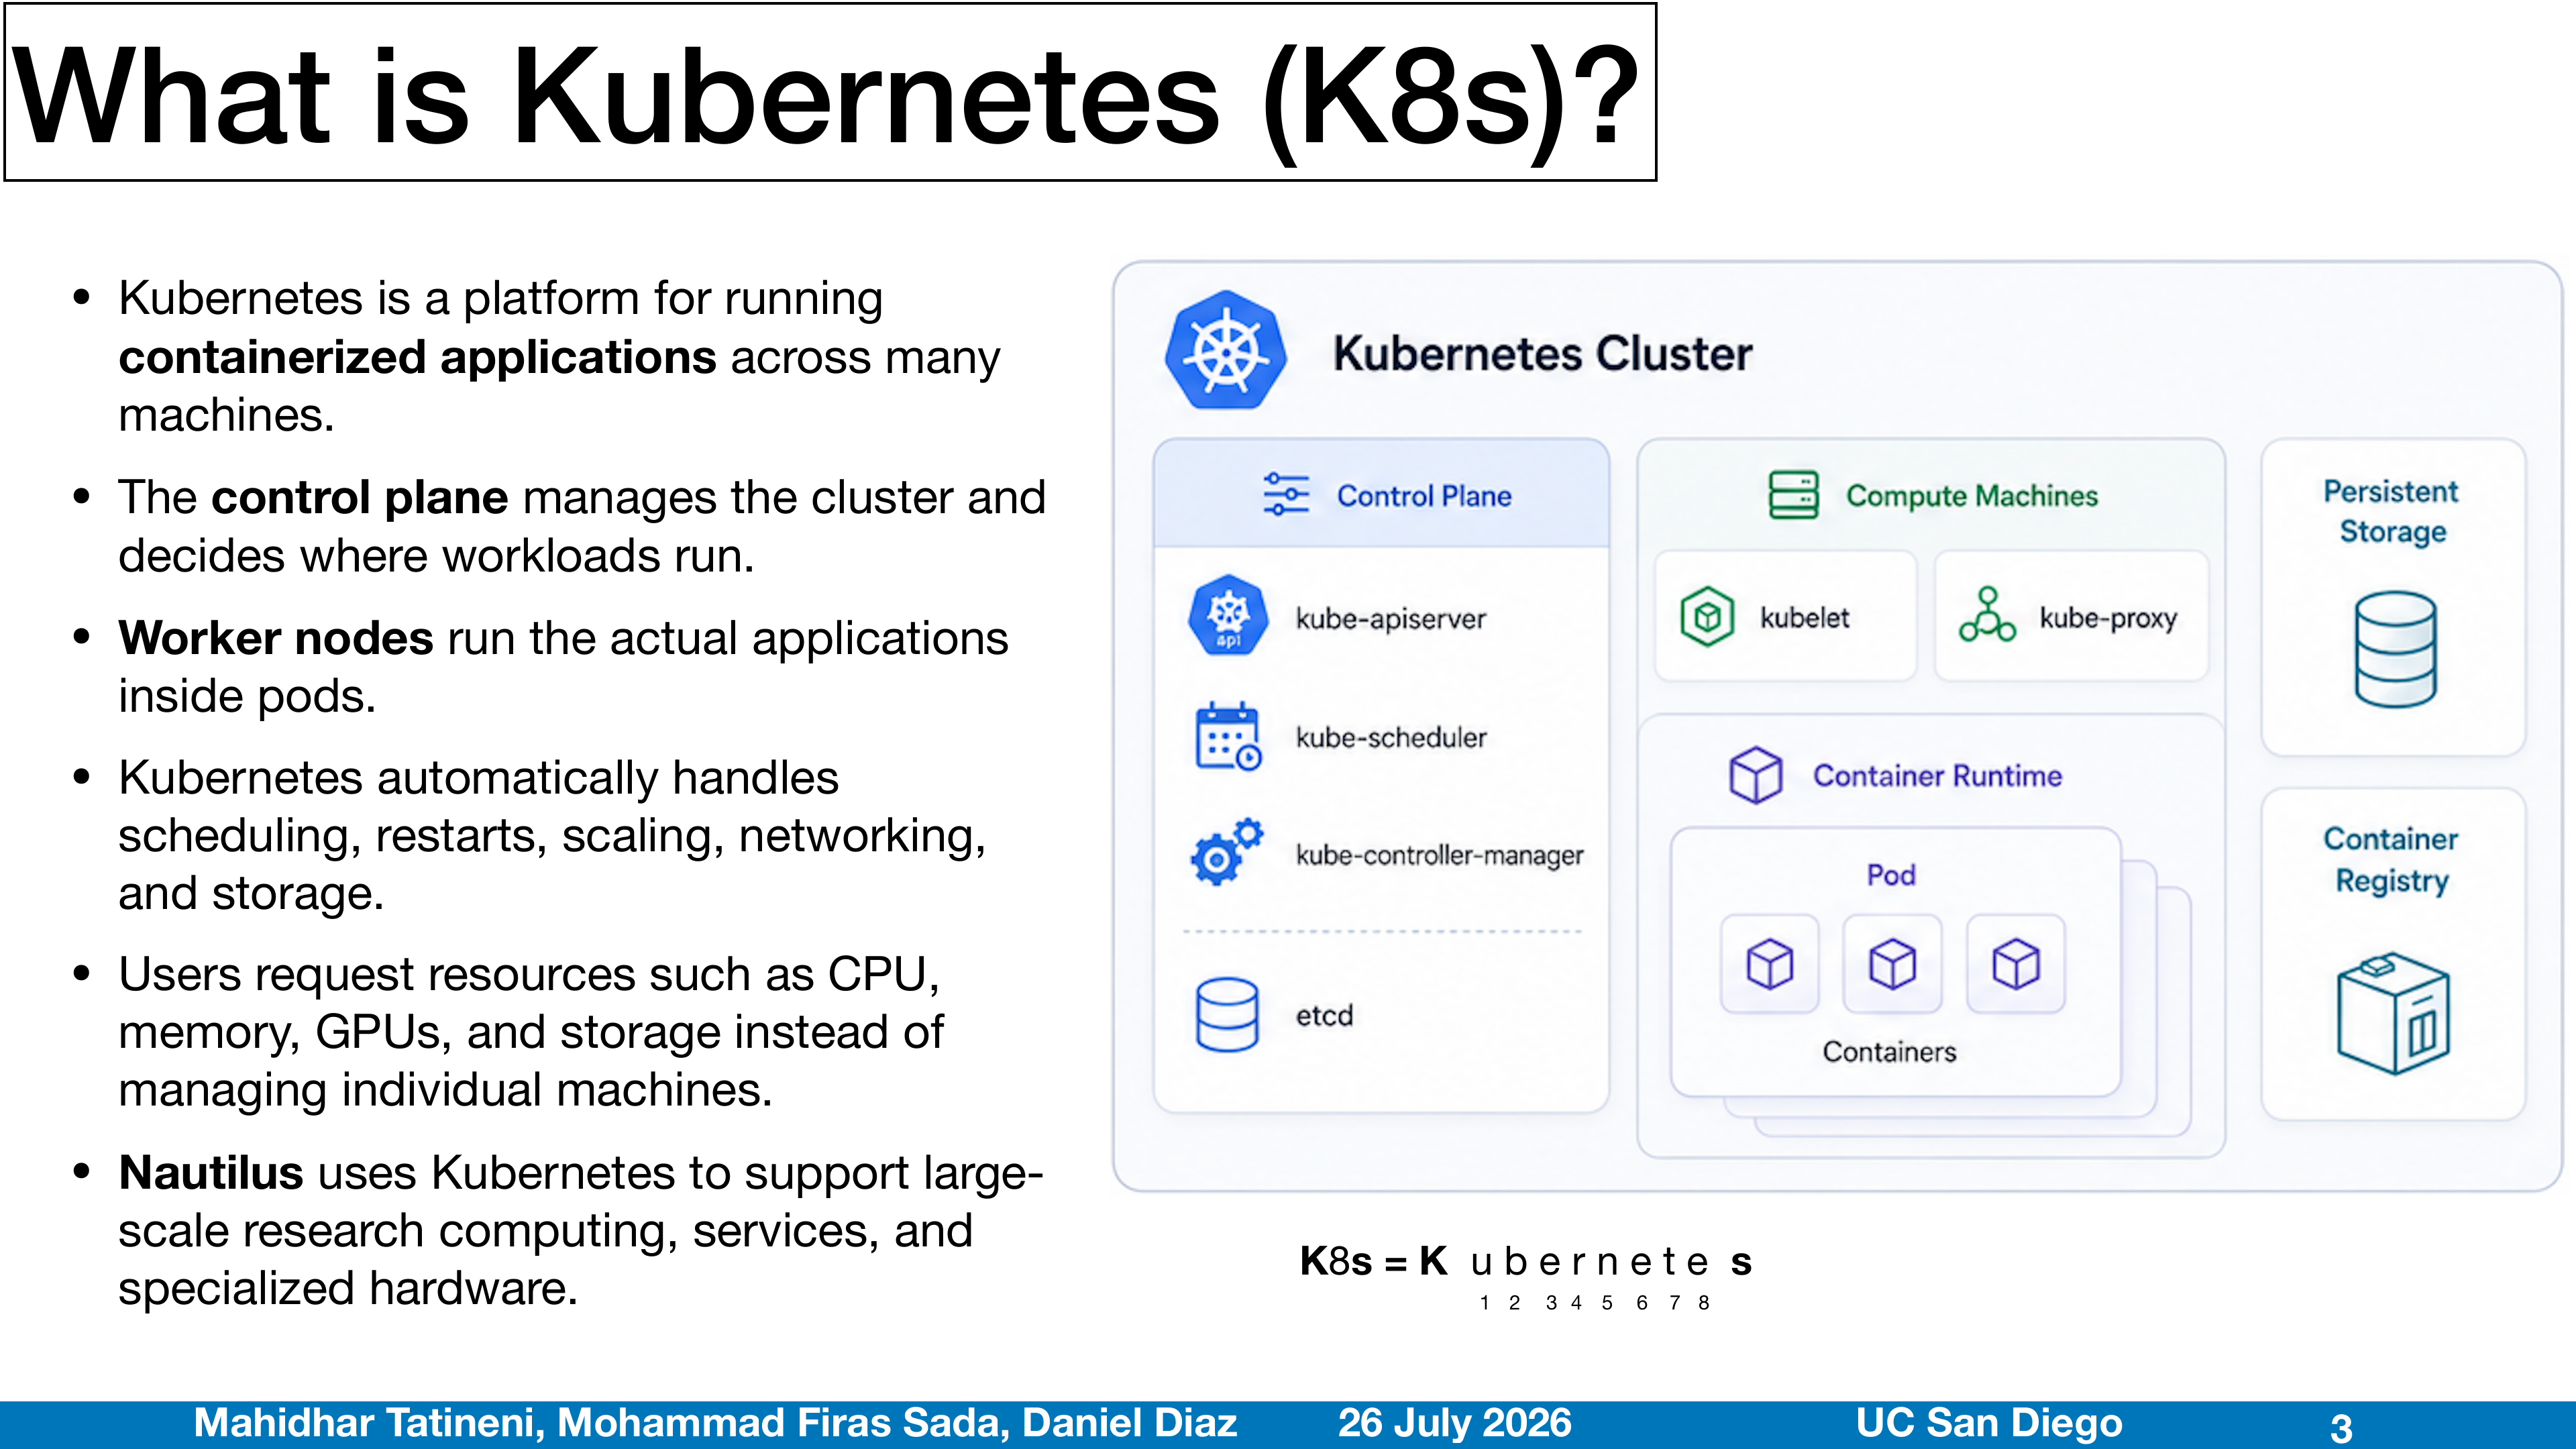
Kubernetes is a system for running applications on a cluster by managing workloads (things you want to run) and keeping them in the desired state.
Most interactions with Kubernetes involve creating and updating resources (objects) described in YAML.
- A YAML "manifest" declares the desired state (what you want running).
- Kubernetes works continuously to make the cluster match that desired state.
Typical workflow:
- Write or edit a YAML manifest.
- Apply it to the cluster (
kubectl apply -f ...). - Check status and troubleshoot (pods, logs, events).
Kubernetes workloads
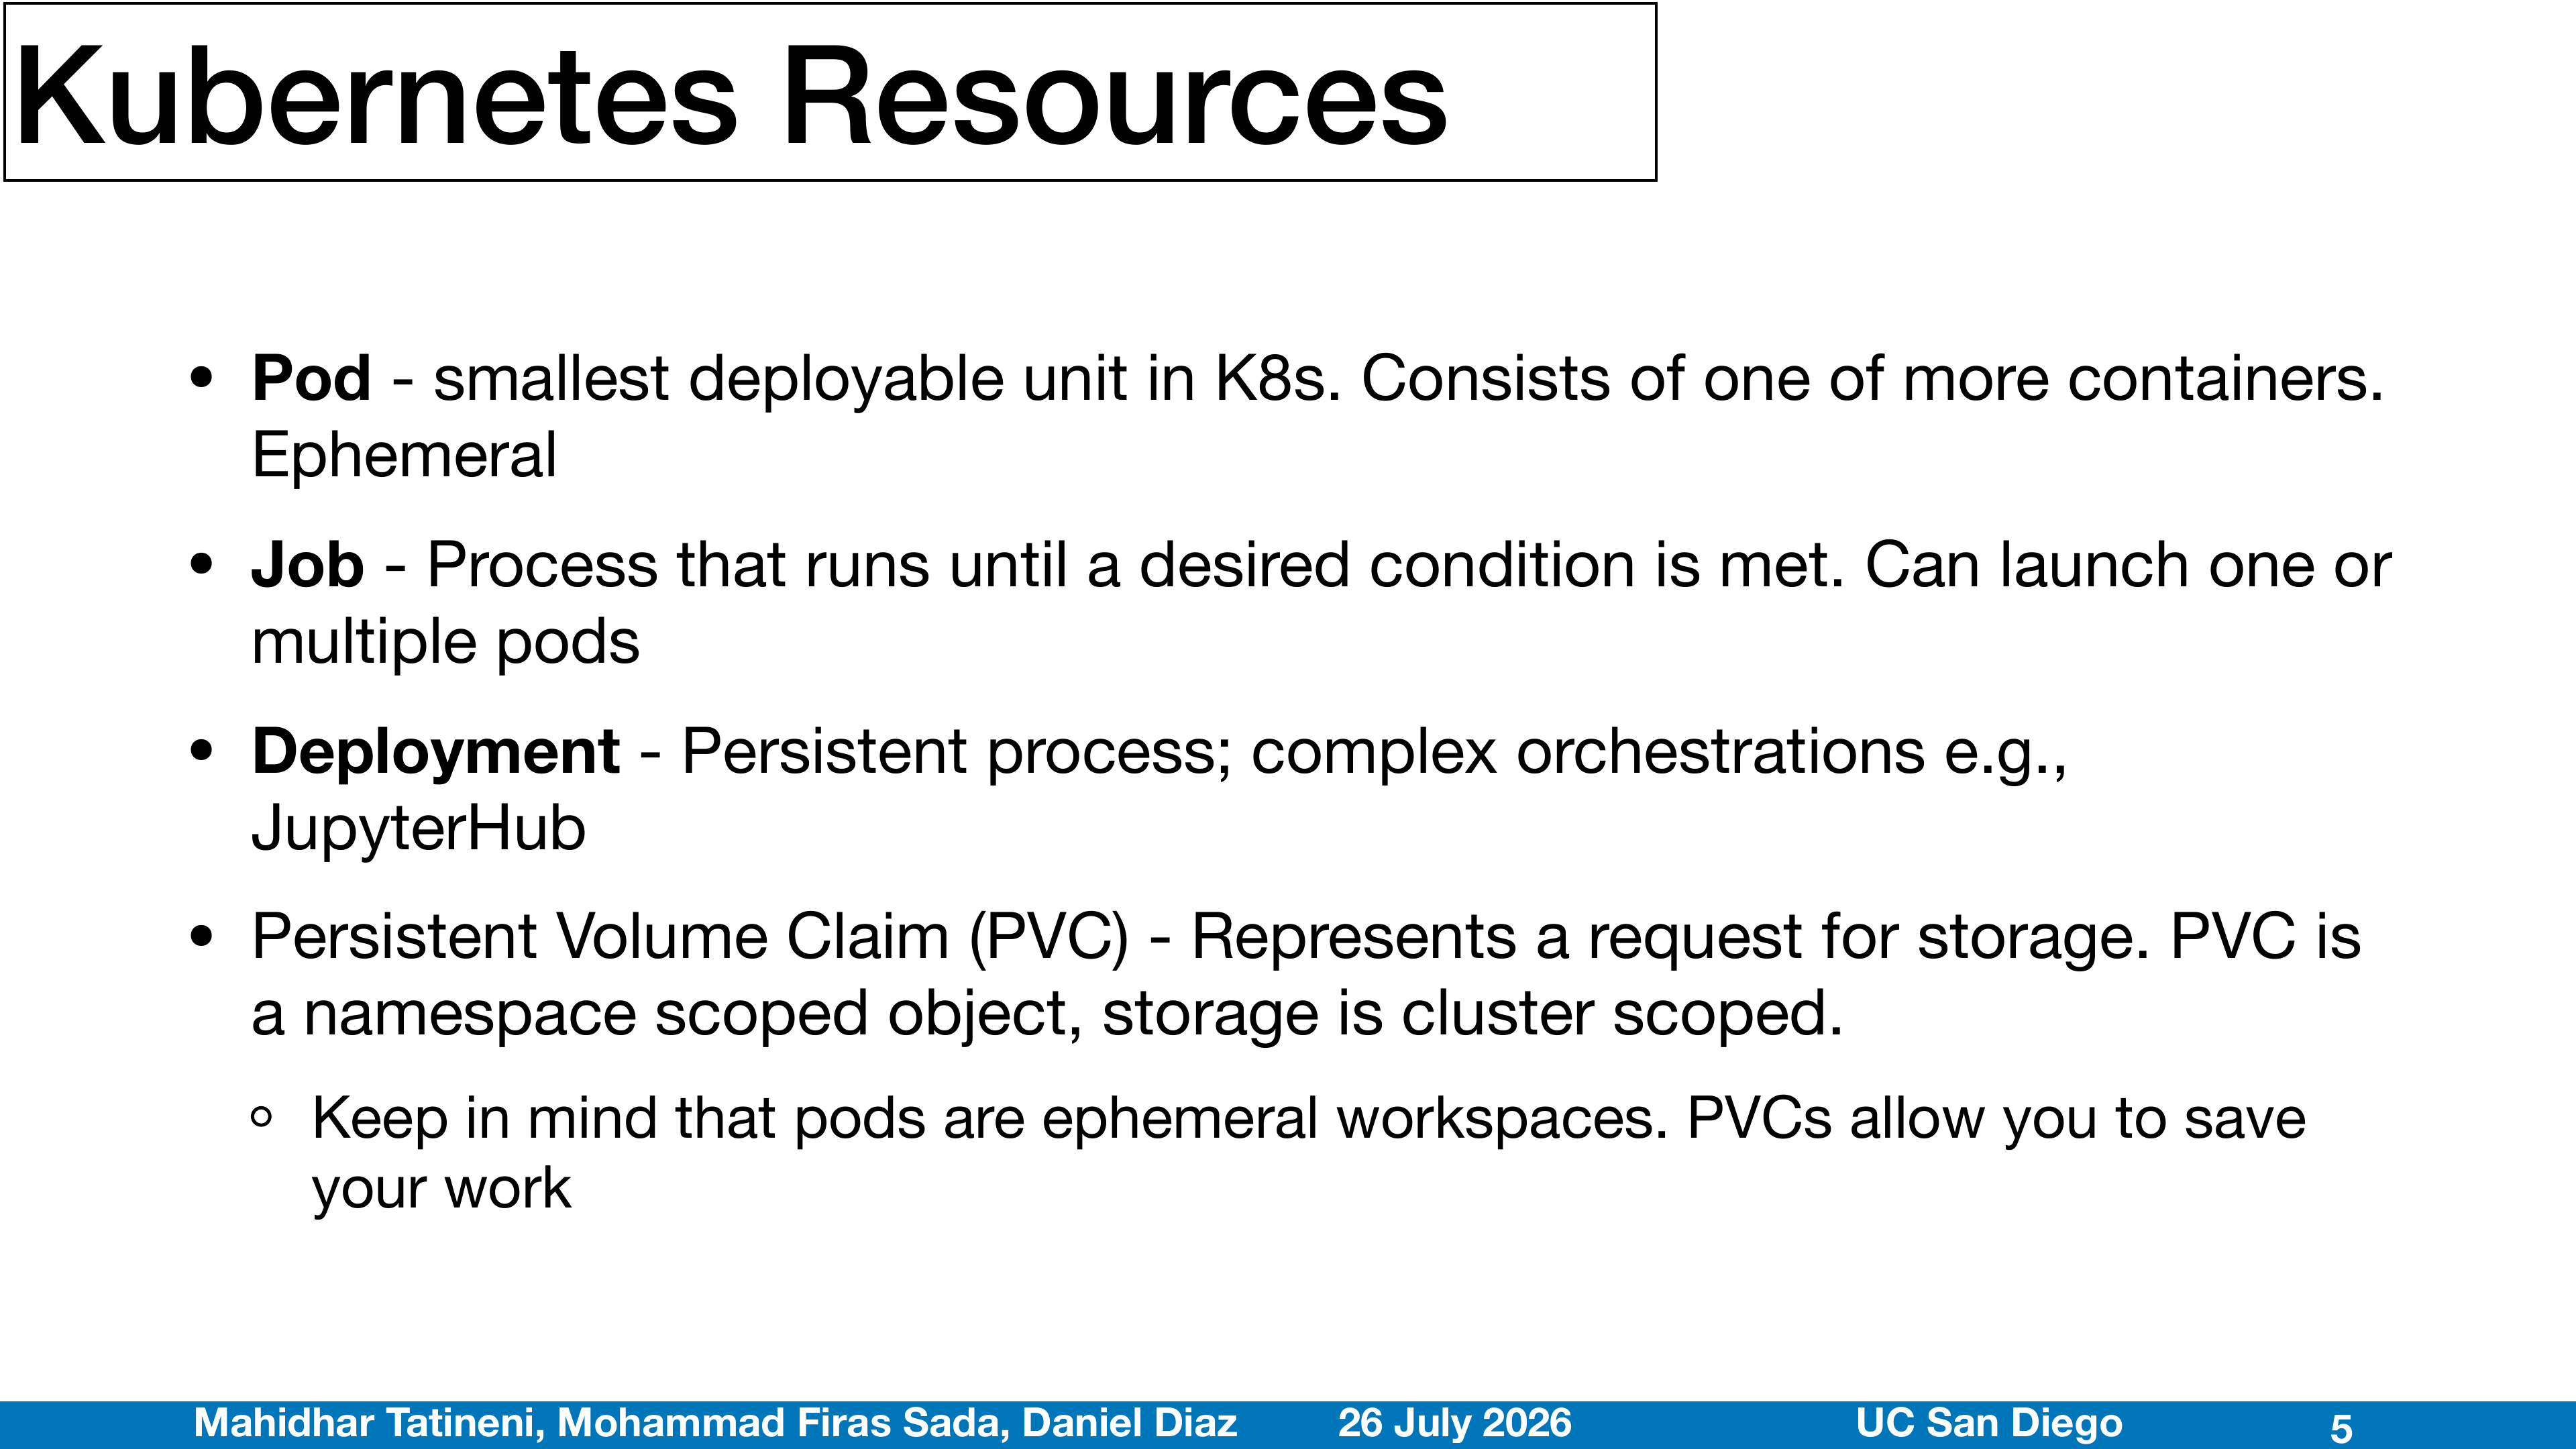
- Pod: the basic unit where your application runs (one or more containers together).
- Job: runs work to completion (batch or one-off tasks).
- Deployment: manages long-running services and keeps them available (including rolling updates).
Rule of thumb:
- Use a Job when the work should finish.
- Use a Deployment when the work should keep running.
Hardware acceleration
Kubernetes requires specialized extensions to manage and assign non-CPU hardware.
- GPUs in Kubernetes: workloads explicitly request NVIDIA GPUs (e.g.
nvidia.com/gpu) via resource limits in their manifests. - Device plugins: software components that advertise specialized hardware to the Kubernetes scheduler. Qualcomm Cloud AI devices are exposed natively as
qualcomm.com/qaic.
Keep in mind
- Pods are ephemeral. Once a pod is terminated all data is deleted.
- PersistentVolumeClaims (PVCs) are used to claim long-term storage.
- Users don't log into cluster nodes. Workloads are defined in YAML and submitted with
kubectlfrom any machine that has it — your laptop or a JupyterHub terminal.
Docker and containers
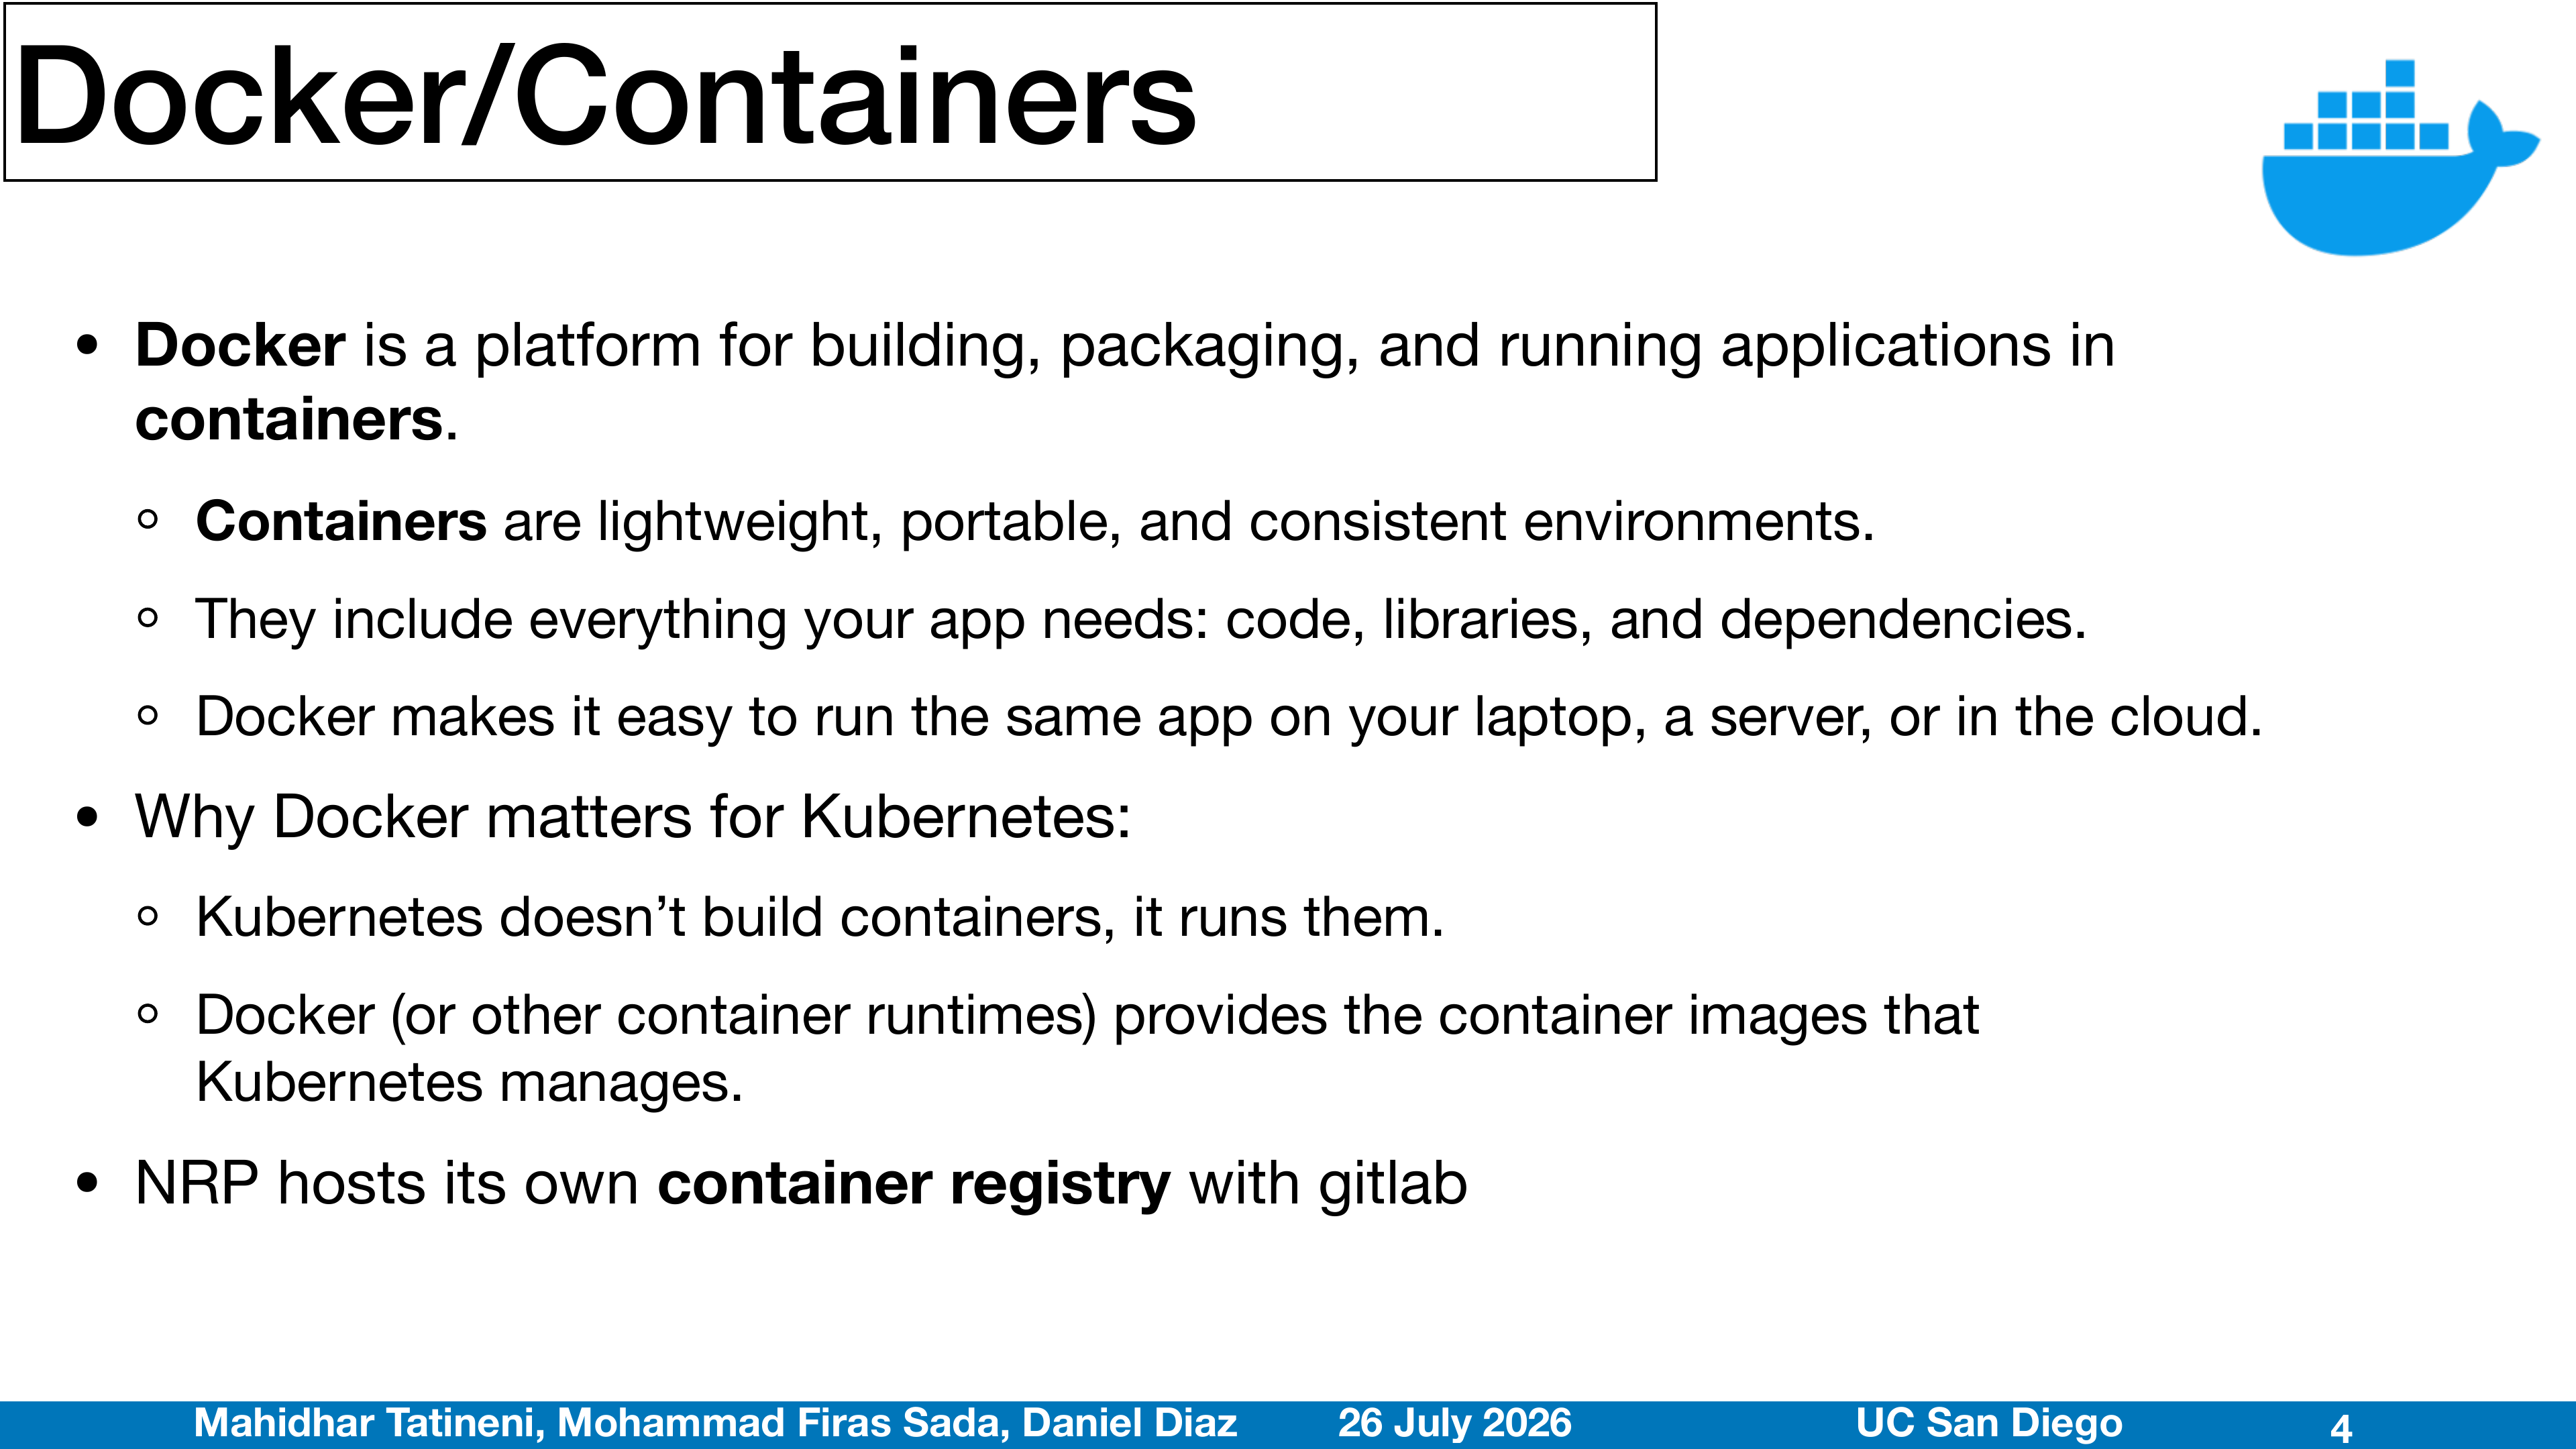
Docker is a tool for building and running containers. A container image packages your application code, its libraries and dependencies, and enough operating-system files to run consistently — the same image runs on your laptop, a VM, or a Kubernetes cluster.
Why Docker matters for Kubernetes: Kubernetes runs container images; it does not build them. You build an image (with Docker or CI/CD), a registry stores it, and Kubernetes pulls and runs it.
Container registries store and distribute images. Docker Hub is the public example; NRP GitLab provides a registry for your own images (public or private), and you can build images directly in GitLab CI/CD — the afternoon session does exactly that.
How to follow along — three ways
Every hands-on block in this tutorial can be driven three ways; pick what you like and switch anytime:
- Runnable notebooks (recommended). The workspace ships a
notebooks/folder with one notebook per episode — every command is a cell; Shift+Enter runs it. Cells execute in a persistent bash shell (the Bash kernel), soexports,cd, and variables carry from cell to cell. A ⚙️ setup cell at the top renders every manifest with your username filled in — no hand-editing<username>. - Copy from this site. Hover any code block for a copy button, then paste into a JupyterLab terminal (File → New → Terminal).
- Console-on-markdown. In JupyterLab, right-click any lesson
.mdfile → Create Console for Editor → pick the Bash kernel. Shift+Enter inside a code block runs it without leaving the file.
A few helpers as you go:
- 🗺️ Guided tour — new to JupyterLab? In the hub, open Help → PEARC26 Tutorial Tour for a one-minute walkthrough of the workspace (files, notebooks, terminals, check script).
- ✅ Check your work —
bash check.sh <episode>in the workspace verifies your resources on the live cluster, with a hint for anything broken. Every notebook ends with that cell; rerun it as often as you like. - 🧠 Quick check — each episode page on this site ends with a few click-to-answer questions.
- ⏱️ Cell timers — every executed cell shows how long it took, so you'll know a slow step from a stuck one.
Commands marked 🖥️ Terminal step in the notebooks (kubectl exec -it, port-forward, -w watches) are interactive or long-running — run those in a terminal, not a cell.
Blocks shown as python are printed that way for readability, but the Bash-kernel notebook wraps them so they run as an ordinary cell — just Shift+Enter. To run one in a plain terminal instead, save it to a file and python3 file.py.
Getting a terminal with kubectl
Zero install — use the training JupyterHub
The tutorial hub at jh-training.nrp-nautilus.io is pre-configured: every spawned JupyterLab pod has kubectl and helm installed with a kubeconfig wired to the tutorial namespace. Open File → New → Terminal in JupyterLab and start running kubectl immediately.
Verify your access:
Bash
kubectl auth whoamiBash
kubectl get pods -n nrp-training-k8sExpected output
text
Username: system:serviceaccount:nrp-training:jupyterhub-saThe pod listing may be empty or show other participants' pods — both are fine.
Gatekeeper: why every example sets requests and limits
Nautilus runs a cluster-wide Gatekeeper policy that rejects pods that omit CPU or memory requests/limits, and rejects pods where the limit/request ratio exceeds 1.2×. Every YAML in this tutorial sets requests == limits so you never trip it. If you copy-paste a manifest from upstream Kubernetes docs and it gets rejected, this is almost always why.
Being a good citizen
NRP is a shared resource. Aim for pod utilization of GPU > 40%, CPU 20–200%, RAM 20–150% of the requested amount, and delete what you're not using. Live dashboards are on Grafana; the acceptable-use policy is at nrp.ai/documentation/userdocs/start/policies.
🧠 Quick check — before you move on
A pod you submitted is rejected with a Gatekeeper policy error. What is the most likely cause?
Nautilus rejects pods without requests/limits (or with limit/request ratios above 1.2×). Every manifest in this tutorial sets
requests == limits so you never trip it.You need to fine-tune a model for about two hours and then stop. Which workload fits best?
Jobs run work to completion; Deployments keep services running forever. Rule of thumb: work that should finish → Job, work that should stay up → Deployment.
Where does data survive after a pod terminates?
Pods are ephemeral — anything on the container filesystem is gone at termination. PVCs claim long-lived storage that outlives pods.
Who builds the container images that Kubernetes runs?
Kubernetes never builds images. Build with Docker or GitLab CI, push to a registry (Docker Hub, NRP GitLab), and reference the image in your pod spec — the afternoon session does exactly this.
The same image runs identically on your laptop and on a cluster node. What makes that true?
A container image is a self-contained filesystem — that's the reproducibility story: "works on my machine" becomes "works on every machine that can run the image".
Next up: hands-on Kubernetes — pods, storage, deployments, jobs, services, and your first GPU pod.