
Introduction, Access & Resource Requests
▶ Launch the workspace in JupyterHub — signs you in at jh-training.nrp-nautilus.io, pulls the repo, and opens JupyterLab in the training workspace directory on the training GPU nodes.
Time: 00:00-00:25
This section gets everyone into the NAIRR Pilot Classroom training environment, confirms that the JupyterHub terminal has kubectl access, and shows how accelerator requests appear both in the NRP portal and in Kubernetes manifests.
Run all commands from a JupyterHub terminal. Command blocks are formatted for copy/paste into that terminal.
Schedule
| Topic | Outcome |
|---|---|
| NRP overview | Understand where JupyterHub, Kubernetes, GPUs, and Qualcomm Cloud AI 100 SoCs fit. |
| Access with CILogon | Log into the training JupyterHub and open the tutorial workspace. |
| Resource portal | Inspect available hardware, quotas, and allocation paths. |
| Kubernetes resource requests | Launch a small GPU request on the workshop reservation and clean it up. |
NRP Overview
The National Research Platform (NRP) is a shared national cyberinfrastructure built on the Nautilus Kubernetes cluster. It provides hundreds of nodes, many NVIDIA GPU types, Qualcomm Cloud AI 100 Ultra devices, shared storage, and services such as JupyterHub, GitLab, Coder, and S3.
The core mental model is:
- CILogon authenticates users through institutional identity providers.
- JupyterHub gives each participant a browser-based JupyterLab workspace and terminal.
- Kubernetes useris interact with the cluster directly via commnd line tools.
- YAML manifests describe the compute resources a workload needs.
- Device plugins expose accelerators such as NVIDIA GPUs and Qualcomm Cloud AI 100 SoCs to Kubernetes.
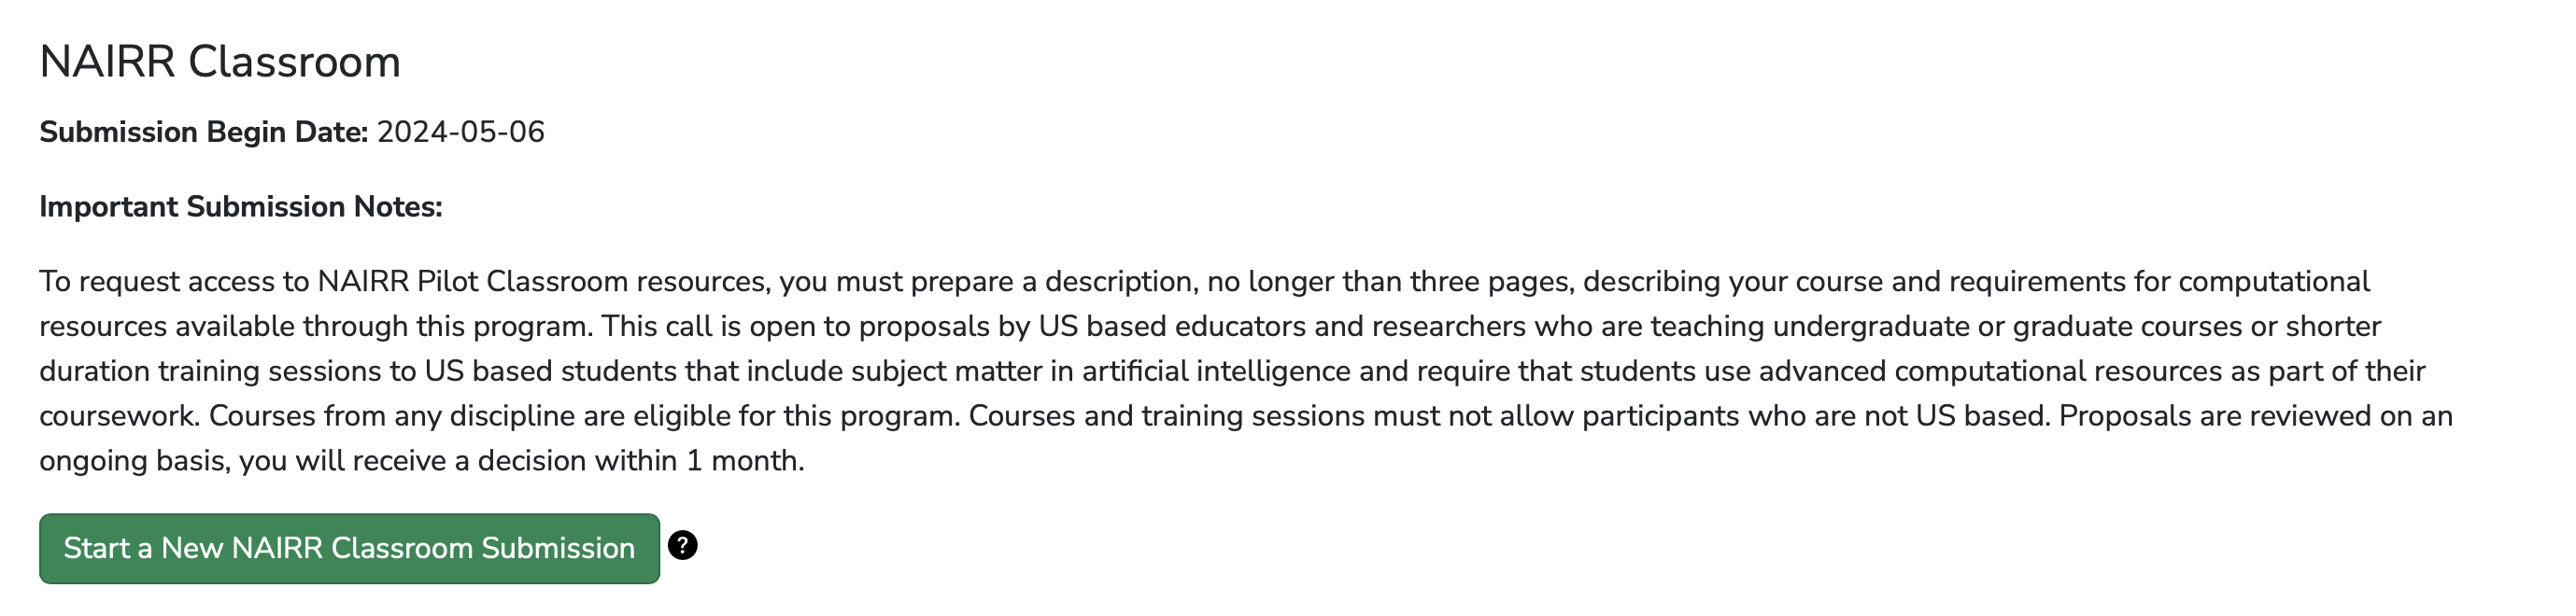
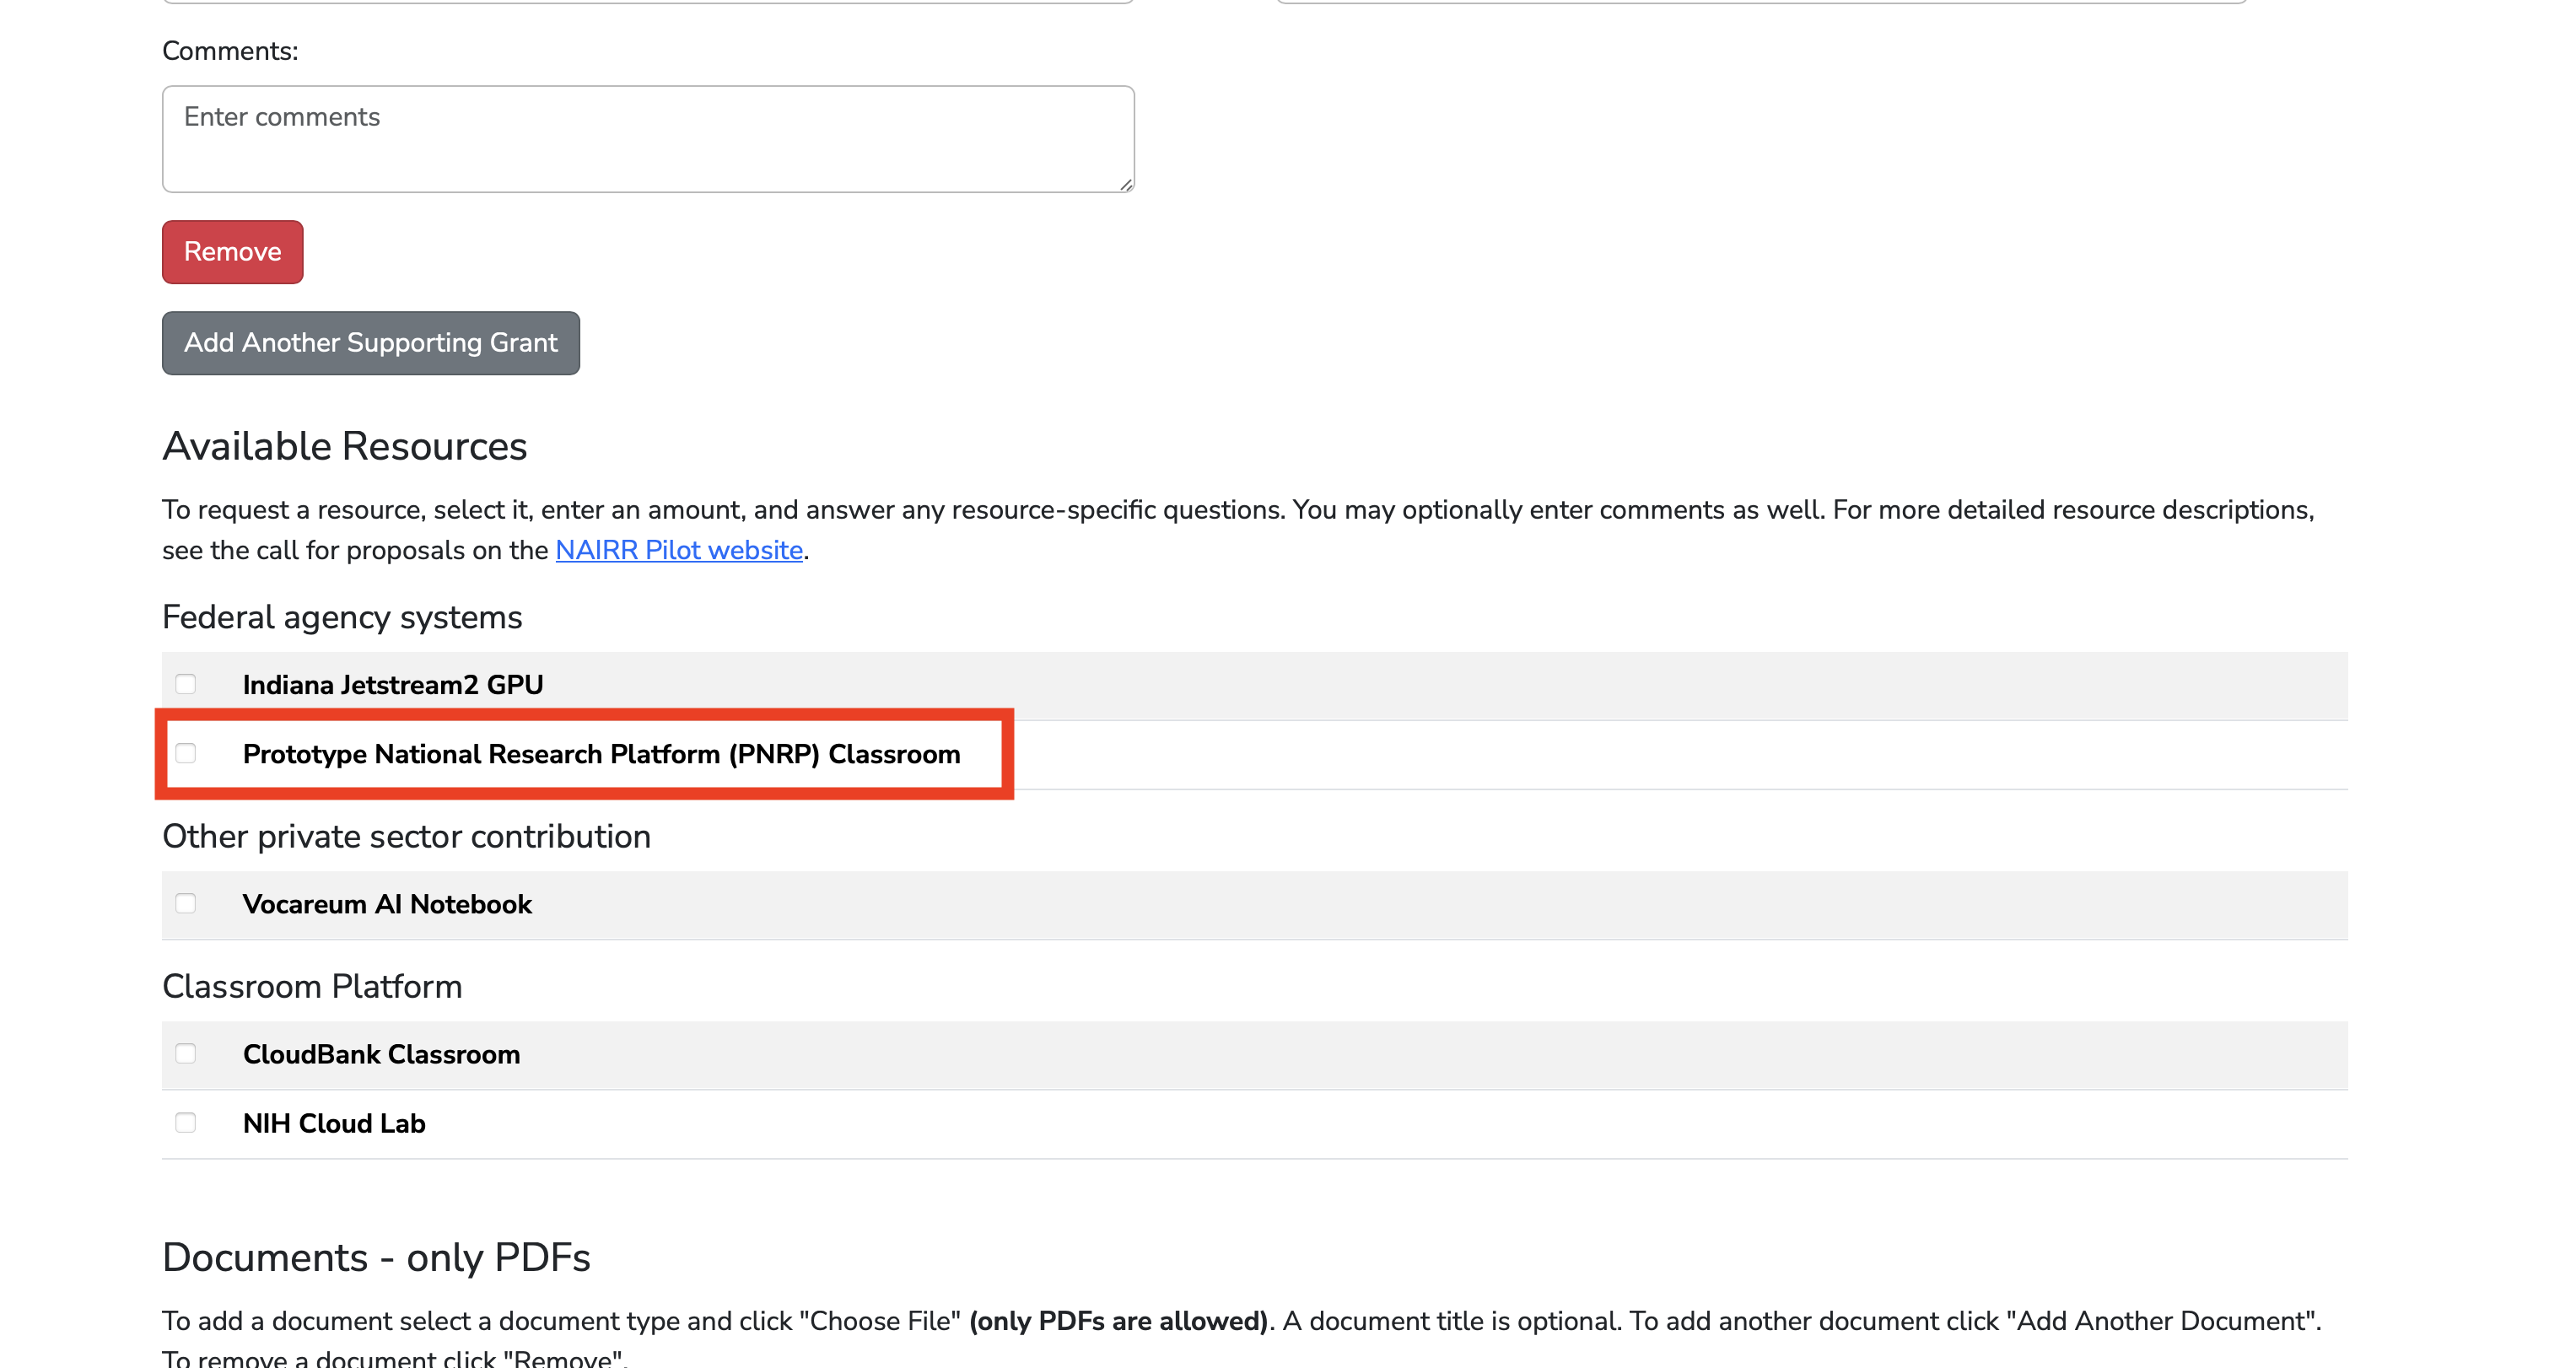
NAIRR Classroom Provider
- Provides a Jupyter platform for your classroom
- Access to NRP Resources (CPU, A10 GPU, storage, LLMs,...)
Capabilities
- Storage: CephFS, CVMFS, S3
- Monitoring: PerfSONAR, traceroute, Prometheus
- Compute and data tools: JupyterHub, WebODM, GitLab, Nextcloud, Overleaf
- Collaboration tools: Jitsi, EtherPad, HedgeDoc, Syncthing
Scale
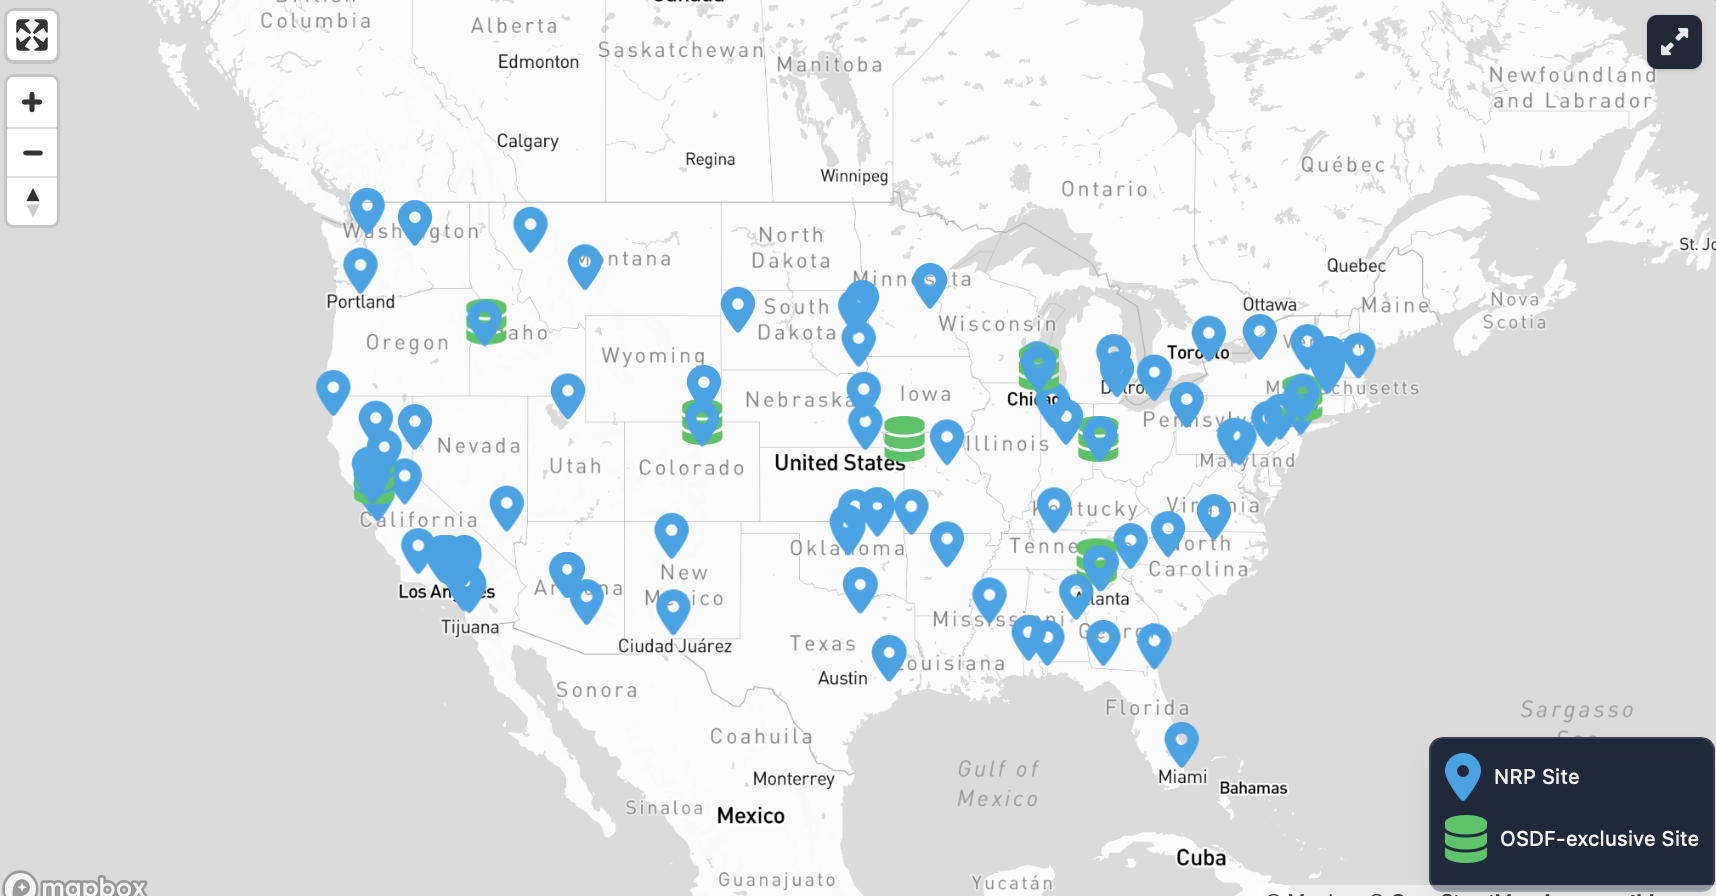
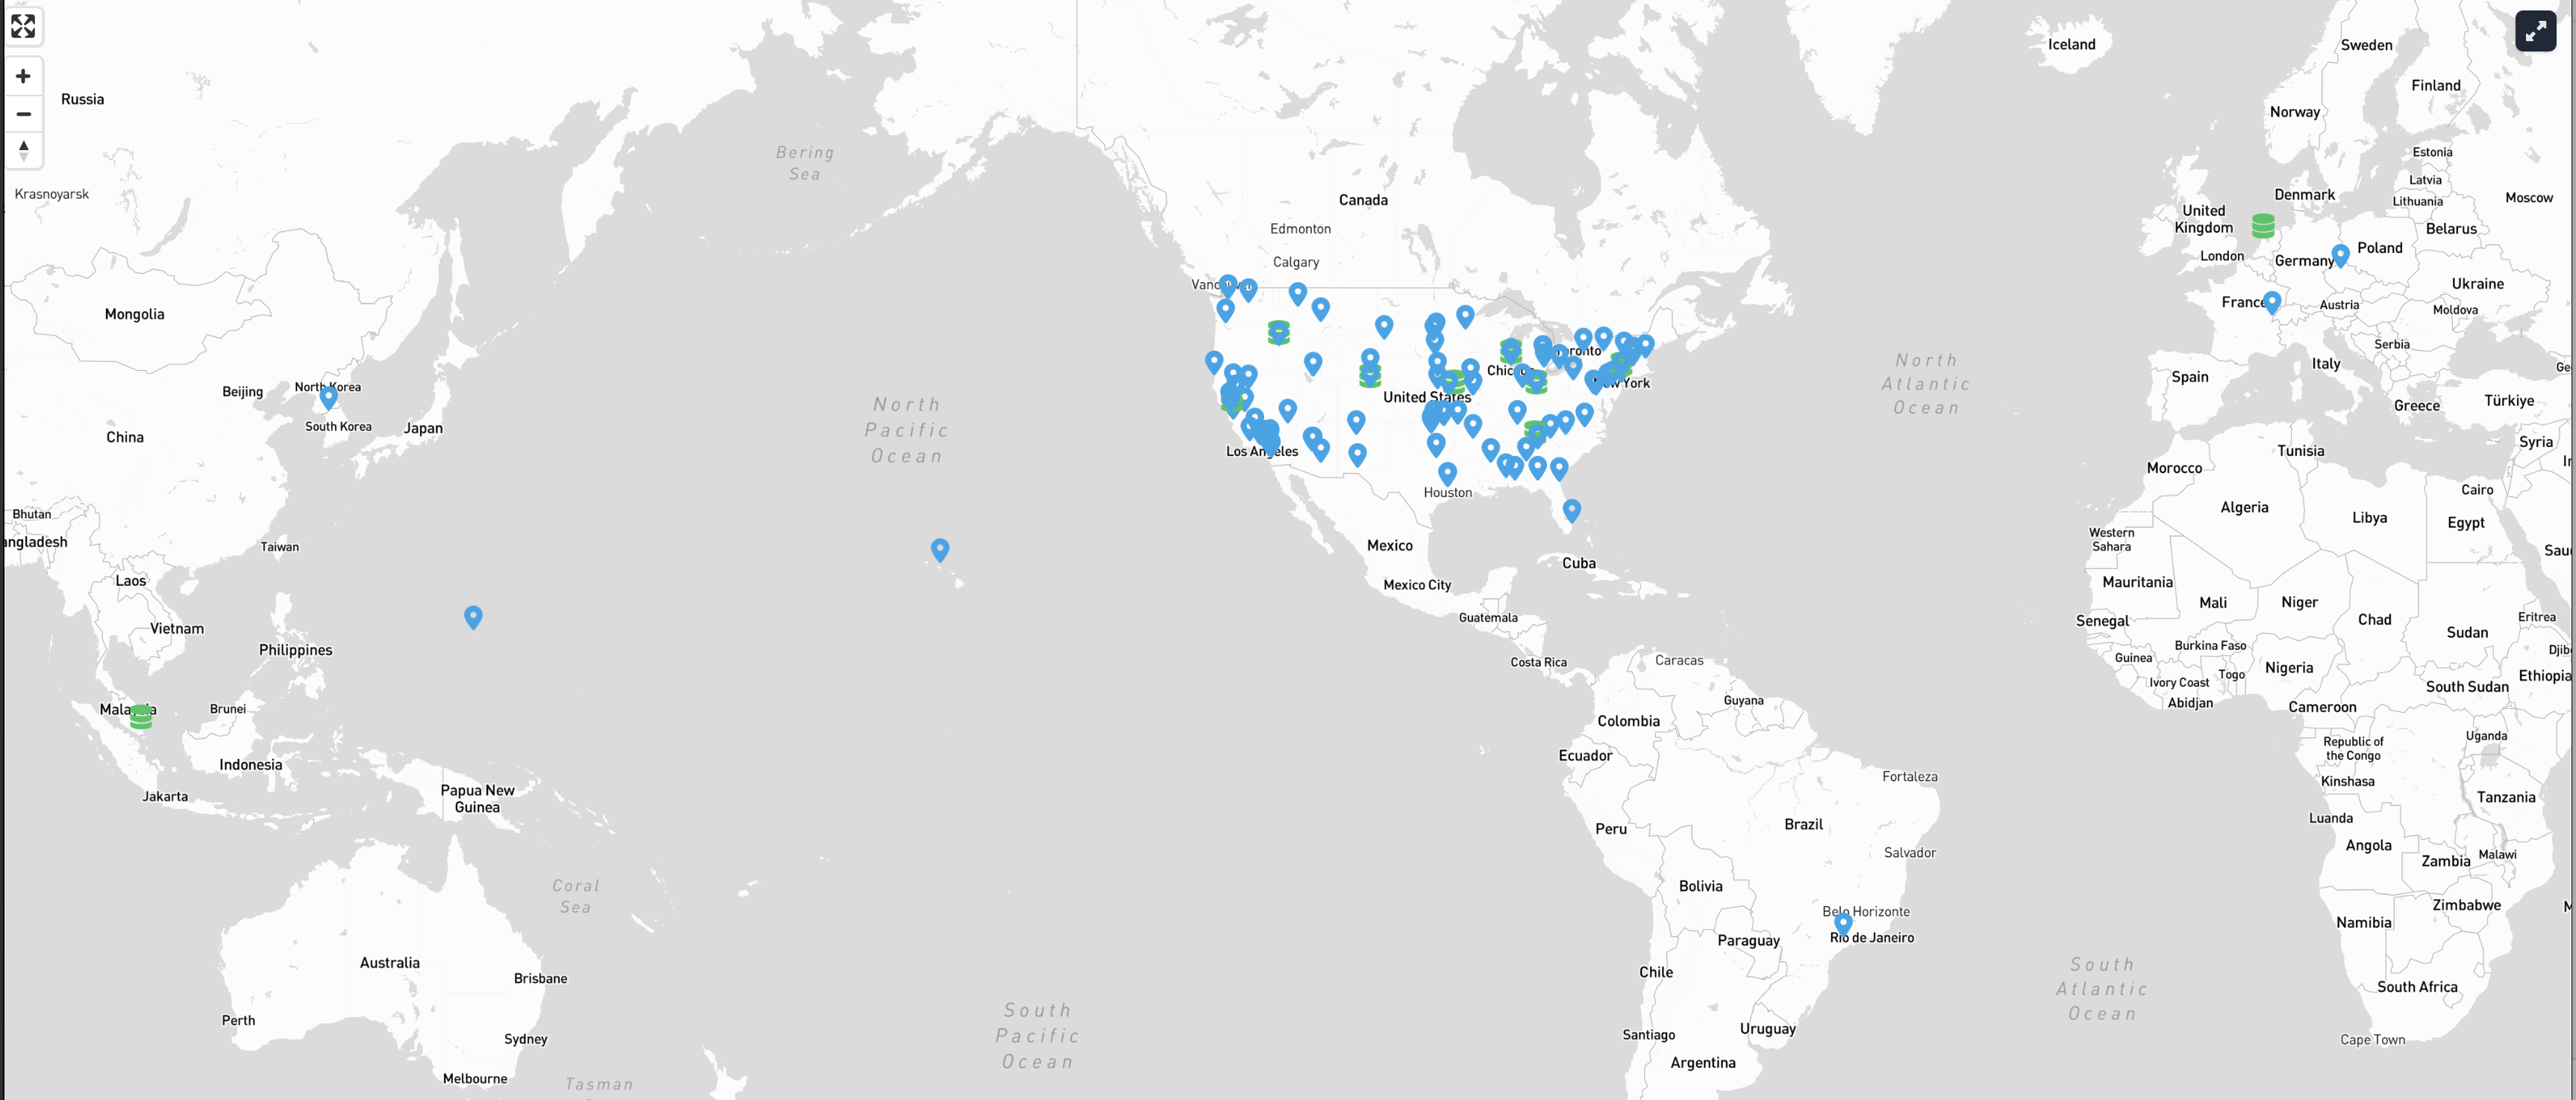
- ~500 nodes
- ~1400 GPUs
- ~30 FPGAs
Click to reveal more
Useful links for the live session:
Kubernetes basics (quick intro)
Kubernetes is a system for running applications on a cluster by managing workloads (things you want to run) and keeping them in the desired state.
Most interactions with Kubernetes involve creating and updating resources (objects) described in YAML.
- A YAML “manifest” declares the desired state (what you want running)
- Kubernetes works continuously to make the cluster match that desired state
Typical workflow:
- Write or edit a YAML manifest
- Apply it to the cluster (e.g.,
kubectl apply -f ...) - Check status and troubleshoot (pods, logs, events)
Kubernetes workloads
Workloads are the resource types you use to run containers on the cluster.
- Pod: the basic unit where your application runs (one or more containers together)
- Job: runs work to completion (batch or one-off tasks)
- Deployment: manages long-running services and keeps them available (including rolling updates)
Rule of thumb:
- Use a Pod for small tasks/debugging; remember to remove when finished.
- Use a Job when the work should finish.
- Use a Deployment when the work should keep running.
Namespaces
Namespaces are what Kubernetes uses to group users. Certain resources are namespace scoped, meaning they can only be accessed by members of that namespace, not everyone on the cluster. Every namespace has two types of members admins and users. Admins have elevated priviliges including adding and removing members, as well as creating additional namespaces.
Admins are also charged with ensuring the other members of the namespace follow cluster policies.
Today, we are using three namespaces, nrp-training, nrp-training-k8s
nrp-training, andnrp-training-xxxis where all of our JupyterHub servers are runnnig.nrp-training-k8sis where we will be sending our tutorial pods/jobs.nrp-training-xxxeach of you will be assigned a number to replace thexxx, we will use this in the last exercise to deploy custom JupyterHub.
Keep in mind
- pods are ephemeral. Once a pod is terminated all data is deleted.
- Persistent volume claims (PVCs) are used to claim long term storage.
- Kubernetes nodes are typically not accessed directly by users. Instead, users define their workloads in YAML files and submit them to the cluster using kubectl, which can be run from any machine that has it installed, such as a local computer.
In Kubernetes, you do not need to ssh to the compute nodes themselves.
Docker and containers
Docker is a tool for building and running containers.
A container image packages:
- your application code
- libraries and dependencies
- enough operating-system files to run consistently
This makes the environment portable: the same image can run on your laptop, a VM, or on a Kubernetes cluster.
Why Docker matters for Kubernetes
Kubernetes runs container images. It does not build them.
In practice:
- You build a container image (with Docker or another tool)
- Kubernetes pulls that image and runs it as part of your workload
Container registries
A container registry stores and distributes container images.
- Public example: Docker Hub
- Organizations often use private registries for internal images
NRP note:
- NRP GitLab provides a container registry (public or private depending on repo settings)
- You can push local images to GitLab’s registry, or build/publish images using GitLab CI/CD
Login and Terminal Setup
Open the tutorial workspace link and sign in through CILogon. The training JupyterHub is the recommended path for this workshop because kubectl, helm, and kubeconfig are already wired up in the terminal.
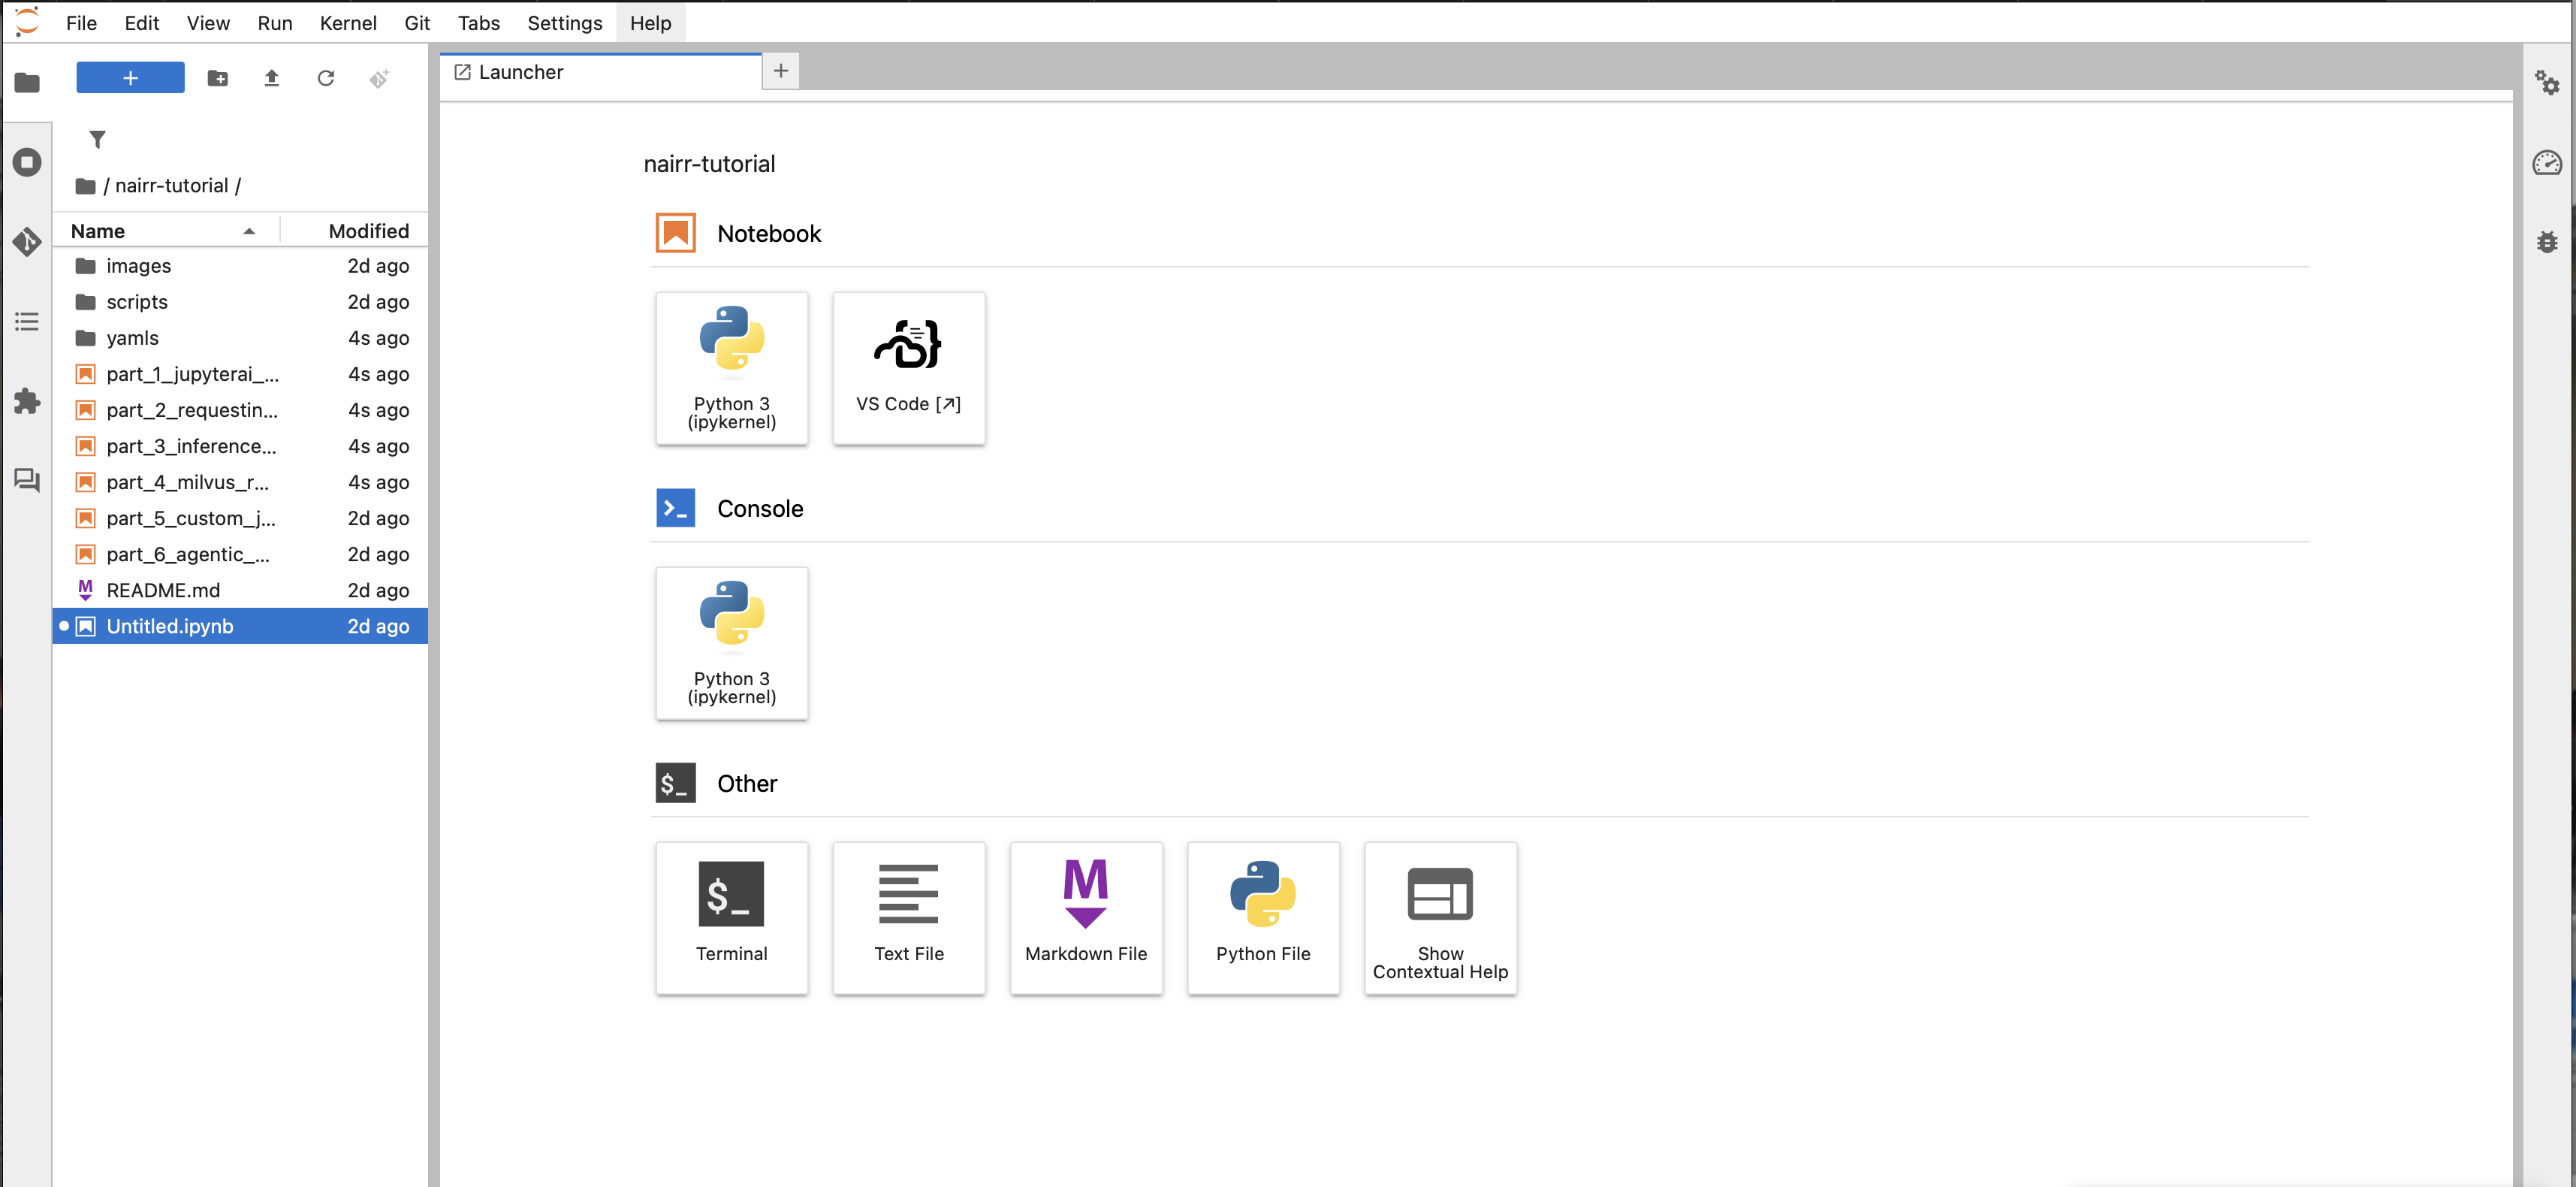
Use the JupyterLab launcher to open:
- the markdown instructions
- a terminal for
kubectl - the file browser so participants can inspect files in the tutorial folders
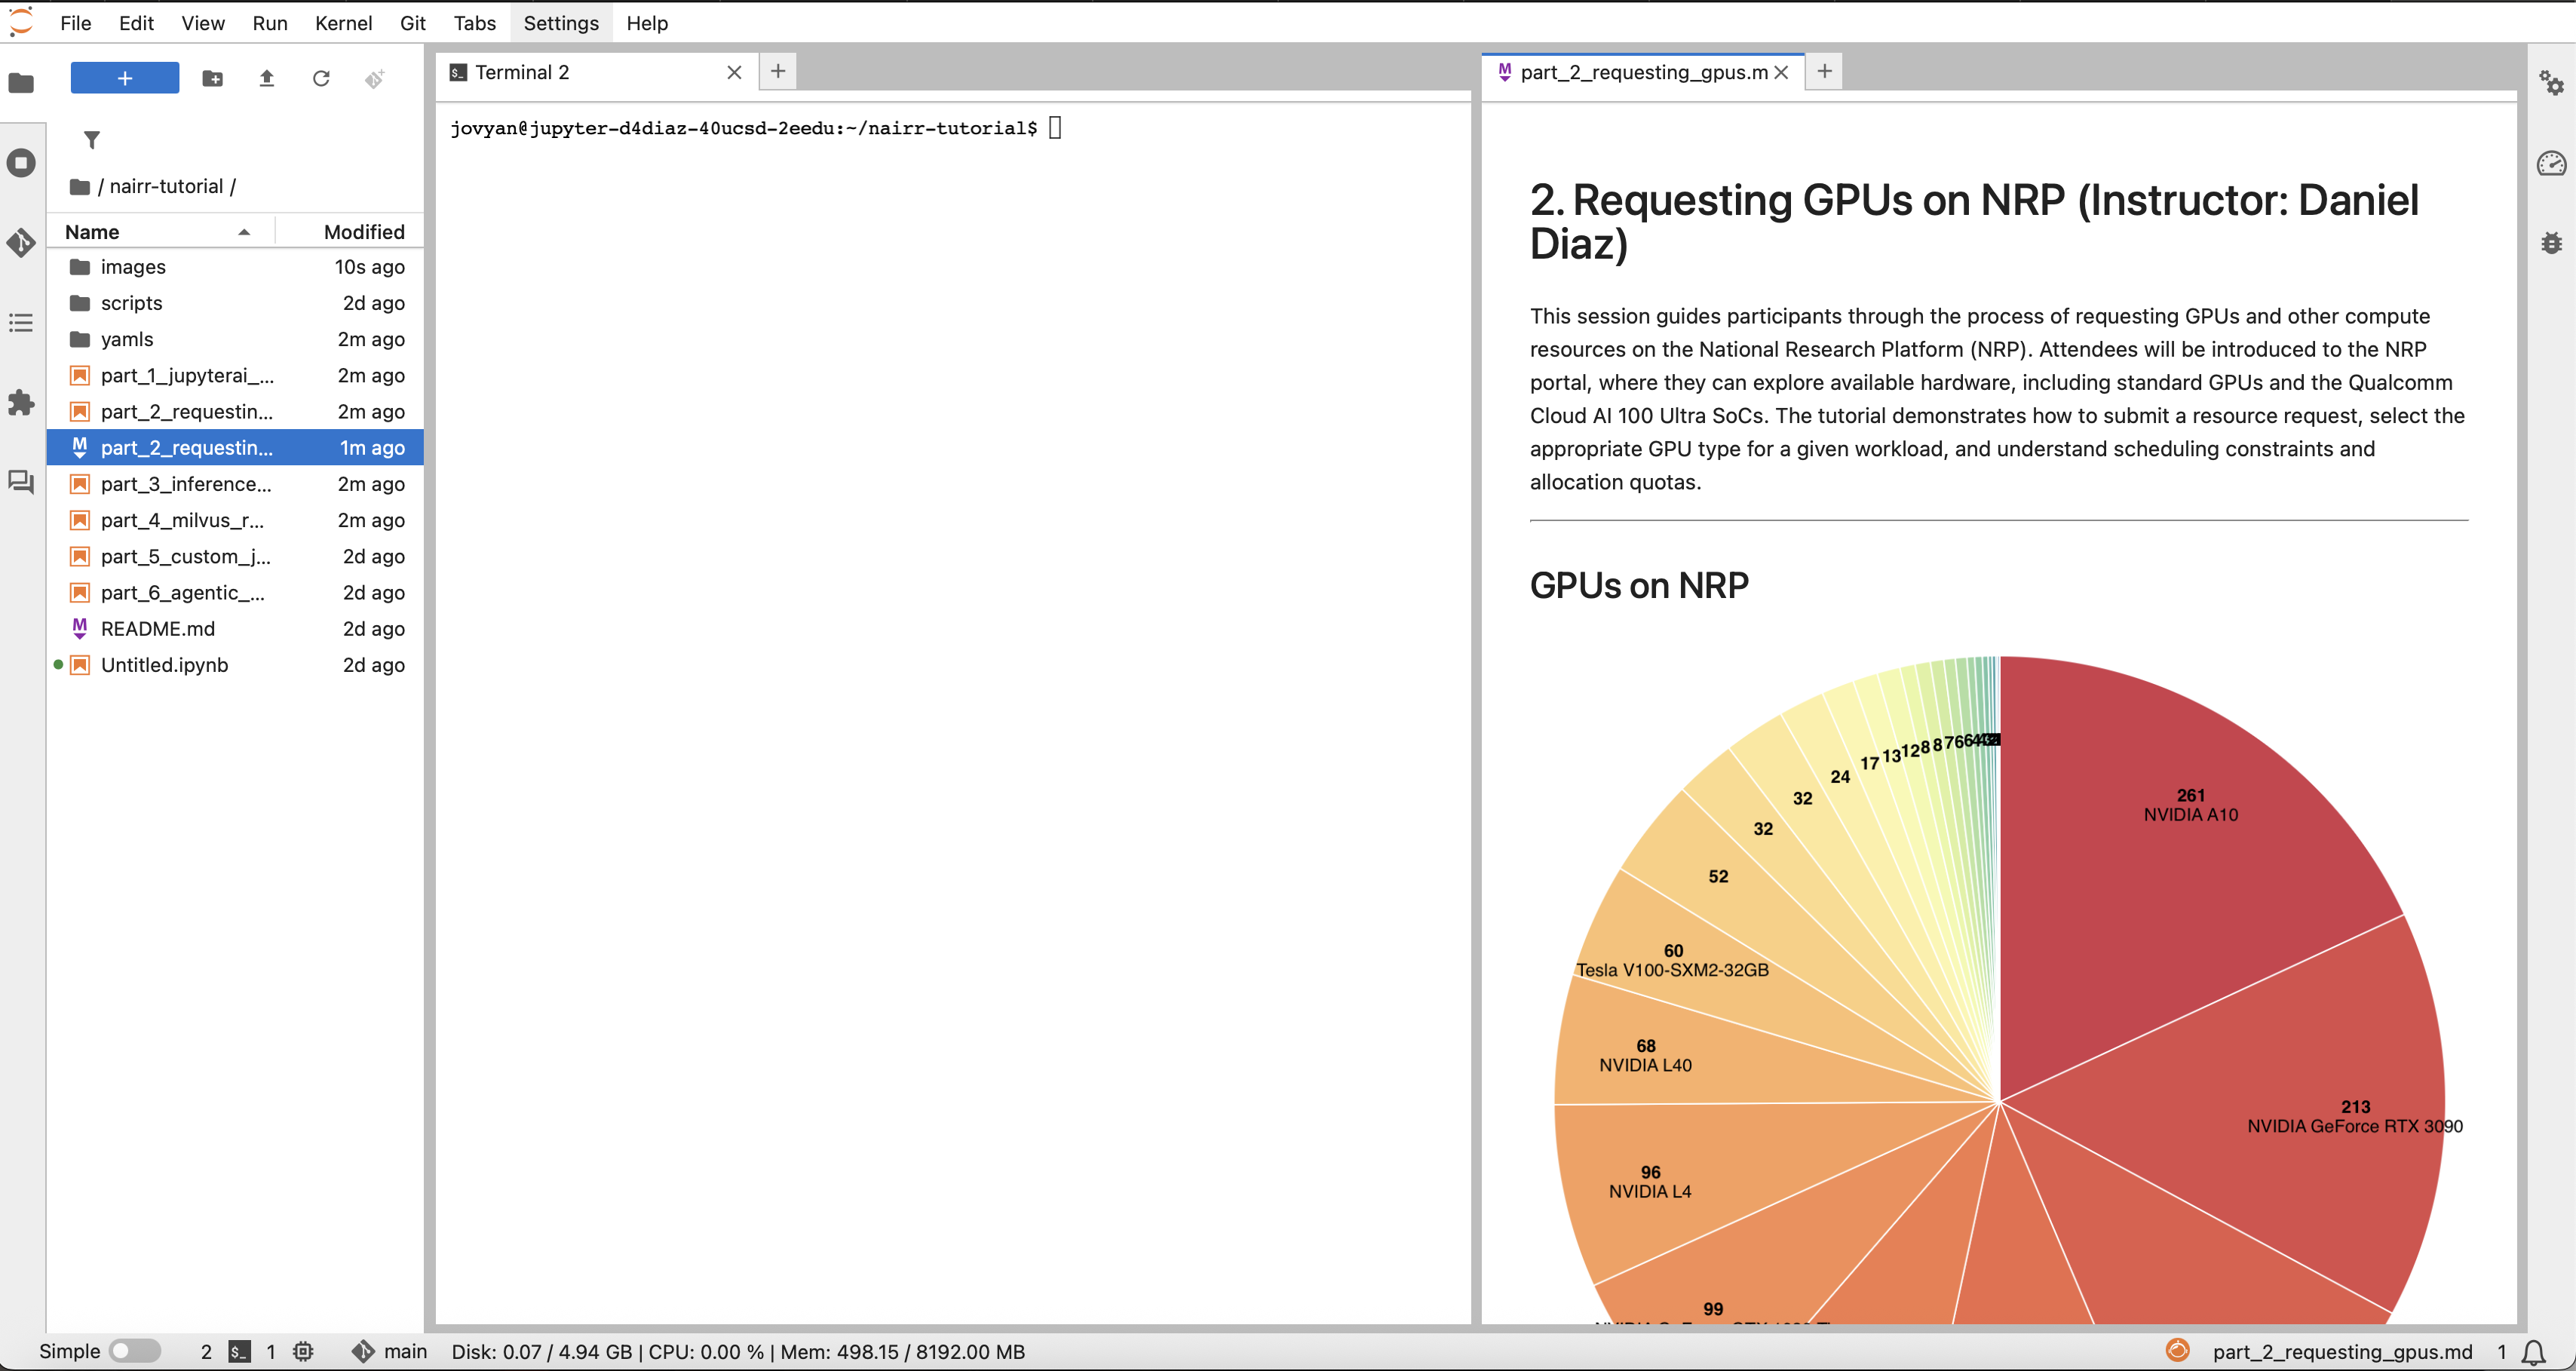
Confirm that the prepared environment is ready:
cd ~/cra-rel/workspace
kubectl version --client
kubectl auth whoami
kubectl config current-context
kubectl auth can-i get pods -n nrp-training-k8s
Set a username variable for this session. Use a lower-case NRP, GitHub, or institutional username that is unique within the room; Kubernetes names work best with lower-case letters, numbers, and hyphens.
export TUTORIAL_USER=<username>Resource Portal Walkthrough
Open the NRP live resource view and look for:
- GPU model names and counts
- regions and node labels
- accelerator availability
- the distinction between generic GPU resources and special resource names
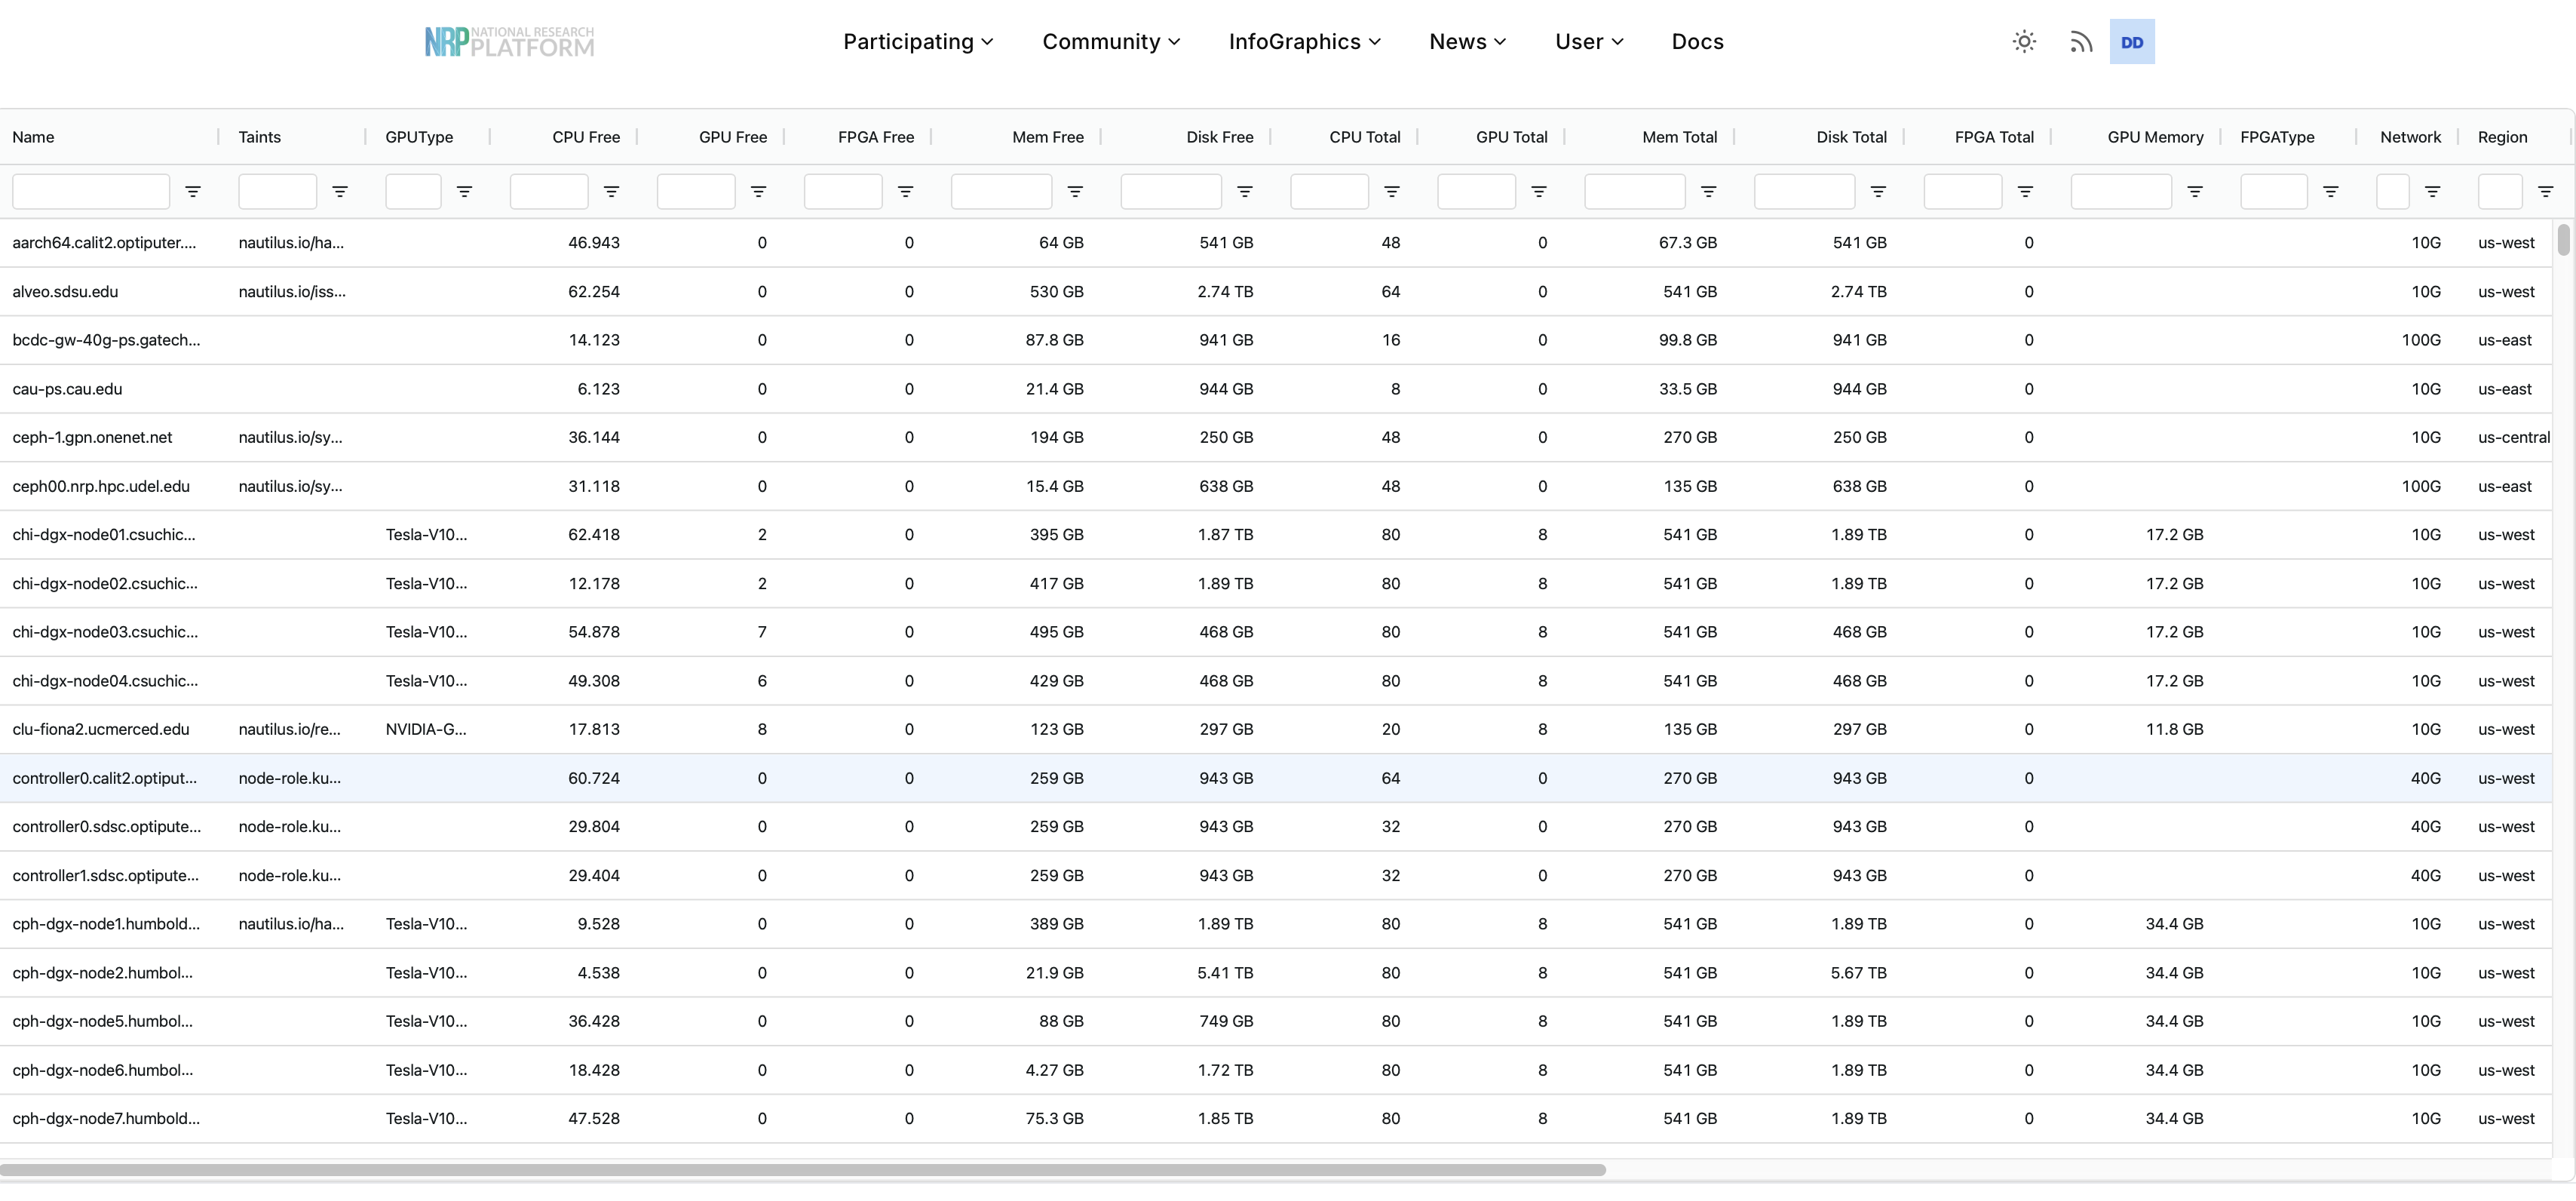
NRP has many GPU types available across the cluster.
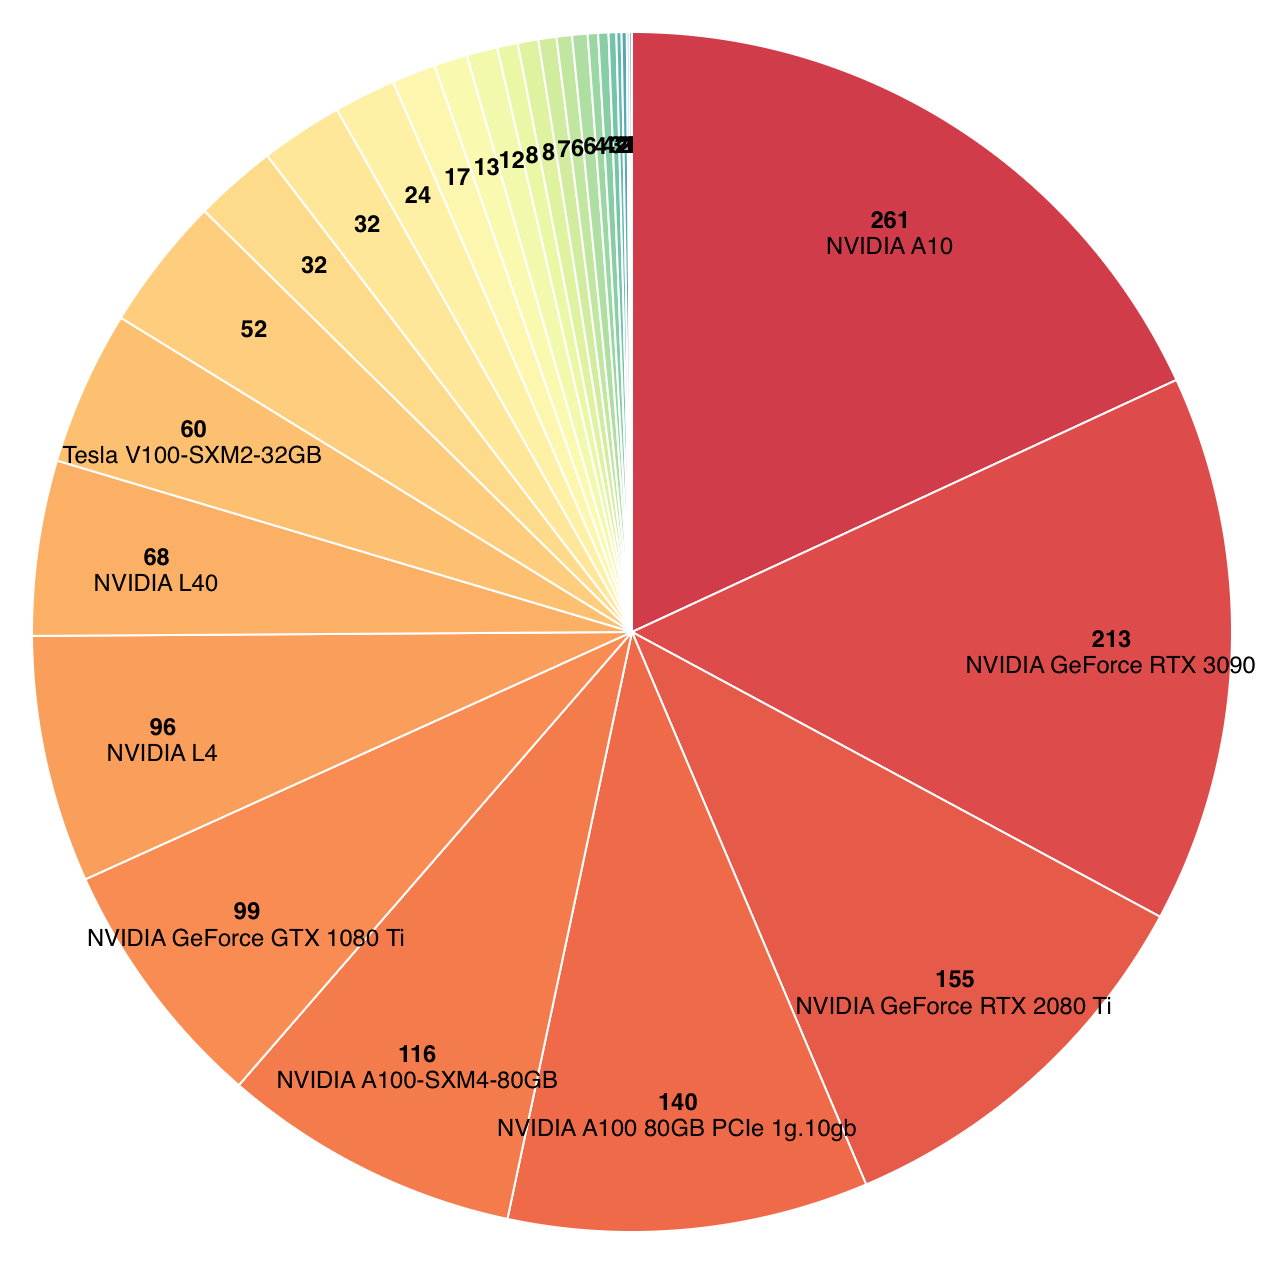
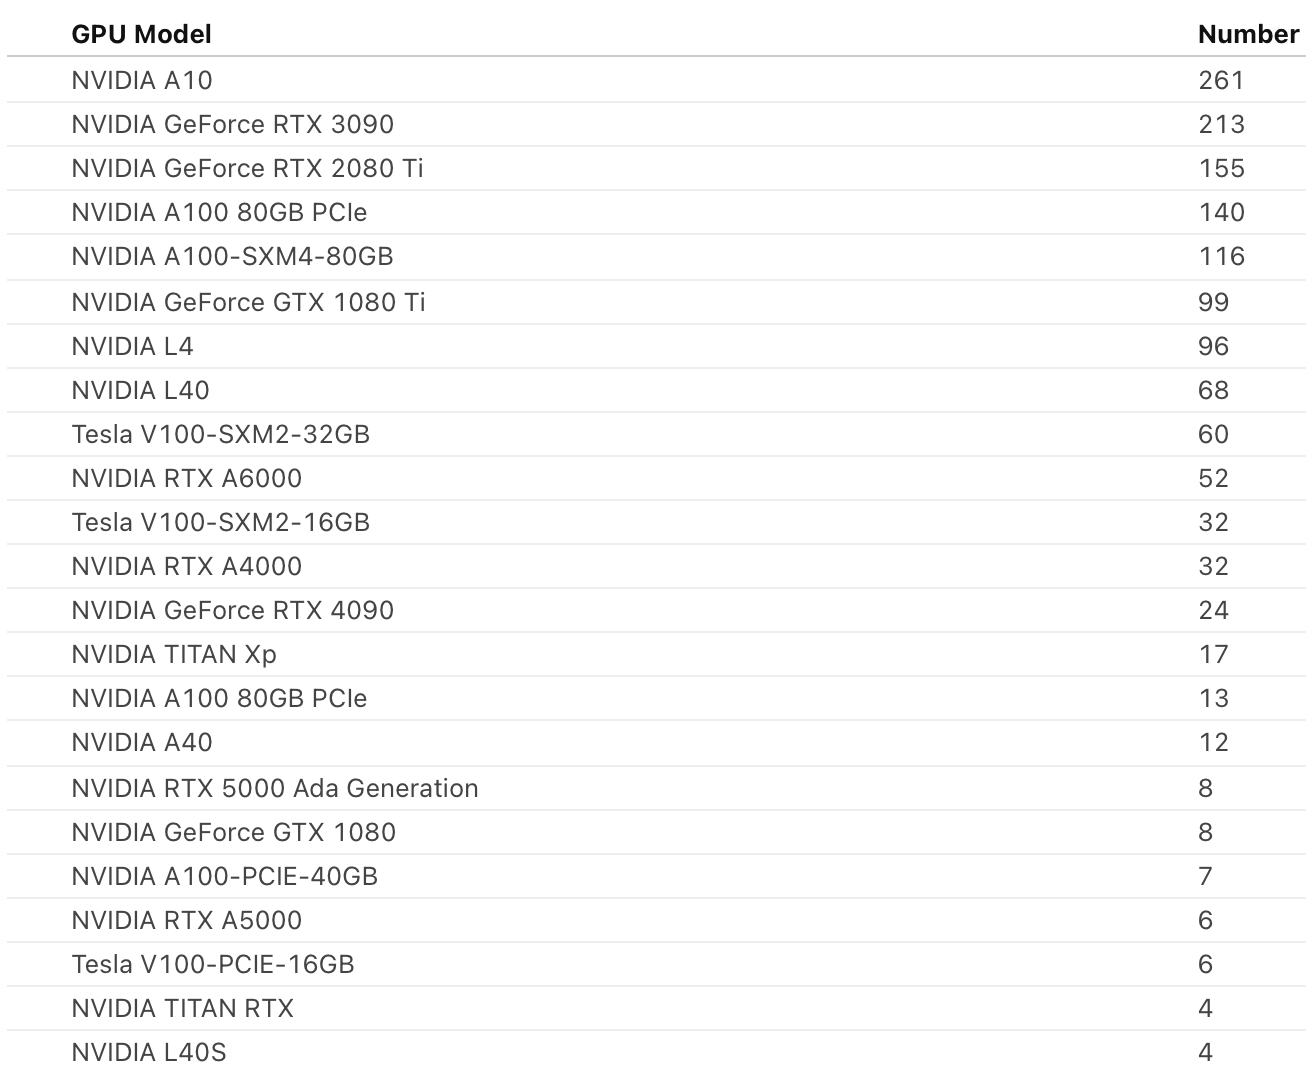
For classroom use, distinguish two levels of "request":
- Portal or allocation request: Ask NRP for access, namespace membership, quotas, or exceptions needed for a class.
- Kubernetes workload request: Ask the scheduler for CPU, memory, and accelerator devices inside a YAML manifest.
Check what quota information is visible from the JupyterHub terminal:
kubectl get resourcequota -n nrp-training-k8s
kubectl describe resourcequota -n nrp-training-k8s
Nautilus also enforces admission policies. A common classroom failure is a pod that omits CPU or memory requests and limits. The training example manifests set requests and limits explicitly, usually with requests == limits, so they pass the cluster policy.
Hardware Resource Keys
For NVIDIA GPUs, the most common Kubernetes resource key is nvidia.com/gpu:
resources:
  limits:
    nvidia.com/gpu: 1
  requests:
    nvidia.com/gpu: 1
For Qualcomm Cloud AI 100 SoCs, the resource key is:
resources:
  limits:
    qualcomm.com/qaic: 1
  requests:
    qualcomm.com/qaic: 1
Some GPUs also use product-specific resource keys such as nvidia.com/a100 or scheduling labels such as nvidia.com/gpu.product=NVIDIA-A10.
Workshop Reservation Pattern
For this training, NRP has a reserved pool of training nodes. The manifests use:
- label:
nrp-training=true - taint:
nautilus.io/reservation=nrp:NoSchedule
Explore the reservation:
kubectl get nodes -l nrp-training=true -L nvidia.com/gpu.product
kubectl get nodes -l nrp-training=true \
  -o jsonpath='{range .items[*]}{.metadata.name}{"\t"}{.spec.taints}{"\n"}{end}'
The manifest pattern is:
tolerations:
- key: nautilus.io/reservation
  operator: Equal
  value: nrp
  effect: NoSchedule

affinity:
  nodeAffinity:
    preferredDuringSchedulingIgnoredDuringExecution:
    - weight: 100
      preference:
        matchExpressions:
        - key: nrp-training
          operator: In
          values: ["true"]
The toleration allows the pod onto tainted reservation nodes. The affinity asks the scheduler to prefer the reserved pool.
Hands-on Resource Request
Open yamls/gpu-pod.yaml. The important section is the accelerator request:
resources:
  limits:
    nvidia.com/gpu: 1
    memory: 4Gi
    cpu: "2"
  requests:
    nvidia.com/gpu: 1
    memory: 4Gi
    cpu: "2"
Create a per-user copy of the manifest, replace <username>, and launch the pod:
cd ~/cra-rel/workspace
cp yamls/gpu-pod.yaml /tmp/gpu-pod-${TUTORIAL_USER}.yaml
sed -i "s/<username>/${TUTORIAL_USER}/g" /tmp/gpu-pod-${TUTORIAL_USER}.yaml
kubectl apply -n nrp-training-k8s -f /tmp/gpu-pod-${TUTORIAL_USER}.yaml
kubectl get pods -n nrp-training-k8s
Watch the pod and check the GPU output:
kubectl wait -n nrp-training-k8s --for=condition=Ready pod/tutorial-${TUTORIAL_USER}-gpu-pod --timeout=10m
kubectl logs -n nrp-training-k8s tutorial-${TUTORIAL_USER}-gpu-pod --tail=30
Discuss:
- What resource did the pod request?
- Did the request specify a GPU model, or only a generic GPU?
- What CPU and memory did the pod reserve?
- Why do classroom examples need cleanup steps?
Clean up before moving on:
kubectl delete -n nrp-training-k8s -f /tmp/gpu-pod-${TUTORIAL_USER}.yaml --ignore-not-foundTransition
At this point participants should have:
- logged into the training JupyterHub through CILogon
- opened the training workspace
- confirmed
kubectlaccess - inspected the NRP resource view
- launched and deleted a small GPU request
The next section uses the same namespace and YAML workflow to run LLM inference.